This article shows you how to send a snap to multiple recipients, how to post multiple photos in one message, and how to post multiple posts within Snapchat's "My Story" section. Read on to find out how.
Steps
Method 1 of 3: Send a Snap to multiple Contacts
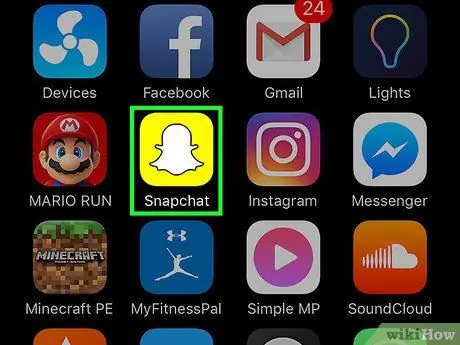
Step 1. Launch the Snapchat application
If prompted, log in using your account username and password and pressing the button "Login".
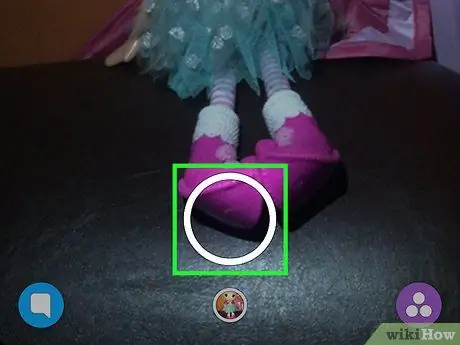
Step 2. Press the button to create a snap
This is the circular button (the larger of the two) located in the center of the bottom of the screen.
- If you want to take a snapshot, simply tap it, while if you want to record a video, press and hold it.
- After creating the snap, you can use the tools located at the top right of the screen to add emojis, text, or a freehand drawing.
- If you don't like the photo or video you got, press the button in the shape of "X" located in the upper left corner of the screen to delete it and repeat the procedure for creating a new snap.
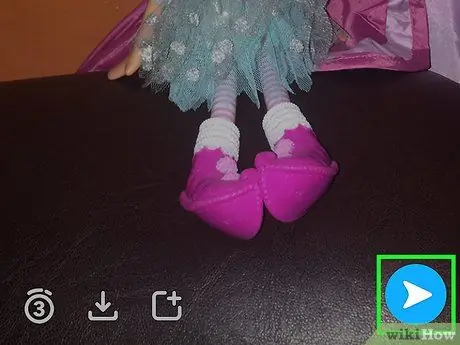
Step 3. Press the "Send to" button
This is the blue icon with a white arrow inside, pointing to the right, located in the lower right corner of the screen.
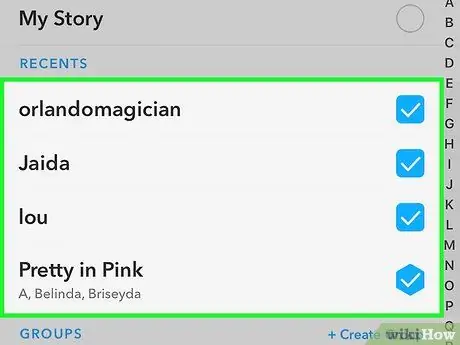
Step 4. At this point, select the check button for all the contacts you want to send the newly created message to
All the people you have selected will be marked with a small check mark next to their name.
To delete one of your chosen contacts, tap its name a second time
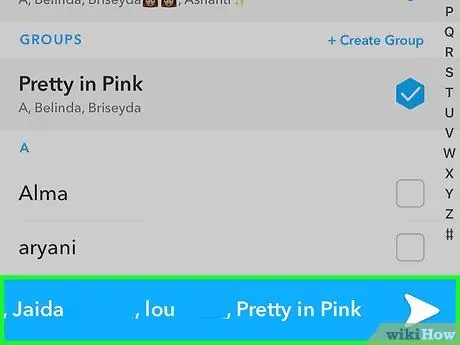
Step 5. Once your selection is complete, press the "Submit" button
The created snap will be sent to all the friends you have chosen.
The people you have selected will only receive the snap, while they will not be notified that it has been sent to multiple contacts at the same time
Method 2 of 3: Send multiple Images to a Single Contact
Step 1. Launch the Snapchat application
If prompted, log in using your account username and password and pressing the button "Login".
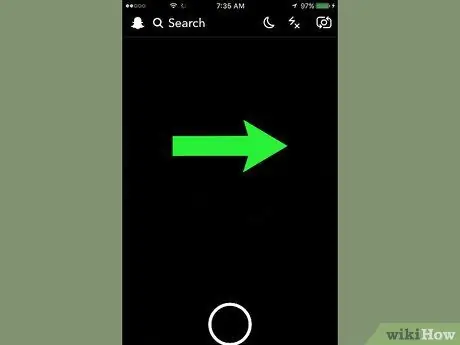
Step 2. Swipe the screen to the right to view the list of recently used chats
If you wish, you can also access the "Chat" screen by pressing the button in the shape of a speech bubble in the lower left corner of the main screen of the program (the one in which the view taken by the device's camera is shown)

Step 3. At this point, select the contact you want to send snaps to

Step 4. Tap the image-shaped icon
It is the first starting from the left and is positioned in the lower part of the window relating to the conversation with the selected contact. By tapping this icon, you will be automatically redirected to the device's photo gallery.
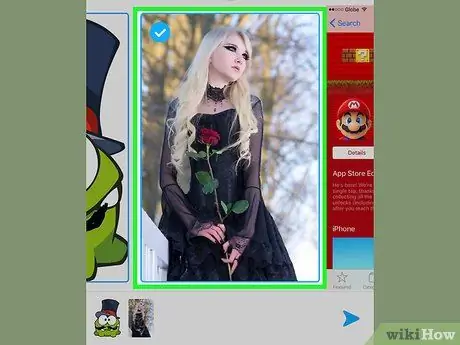
Step 5. Select all the images you want to insert in the message
All chosen images will have a small blue check mark in the upper left corner.
To deselect an already chosen image, simply tap it a second time

Step 6. Once your selection is complete, press the "Submit" button
This is the blue button in the lower right corner of the gallery image selection screen. The chosen photos will be automatically inserted into the chat and will remain visible until your interlocutor has seen them.
Method 3 of 3: Add Multiple Snaps to Your Story
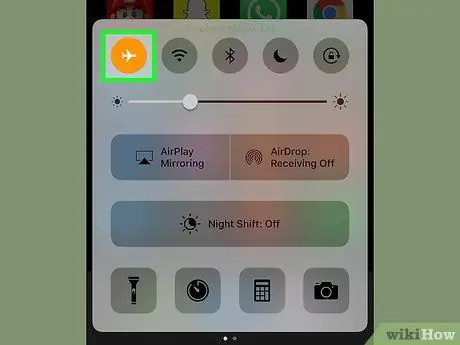
Step 1. Put your device in "Offline" or "Airplane mode"
If you need to publish several posts at the same time within a "Story", you must create them all offline, ie while you are not connected to the web.
- iPhone or iPad: Swipe your finger on the screen, from bottom to top, to access the panel called "Control Center", then tap the airplane icon.
- Android devices: Swipe the screen from top to bottom to access the notification bar, then tap the airplane icon.
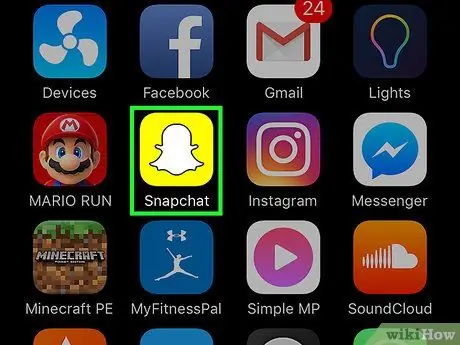
Step 2. Launch the Snapchat application
If prompted, log in using your account username and password and pressing the button "Login".
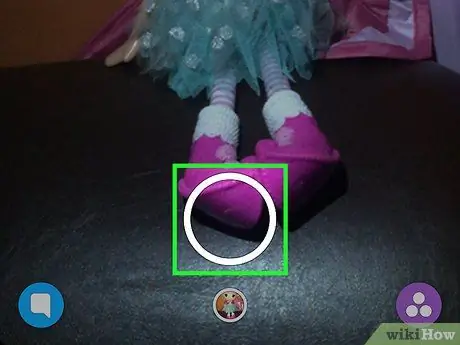
Step 3. Press the button to create a snap
This is the circular button (the larger of the two) located in the center of the bottom of the screen.
If you want to take a snapshot, simply tap it, while if you want to record a video, press and hold it
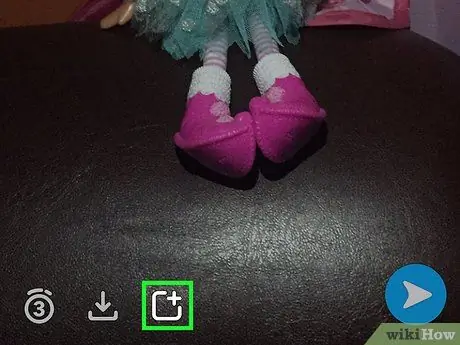
Step 4. Press the button to publish the snap in the "My Story" section
This is the "History" button, characterized by a square icon with a small "+" symbol in the upper right corner. It is located at the bottom of the screen.
If you are connected to the internet, when you press the "Story" button, the newly created snap is immediately posted in the "My Story" section of your account. Since the device is in "Airplane" mode, the snap will be placed in a publish queue which will only be processed when the web connection is restored
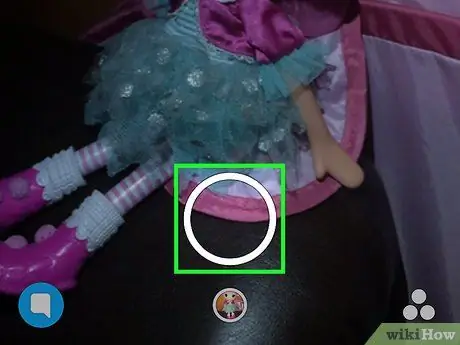
Step 5. Add all desired snaps to the publish queue
At this point, you can create as many snaps as you like. Just remember to add them to the "My Story" section by pressing the "Story" button after creating them.
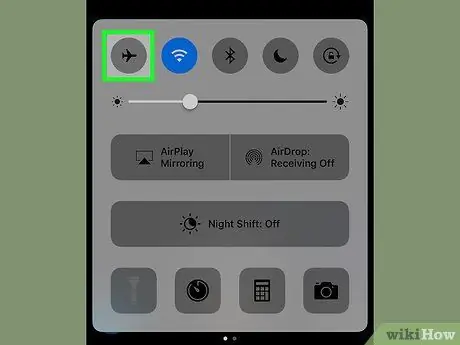
Step 6. Deactivate the "Offline" or "Airplane" mode of the device
To perform this step, you don't need to close the Snapchat application.
- To re-establish the internet connection, simply tap the airplane icon located inside the "Control Center" (in the case of an iPhone or iPad) or the notification bar (in the case of an Android device).
- Restoring the internet connection should only take a few moments.
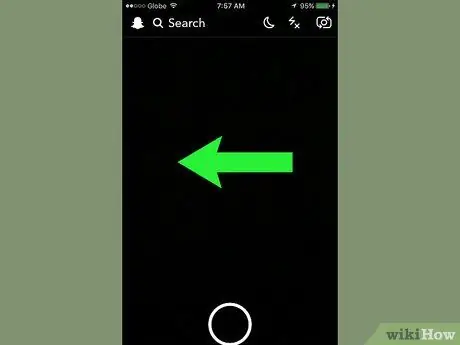
Step 7. Swipe your finger across the screen to the left to access the "Stories" screen
Alternatively, you can press the button "Stories" located in the lower right corner of the screen.
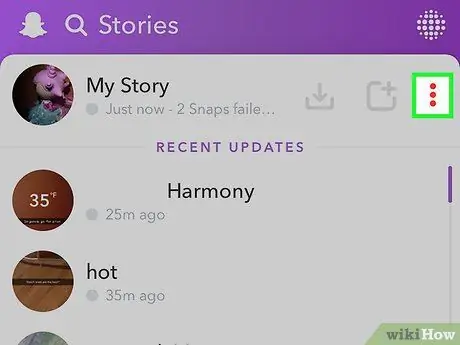
Step 8. Tap the "Menu" button located to the right of "My Story"
Inside the appeared menu you will find the list of all the snaps that have not been published while the device was "offline". "Tap to retry" should appear under each post to be published. The list of snaps to publish is in chronological order, based on the creation date, so the first one you created will be shown at the end of the list.
The "Menu" button has a gear icon on iOS devices, while it is represented by this icon "⁝" on Android devices.
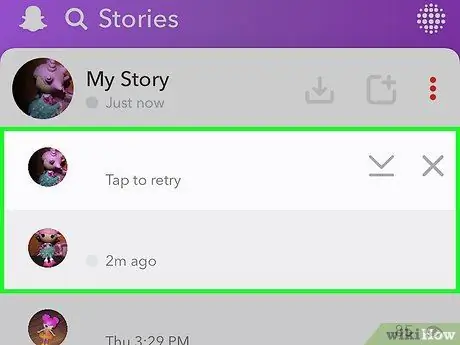
Step 9. Tap each of the snaps you want to post within your "Story"
Remember that the first post you created is the last one in the list of snaps to publish; therefore, if you need to maintain a temporal sequence, you will have to start publishing from the bottom of the list, moving gradually upwards.
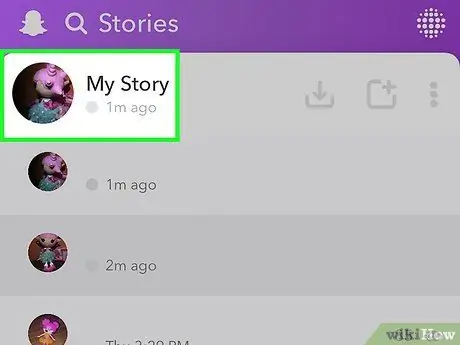
Step 10. Tap on My Story to view the content of your "Story"
Each of the snaps you just posted should appear in the "My Story" section in the correct order.
If you are very quick, you can also choose to create multiple snaps and publish them one at a time rather than turning the device into "airplane" mode to publish them all at the same time
Advice
- To save a copy of a snap you received (or sent to someone), press and hold it with your finger while you are on the snapshot screen. This will save it in the "Memories" album.
- To take a photo or record a video with Snapchat, you can use the volume rocker which is normally positioned along the left side of the device.


