This article shows you how to use the iPhone Photos app to remove the effect that causes red eyes to appear in photographs due to camera flash.
Steps
Part 1 of 2: Using the Photos App

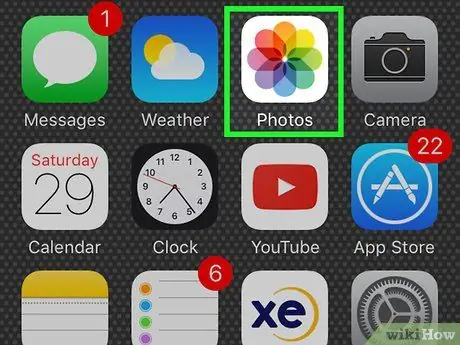
Step 1. Launch the Photos app
It features a white icon with a multicolored stylized flower inside.

Step 2. Go to the Albums tab
It is characterized by an icon consisting of two overlapping rectangles and is located in the lower right corner of the screen.

Step 3. Tap on All Photos
It should be located at the top left of the screen.
If you have not activated the "iCloud Photos" feature, the album in question will be called "Camera Roll"

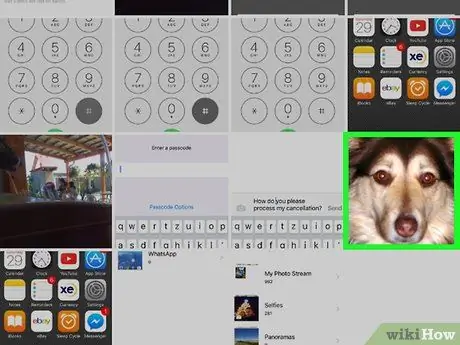
Step 4. Tap the image you need to edit
You may need to scroll down or up in the album to find and select it.

Step 5. Press the "Edit" button
It features three sliders and is located at the bottom right (on iPhone) or top right (on iPad) of the screen.

Step 6. Tap the icon to use automatic correction of the effect that makes red eyes appear
It is characterized by a stylized eye crossed out by a diagonal line.
- If you are using an iPhone, it is located in the upper left corner of the screen, while if you are using an iPad it is located in the right part of the screen.
- The icon to correct the effect that makes red eyes appear is only available when reviewing photos taken using the flash or generated from a screenshot. When not using the flash this negative eye effect may not occur.

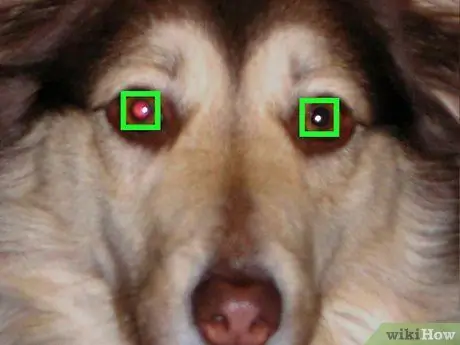
Step 7. Touch both eyes
The Red Eye Correction feature will automatically change the pixels of the area you have selected to remove the problem.
If you are not satisfied with the result, tap both eyes again to discard the changes

Step 8. Tap the icon to correct the flash effect that makes red eyes appear
This will deactivate this function and return to the editing screen of the chosen photo.

Step 9. Press the Finish button
It is located in the lower right corner of the screen (on iPhone) or in the upper right corner (on iPad). Any changes made to the selected image will be saved.
If in the future you decide that the changes you have made no longer satisfy you, return to "Edit" mode and tap the option Cancel to restore the original image.
Part 2 of 2: Avoiding the Red Eye Effect

Step 1. Turn off the camera flash
The effect that causes the eyes to appear red is caused by the light from the flash reflecting off the back of the eye's retina. For this reason, to avoid this unpleasant negative effect, just take your photos in well-lit areas or environments where you don't need to use the flash.
-
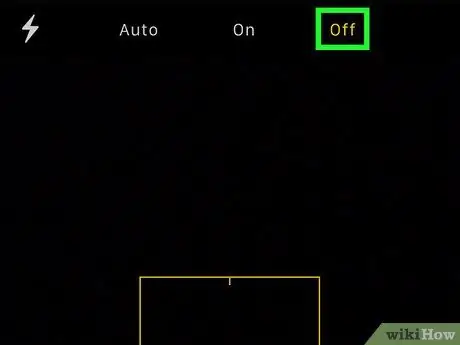
The Camera app allows you to disable the use of the flash by tapping the "⚡" icon in the upper left corner of the screen.
- Select the option Car if you want the Camera app to automatically activate the flash only in cases where it is necessary.
- Select the option Disabled if you want the flash never to be used when taking a photo or recording a video.

Remove Red Eye on iPhone, iPod, and iPad Photos Step 11 Step 2. Pay attention to the direction of the gaze of the people you want to photograph
Ask the subject of the photo not to look directly at the camera of the device, but at a point located slightly to the right or left of the camera.

Remove Red Eye on iPhone, iPod, and iPad Photos Step 12 Step 3. Avoid using the flash to photograph subjects who have been drinking alcohol
When people drink alcohol, their pupils tend to lose their normal responsiveness to direct light. This means that the light from the flash will take much longer to reach the bottom of the eye's retina and be reflected back to the camera, increasing the chances of getting the red eye effect.


