Knowing the correct date and time is crucial in order to keep an appointment. Nowadays, people rely more and more on their smartphones to keep this type of information under control. So what to do when the date and time of our smartphone do not configure automatically or are set incorrectly? The answer to this question is very simple: you need to perform a manual configuration. Setting the correct date and time is an extremely simple task that takes only a few seconds.
Steps
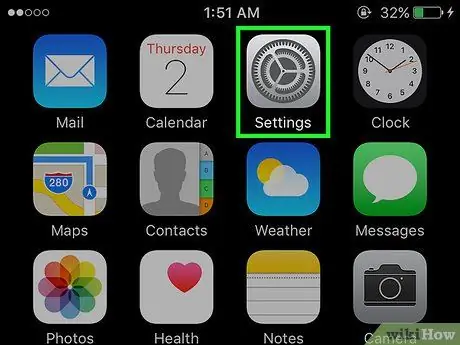
Step 1. Launch the "Settings" app
Tap the relevant icon on the device's Home screen. The "Settings" application allows you to access all the configuration options of the iPhone, for example to activate Wi-Fi connectivity, manage the behavior of an app or set the "Do not disturb" mode.
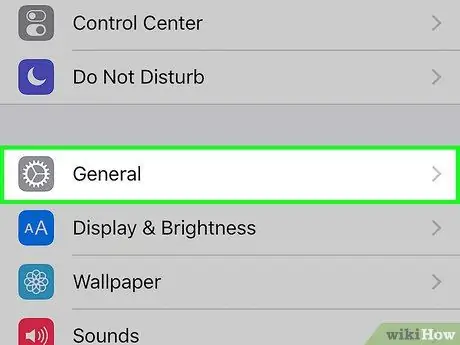
Step 2. Tap "General"
This section of the "Settings" menu mainly contains the basic configuration options of the iOS system; for example the "Gestures" function with which you can decide how to interact with the device, the choice of the operating mode of the side button and the configuration options of the installed apps.
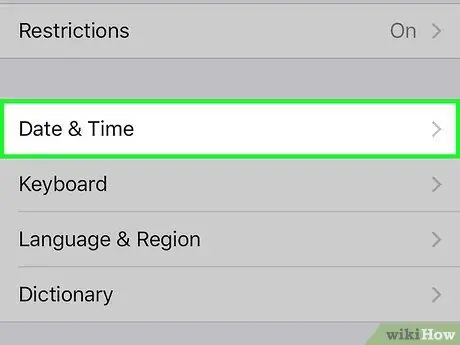
Step 3. Select the "Date and Time" option
This item is located approximately in the middle of the "General" menu.
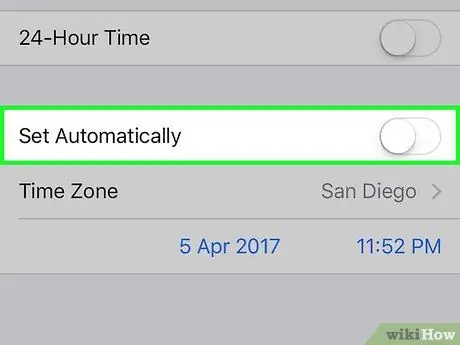
Step 4. Disable the automatic date and time setting by moving the "Automatic" switch to the left
By default, the iPhone is configured to automatically set the date and time over the data or Wi-Fi connection. When this function is not active, the user is able to independently change the time zone, date and time.
Tap the switch next to "Automatic" to be able to manually set the date and time
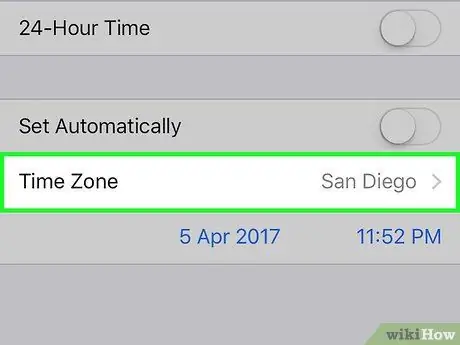
Step 5. Choose the time zone of the area where you reside
After disabling automatic date and time setting, you can set them manually. Tap "Time Zone", then type the name of the location whose time zone you want to set.
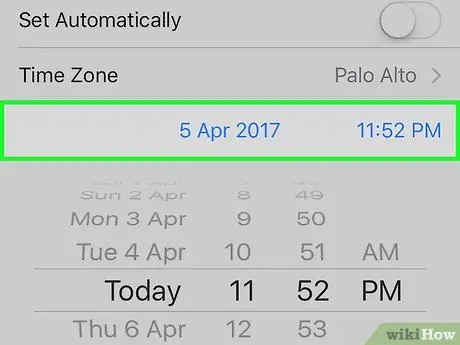
Step 6. Change the date and time
After setting the time zone, you will see the date and time appear in the field below.
- Tap the date and time. After disabling the "Automatic" option, you will see them appear under the time zone field.
- Drag your finger on each column to be able to change the date and time. A selector will appear with which you can simultaneously change both.
- If the year indicator shows an incorrect value, slide the month selector forward until the correct one appears.
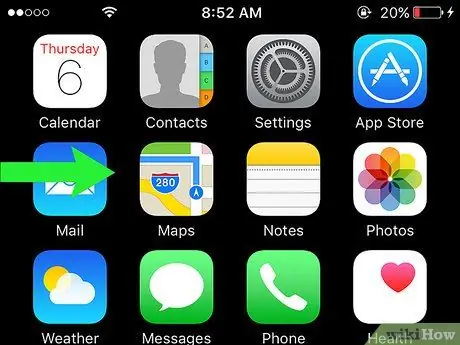
Step 7. Swipe your finger across the screen, from top to bottom
The notification center, the currently set date and the calendar with the saved events will be displayed.
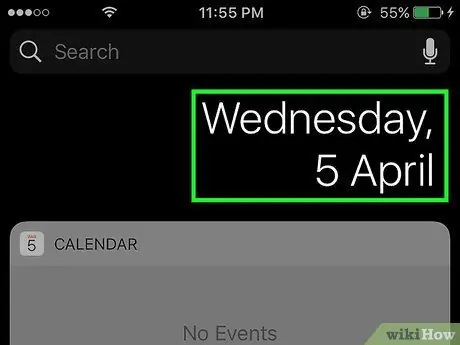
Step 8. Tap the "Today" tab
It contains the current time and date, together with weather information. Congratulations, your work is done! If the date and time are still incorrect, access the "Date and time" page of the "General" menu again to change them according to your needs.


