The word "collage" means "figurative art process that uses fragments and cuttings of different materials, composing them on a plane" (from Treccani, The vocabulary of the Italian language). This artistic set of images is a good way to display a set of photographs, to describe a topic, to recycle some material, to decorate a wall and to create a handmade gift. It is also a good activity for children, for business meetings and team building events. Collages are also perfect for celebrating birthdays, weddings, anniversaries and for commemorating people at funerals.
Steps
Method 1 of 4: Making an Old-fashioned Collage
Step 1. Decide on the theme and purpose of the collage
The photos of the last campsite can be used to show your adventures, or the photos of your baby's first year of life could be a decoration for the birthday party. You could also choose an inspirational theme, including photos of strong women, for example.
You can also make a photographic mosaic. To do this, choose a main photo and then combine smaller ones that match the colors of the larger photo. These smaller photos will be the tiles that make up the main photo.,
Step 2. Choose the size and shape of the collage
Collages can be used to decorate a portion of a wall or be the centerpiece of a room. Consider how many photos you have available; a very large collage requires a large number of them. The collage does not necessarily have to be rectangular, it could also be in the shape of a star, heart or other shapes. Use cardboard, wood or polystyrene panel as the basis for your collage.

Step 3. Choose the photos
You can get them from newspapers, magazines, old books or postcards. Fabrics can also be used for collages. If you are making a photo collage, you must choose the best ones that represent that event or explain the topic you have chosen. Depending on how big your collage will be, you'll have to choose 10-20 photos, or maybe you'll need 50 or more.
- Think about how big you want the photos to be. They don't all have to be the same size or even the same shape. In fact, a variety of shapes and sizes will add depth to the collage and make it more interesting to look at. Think if you want a dominant photo, with the others that surround it.
- They don't have to all be photos of people. By adding detail photos (a bridge or a road, a plate of cookies, playing cards), you make the collage more full-bodied. The message you want to convey will be more direct. Since you are creating a collage of many photos, you can afford to include background or detail images.
Step 4. Print high quality photos on good paper
Your collage will look better if you have high quality images with good resolution (at least 300 dpi; 600 dpi for larger photos).
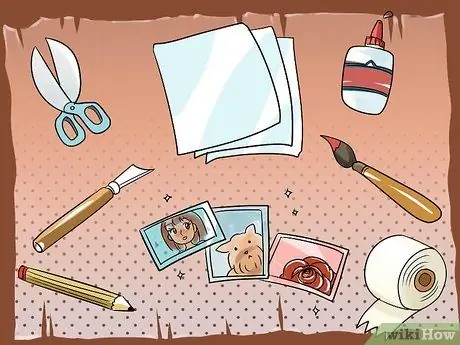
Step 5. Get the materials you will need
Keep these things handy so you can focus on the artistic aspect: scissors, precision knife, glue or other type of adhesive, brushes, support panel, pencil, blank sheets and photos.
The backing should be cardboard or card. The size of the support will depend on the size you have chosen for the collage. Choose card stock weighing between 199g / m2 and 216g / m2
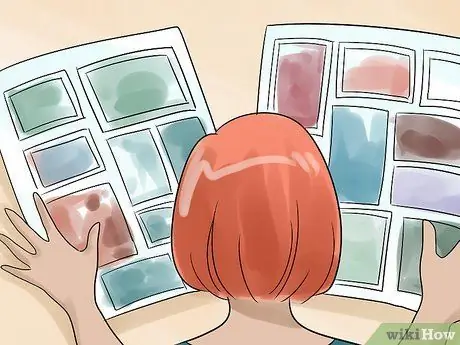
Step 6. Plan your collage
Start by thinking about how you want to arrange the photos. Which parts of the photos you want to include and which parts you want to cut. Leave some space if you have decided to write a title. Check the colors: Do you want to collect all the photos in shades of blue? Do you have a lot of photos in shades of brown? Distribute the pictures on the table to count the colors. You could only put photos in shades of blue that suit the room you are making the collage for. Try different types of combinations, colors and patterns.
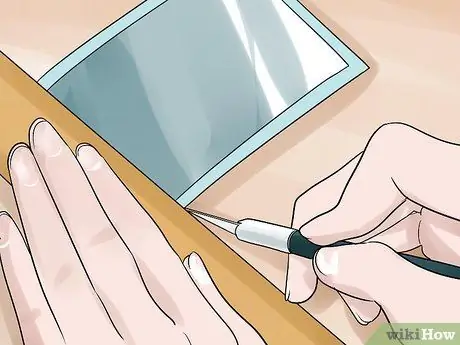
Step 7. Have the photos ready to assemble
Once you have more or less decided how you want to put them, you can start cropping them so that they fit better. In particular, those that will go on the edges should be cut with a cutter to obtain smooth and straight sides.
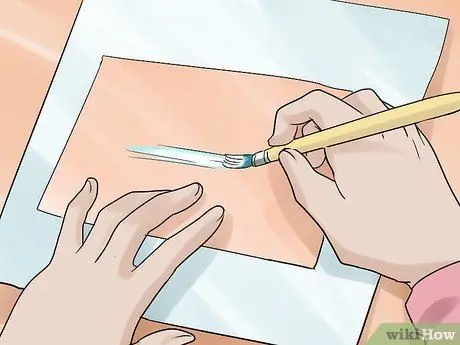
Step 8. Glue the photos to the holder
Use vinyl glue, double-sided tape, or something similar. If you use wood or a spongy material, you need a stronger adhesive. Some glues do not last over time or discolour photos. Use a strong adhesive if you want it to last and if you need to give the collage as a gift. Use a brush to distribute the glue evenly. Press the photos against the support. Use a credit card to eliminate any air bubbles. Tap a little glue on the corners to make sure they stick together.
Use stickers, glitter, or other materials to decorate the collage. You can also add writing with markers, pens, tempera or colored pencils
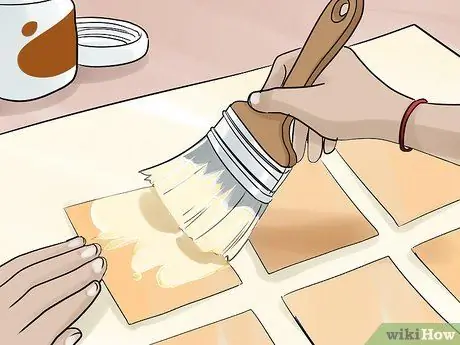
Step 9. Cover the photos with a protective layer
You could apply a cover on the photos to make them adhere well and protect them. This is an optional step and not necessary if you are going to put glass on the collage. If you choose to apply a cover, use Mod Podge (an American super glue) or something similar to protect the photos and smooth out the parts that are a little in relief.
You can also use melted wax to coat the photos. Use this system only if the media you have chosen is made of wood or some other durable material, as the paper may curl and cause the wax to break. To melt the wax, place it in a container you no longer use and heat it in a water bath. Be very careful. Then smear the wax over the photos. A thin layer of wax will give a more nuanced look to the images
Step 10. Frame the collage
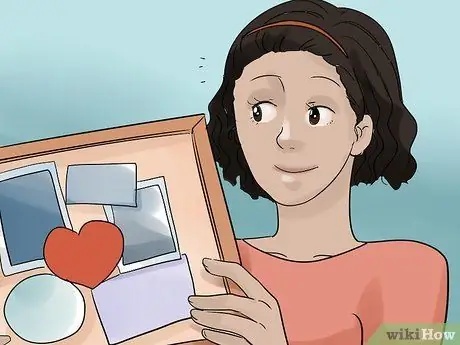
You can also have it done by a professional, or you can choose the frame yourself. Choose a frame that matches the colors of your collage. Put hooks behind it to hang it.
You can make a frame with patterned cardboard or colored paper, or you can choose not to put any frames
Step 11. Show off your collage
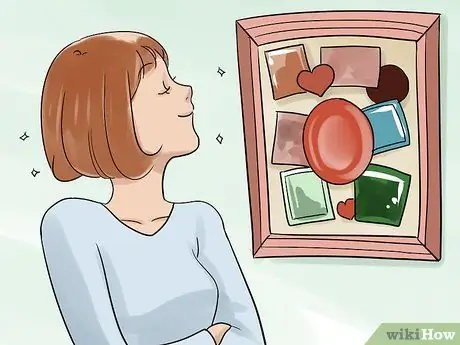
Hang it on a wall where it can be approached easily (preferably not on top of a large piece of furniture). Since there are a lot of photos, make sure they can be looked at closely. As an interesting alternative, you could place it on an easel, especially if you need to display it at a birthday party or anniversary. If it doesn't have a regular frame with hooks on the back, you can also hang it with glue, tape or something similar.
You could make copies of the collage, to share with others. A collage made for a child's first birthday is a nice gift for grandparents. Scan the entire collage and print it out. You can do it yourself or take the collage to a professional photographer. You can also print it to make a poster or banner, or to put it on other items, such as mugs, mousepads or t-shirts
Method 2 of 4: Make a Collage of Framed Photos

Step 1. Decide on the theme and purpose of the collage
The photos of the last campsite can be used to show your adventures, or the photos of your baby's first year of life could be a decoration for the birthday party.
Step 2. Choose the size and shape of the collage
Collages can be used to decorate a portion of a wall or be the centerpiece of a room. Consider how many photos you have available; a very large collage requires a large number of them.
Step 3. Choose the photos
You can get them from newspapers, magazines, old books or postcards. Fabrics can also be used for collages. If you are making a photo collage, you must choose the best ones that represent the event or explain the topic you have chosen. Depending on how big your collage will be, you will have to choose a dozen photos or even more.
- Think about how big you want the photos to be. They don't all have to be the same size or even the same shape. In fact, a variety of shapes and sizes will add depth to the collage and make it more interesting to look at. Think if you want a dominant photo, with the others that surround it.
- They don't have to all be photos of people. By adding photos of details (a bridge or a road, a plate of biscuits, playing cards), you make the collage more full-bodied and the message you want to convey more direct. Since you are creating a collage of many photos, you can afford to include images of backgrounds or other details.
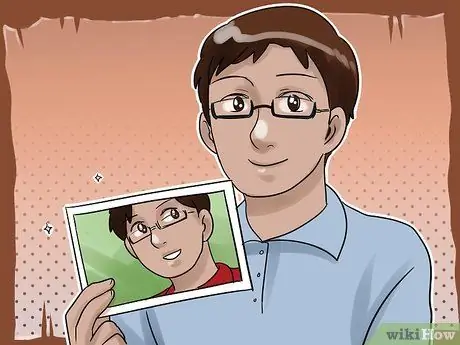
Step 4. Print high quality photos on good paper
Your collage will look better if you have high quality images with good resolution (at least 300 dpi; 600 dpi for larger photos).
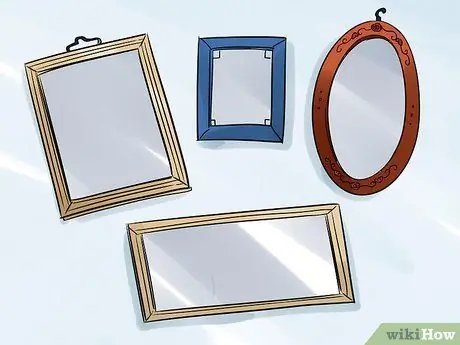
Step 5. Choose the frames
You can use frames that are all the same, or you can choose frames that differ in shapes, sizes and colors. You can also have it done by a professional, or you can choose the frame yourself. Find one that matches the colors of your collage. Put hooks behind it to hang it.
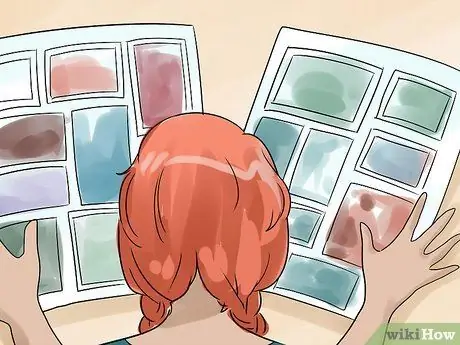
Step 6. Plan your collage
Start by thinking about how you want to put the photos. Do this on the floor or on a large table so you don't have to make unnecessary holes in the wall. Check the colors: Do you want to group all the photos in shades of blue? Do you have a lot of photos in shades of brown? Distribute the photos on the table to count the colors. You could only put pictures in shades of blue that suit the room you are making the collage for. Try different types of combinations, colors and patterns. Eliminate frames that don't sit well with the rest of the collage.
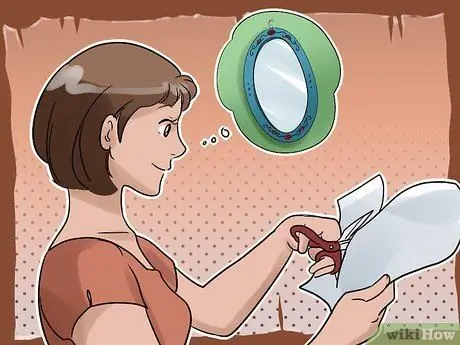
Step 7. Prepare paper shapes for each frame
Cut shapes the same size as the frames. You can use them as a reference point to arrange the nails on the wall respecting the shape of the collage you studied previously. Attach them with adhesive.
Mark on these pieces of paper where to drive the nails. They do not necessarily have to be placed in the top center of the frames; you will have to put them a few centimeters lower, and maybe even use two nails for a frame. Decide where to place the nails, then mark each piece of paper
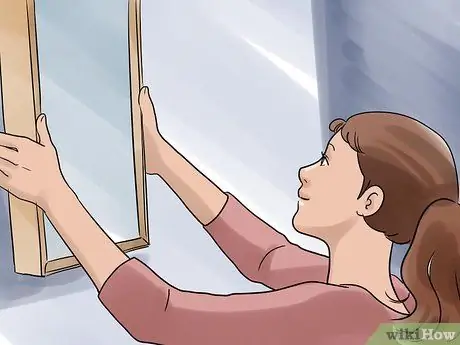
Step 8. Hang the photos
After you decide where to put the photos, plant some good quality nails in the wall where you marked. Check if you have taken the measurements correctly. Are they hanging where you wanted them?
Method 3 of 4: Making a Digital Collage
Step 1. Choose a photo editing software
Depending on your skills, there are more or less complicated ones. You can choose from Adobe Photoshop, Corel Paintshop Pro, and GIMP. There are also applications created specifically for making photo collages, such as PicCollage, PicMonkey, Shape Collage, Fotor Photo Collage and they are easier to use. Or you can use services like Shutterfly to make a photo book, with hard or flexible cover and binding.
- Programs of this type offer ready-made templates or the ability to completely customize the work.
- You can also use a more rudimentary system by copying and pasting into Word.
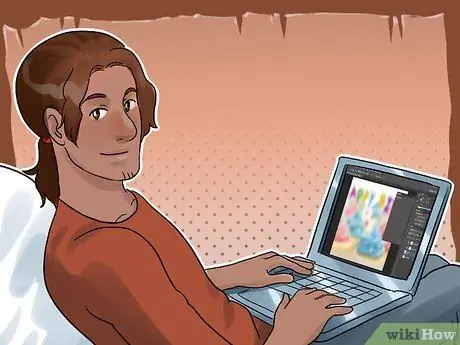
Step 2. Decide on the theme and purpose of the collage
The photos of the last campsite can be used to show your adventures, or the photos of your baby's first year of life could be a decoration for the birthday party. You could also choose an inspirational theme, such as photos of strong women.
You can also make a photo mosaic. To do this, choose a main photo and then combine smaller ones to match the colors of the larger one. These smaller photos will be the tiles that make up the main photo,. There are downloadable programs like Mosaically, Easy Moza, and AndreaMosaic to do this job
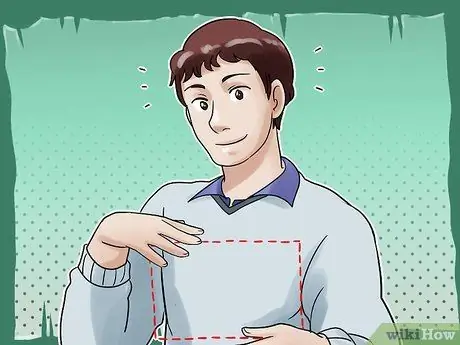
Step 3. Choose the size and shape of the collage
Think about how you want to show it. Do you want to print it or do you want to share it digitally? Consider how many photos you have available; a very large collage requires a large number of them. The collage does not necessarily have to be rectangular, it could also be in the shape of a star, heart or other shape.
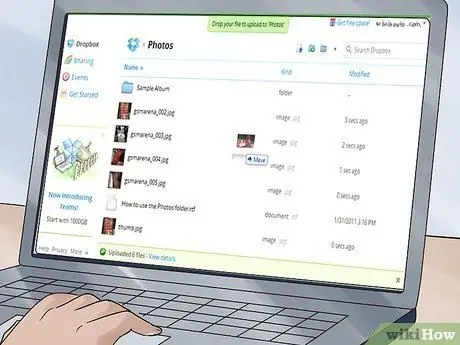
Step 4. Choose and upload photos
You can take them from your photo collection or from images you find online. If you are making a photo collage, you must choose the best ones that represent that event or that explain the chosen topic. Depending on how big your collage will be, you will need to choose 10-20 photos, or you may need 50 photos or more. Load them into your image editing program.
- Use a high resolution. Your collage will look better if you have high quality images with good resolution (at least 300 dpi; 600 dpi for larger photos).
- Think about the aspect ratio between the various photos. They don't all have to be the same size or even the same shape. In fact, a variety of shapes and sizes will add depth to the collage and make it more interesting to look at. Think if you want a dominant photo, with the others that surround it.
- They don't have to all be photos of people. By adding photos of details (a bridge or a road, a plate of biscuits, playing cards), making the collage more full-bodied and the message you want to convey more direct. Since you are creating a collage of many photos, you can afford to include background or detail images as well.
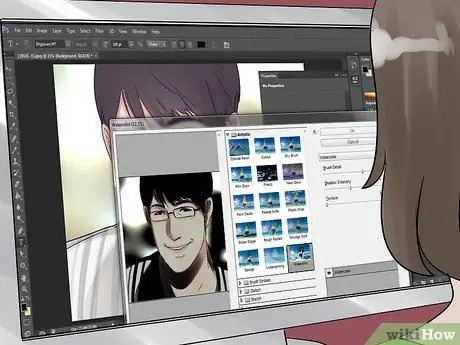
Step 5. Edit photos or add effects
If you want to attach two photos together, or overlap each other, use the photo processing software to get the desired effect. You can also turn some photos into black and white, or use a filter to polarize the colors.
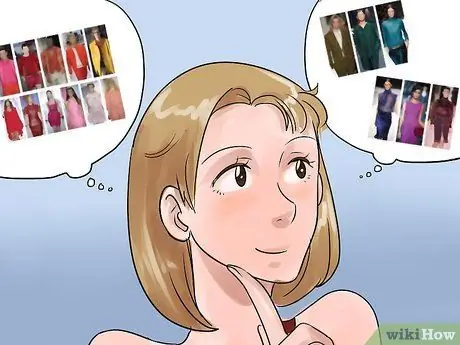
Step 6. Plan your collage
Start by thinking about how you want to arrange the photos. Which parts of the photos you want to include and which parts you want to cut. Leave some space if you have decided to write a title. Check the colors: Do you want to group all the photos in shades of blue? Do you have a lot of photos in shades of brown? Distribute the photos on the table to count the colors. You could only put photos in shades of blue that suit the room you are making the collage for. Try different types of combinations, colors and patterns.
Also add words, icons or other effects to decorate the collage

Step 7. Save the collage regularly
As you work on your project, keep saving it so you don't lose anything in the event of the unexpected. It will also allow you to go back and further edit the file. When you are finished and satisfied, save everything on the hard disk. You can save it as a.jpg,.tiff,.bmp,.pdf, etc. You can also save it to an external drive or to a drive in the cloud.

Step 8. Share your collage with others
You can post it on a blog or on a social network. Add a comment to explain what inspired you. Encourage others to make one and share it with you.
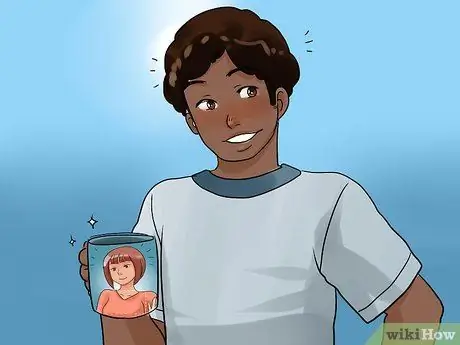
Step 9. Print your collage
You can do it yourself or take the collage to a professional photographer. You can also print it to make a poster or banner, or to put it on other items, such as mugs, mousepads or t-shirts.
Make an extra copy of your collage. A collage made for a child's first birthday is a nice gift for grandparents
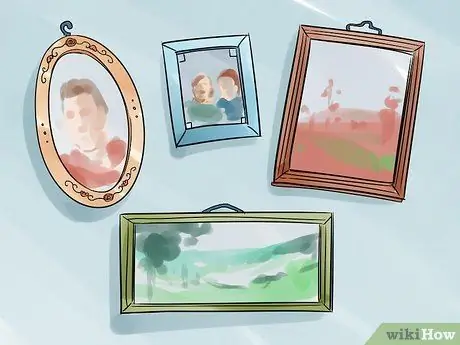
Step 10. Frame the collage
You can also have it done by a professional, or you can choose the frame yourself. Find a frame that matches the colors of your collage. Put hooks behind it to hang it.
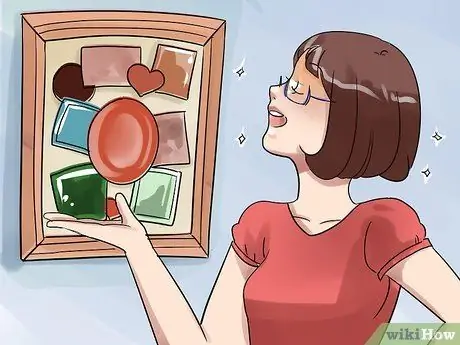
Step 11. Show off your collage
Hang it on a wall where it can be approached easily (preferably not on top of a large piece of furniture). Since there are a lot of photos, make sure they can be looked at closely. As an interesting alternative, you could place it on an easel, especially if you are showing it at a birthday party or anniversary. If it doesn't have a regular frame with hooks on the back, you can also hang it with glue, tape or something similar.
Method 4 of 4: Decoupage a Collage on an Object
Step 1. Decide on the theme and purpose of the collage
The photos of the last campsite can be used to show your adventures, or the photos of your baby's first year of life could be a decoration for the birthday party. You could also choose an inspirational theme, such as photos of strong women.
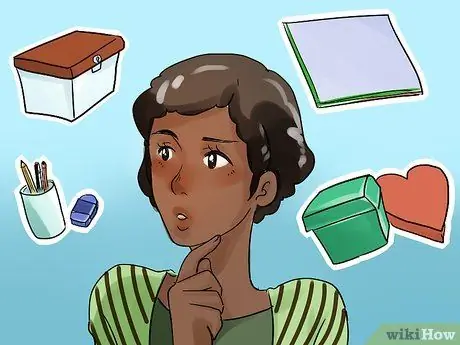
Step 2. Choose which object you want to decorate
For example jewelry boxes, boxes, pen holders or the like. Think about how many photos you want to use; a large collage will require a lot of photos.,

Step 3. Choose the photos
You can get them from newspapers, magazines, old books or postcards. Fabrics can also be used for collages. If you are making a photo collage, you must select the best ones that represent that event or that explain the chosen topic. Depending on how big your collage will be, you will have to choose 10-20 photos, or maybe you will need 50 or more photos.
- Think about how big you want the photos to be. They don't all have to be the same size or even the same shape. In fact, a variety of shapes and sizes will add depth to the collage and make it more interesting to look at. Think if you want a dominant photo, with the others that surround it.
- They don't have to all be photos of people. By adding photos of details (a bridge or a road, a plate of biscuits, playing cards), you make the collage more full-bodied and the message you want to convey more direct. Since you are creating a collage of many photos, you can afford to include images of backgrounds and details.
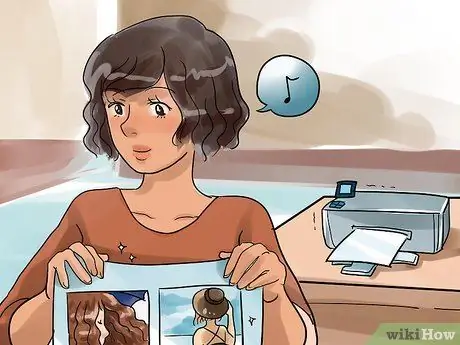
Step 4. Print high quality photos on good paper
Your collage will look better if you have high quality images with good resolution (at least 300 dpi; 600 dpi for larger photos)
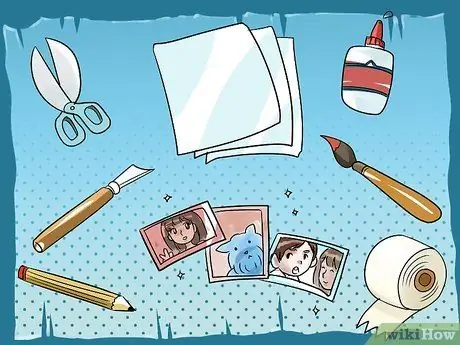
Step 5. Get the materials you will need
Keep these things handy so you can focus on the artistic aspect: scissors, precision knife, glue or other type of adhesive, brushes, panel, pencil, blank sheets and your photos.
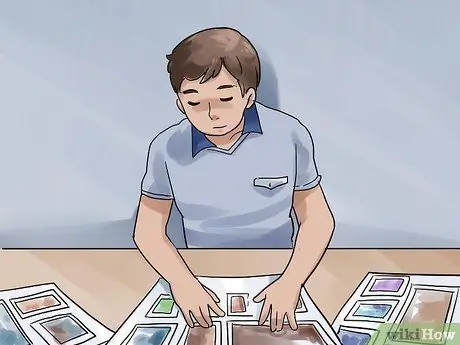
Step 6. Plan your collage
Start by thinking about how you want to arrange the photos. Which parts of the photos you want to include and which parts you want to cut. Leave some space if you have decided to write a title. Check the colors: Do you want to group all the photos in shades of blue? Do you have a lot of photos in shades of brown? Distribute the photos on the table to count the colors. You could only put photos in shades of blue that suit the room you are making the collage for. Try different types of combinations, colors and patterns.
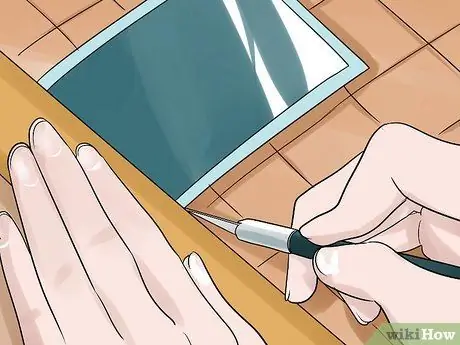
Step 7. Collect ready-to-assemble photos
Once you have more or less decided how you want to put them, you can start cropping them so that they fit better. In particular, those that will go on the edges should be cut with a cutter to obtain smooth and straight sides.
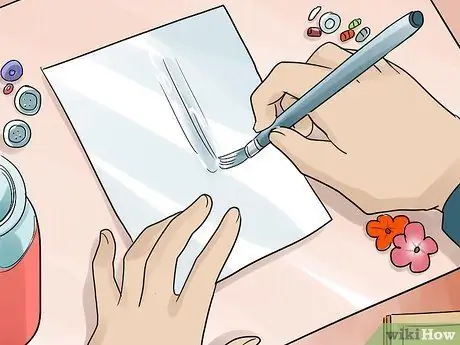
Step 8. Glue the photos to the holder
Use vinyl glue, double-sided tape, or something similar. Some glues do not last over time or discolour photos. Use a strong adhesive if you want it to last and if you need to give the collage as a gift. Use a brush to distribute the glue evenly. Press the photos against the support. Use a credit card to eliminate any air bubbles. Tap a little glue on the corners to make sure they stick together.
Use stickers, glitter or other materials to decorate your collage. You can also add writing with markers, pens, tempera or colored pencils
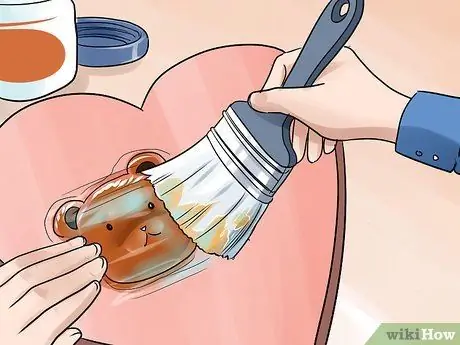
Step 9. Cover the photos with a protective layer
You could apply a cover on the photos to make them adhere well and protect them. You could apply a cover on the photos to make them stick. Use Mod Podge (an American super glue) or something similar to protect the photos and smooth out the parts that are a bit raised. You can also use melted wax to coat the photos. To melt the wax, use a container you no longer use and heat it on the stove. Be very careful. Then smear the wax over the photos. A thicker layer of wax will give your photos a more nuanced look. Rub the wax with a tea towel to give it a shinier look.


