MUGEN (also known as M. U. G. E. N.) is a graphics engine and development environment for 2D "fighting" games. The peculiarity of this software is that it allows you to generate games and manage the audio and graphic sector (sprites, characters, background scenarios, etc.) simply using pre-compiled proprietary code suitable for the computer in use. MUGEN comes with an excellent support section relating to importing new characters, managing scenarios, selecting custom characters and customizing menus. The number of characters created by other users and available directly online is infinite. This set of elements ranges from the simple recreation of already well-known characters belonging to famous video games, to the creation of totally new original elements. Importing a new character into MUGEN requires editing its configuration files.
Steps
Part 1 of 2: Adding New Characters

Step 1. Download the files related to the character you want to add to MUGEN
There are hundreds of ready-made characters, which you can import to the MUGEN platform. The configuration files of the various characters are normally made available in ZIP or RAR format. You can download these archives from many websites, among which the ones listed below are the most used:
- MugenArchive.com.
- MugenCharacters.org.
- MugenFreeForAll.com.
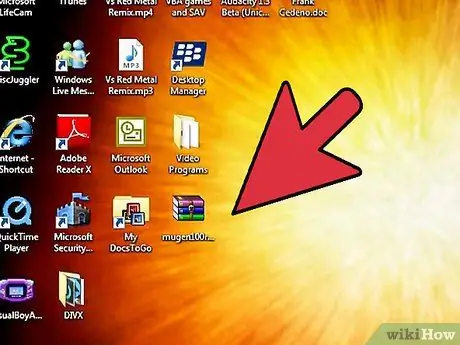
Step 2. Access the newly downloaded compressed archive
If it is a ZIP format file, just select it with a simple double click of the mouse to be able to consult its contents. If it is a file in RAR format, you will need to install a special program able to manage this type of compressed archives, such as WinRAR or 7-Zip.
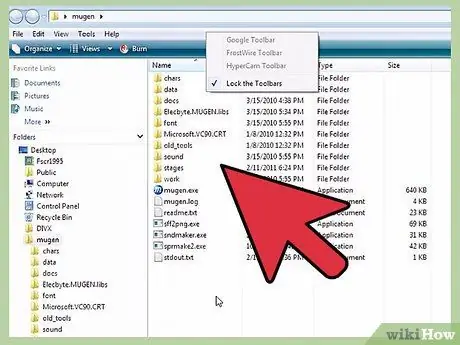
Step 3. Extract the files
Unzip the ZIP or RAR file you downloaded, so you can access the folder they contain. You can use the extract button that appears when you open the archive, or you can select the compressed file with the right mouse button and choose the "Extract files" option from the context menu that appeared.
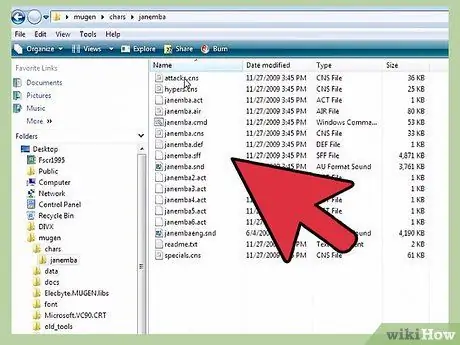
Step 4. Review the files you downloaded
The most important aspect to consider when examining the data related to the new character you wish to import into MUGEN is to locate the relevant DEF file. This file must obligatorily have the same name as the folder in which it is contained. For example, if the folder is named "LINK_3D", the DEF file describing its playable character must be named "LINK_3D.def".
If there are multiple DEF files inside the folder you extracted, make sure the main one has the same name as the folder it is saved in. For example, within the LINK_3D folder there may be multiple DEF files related to different versions of the item they refer to. Since the "LINK_3D.def" file has the same name as the folder it is stored in, everything should work fine
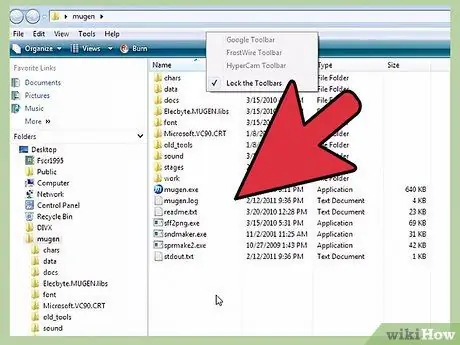
Step 5. Navigate to the MUGEN installation folder
MUGEN can be installed anywhere on your computer's hard drive, so go to the directory where you copied the MUGEN program files after downloading them. If you don't remember what it is, search your computer using the keyword "mugen".
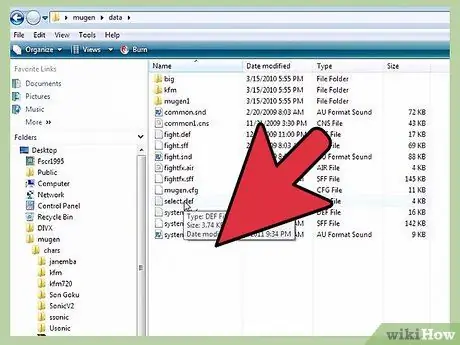
Step 6. Copy the folder of the new character you want to use inside the folder
char.
The char folder is stored inside the mugen directory. Drag the files of the new character you just extracted from its compressed archive into the indicated folder.
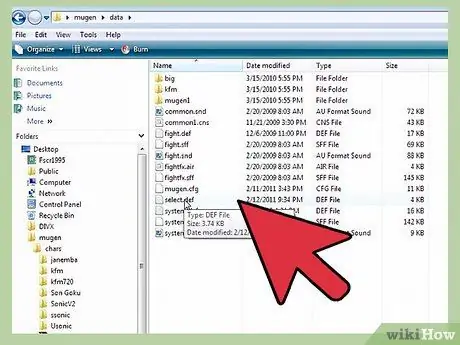
Step 7. Access the folder
date present in the directory mugen.
Inside are the files that manage the MUGEN emulator.
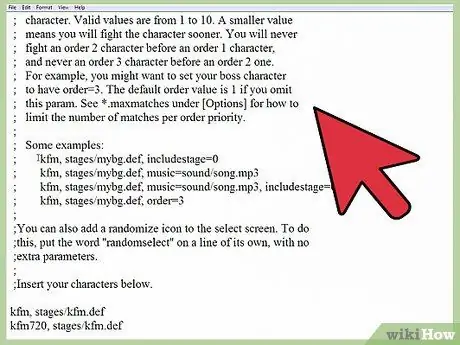
Step 8. Use Windows Notepad to open the "select.def" file
Select the file in question with the right mouse button, then choose "Open with" from the context menu that appeared. At this point, choose the "Notepad" option from the list of available programs.
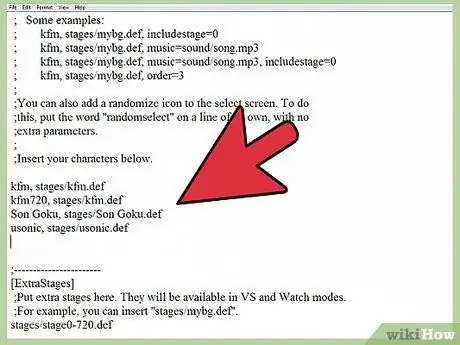
Step 9. Locate the section
[Characters] of the file.
This is the list of all the characters that can be used to create your own custom game.
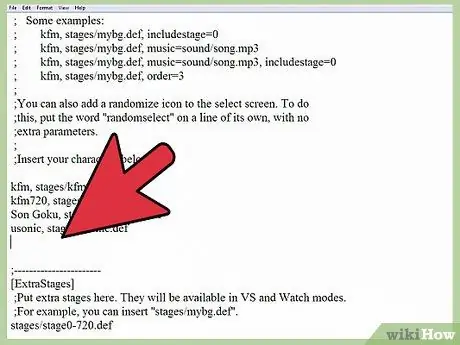
Step 10. Add the folder name referencing the new character
The name you will indicate here must be identical to that of the folder you entered in the chars directory; also remember that it must also be identical to the name of the character's DEF file. For example, if you have entered the folder named LINK_3D, you will have to enter the name LINK_3D in the [Characters] section of the file in question.
- If the character you have chosen to add has multiple DEF files, type the name of the folder where they are stored with the addition of the DEF suffix. For example, if the LINK_3D character has multiple DEF files, within the [Characters] section of the MUGEN configuration file you will need to type LINK_3D / LINK_3D.def instead of just LINK_3D. In this way, the program will be able to load the main DEF file, through which it will be able to manage all the other versions.
- Inside the "select.def" file, there should be many comments. Such parts of the file are indicated with the special character; placed at the beginning of the relevant line of text. So be sure to enter your data in a line that does not initially have the symbol; otherwise your changes will be in vain.
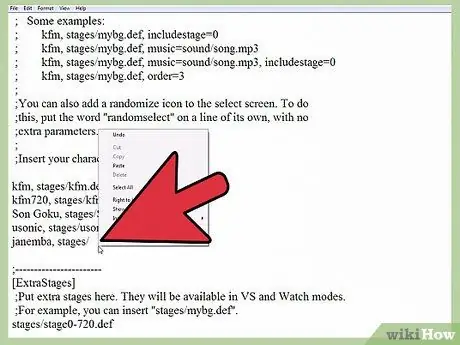
Step 11. Set the order of characters to be used in "Arcade" mode (optional)
You can set a sequence order for each character, so that they appear at a certain point in the game when playing in "Arcade" mode. For example, by default, playing in "Arcade" mode you will have to face six opponents from the group called "Order 1", an opponent from the group called "Order 2" and one opponent from the group "Order 3". Each character can be assigned a sequence number from 1 to 10. In this way, the game will randomly choose all the characters you will face during the game by selecting them from the indicated group.
Add the string, order = [number] to the end of the new character text line in the "select.def" file. For example, to insert the new "LINK_3D" element within the "Order 3" grouping, you need to add the following LINK_3D string, order = 3
Part 2 of 2: Setting Up Game Scenarios
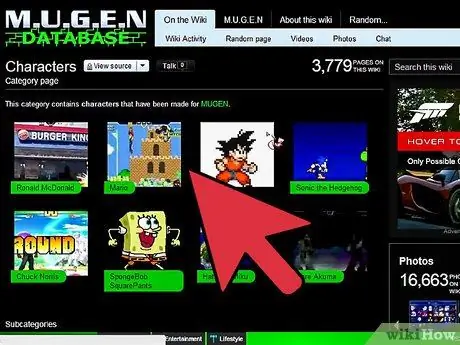
Step 1. Download the files related to the new scenario to be added
Normally these files can be downloaded from the same website from which the files for the new characters are downloaded. Like the latter, the files relating to the new game scenarios are made available in RAR or ZIP format.
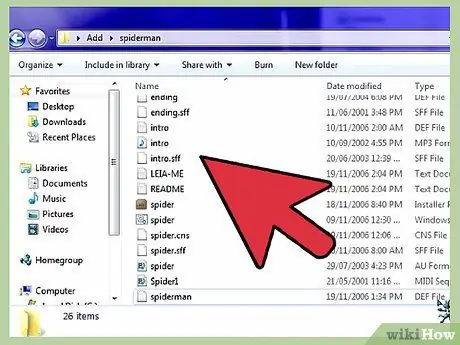
Step 2. Access the archive you just downloaded to view the related configuration files
Select the ZIP file with a double click of the mouse, or open the RAR file to be able to consult its contents. The scenarios are described through the use of a DEF file and an SFF file. If there is also a soundtrack, you will also find the related MP3 file.
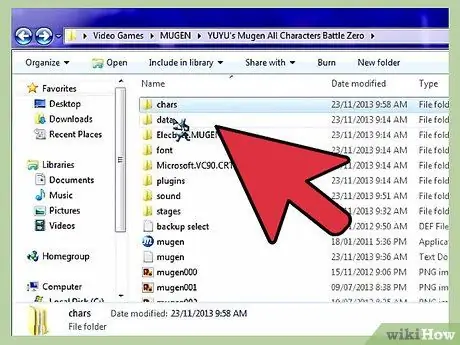
Step 3. Copy the DEF and SFF files into the folder
stages.
The latter is located inside the mugen folder.
If the MP3 file is present, you will need to put it in the sound folder
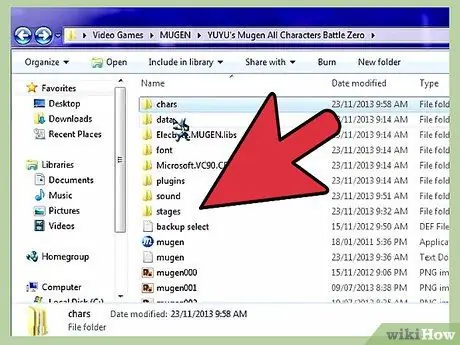
Step 4. Open the "select.def" file again if you closed it previously
It is possible to insert the new scenario in the list that appears in the relevant game selection screen, just like in the case of the new characters you add to the "Arcade" mode.
The "select.def" configuration file is saved in the data folder
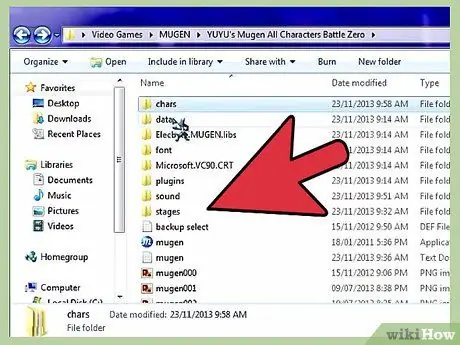
Step 5. Locate the section
[ExtraStages] of the file.
This is where all the new game scenarios you are going to download are added.
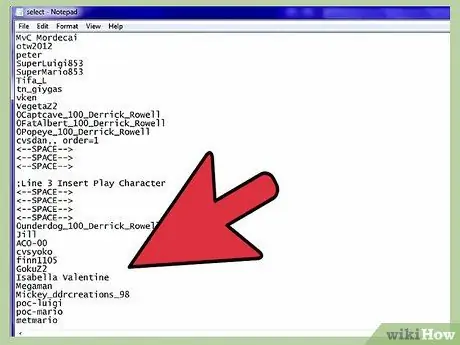
Step 6. Enter the file path for the new wallpaper
Use a new line of text starting from the last one already existing, then type stages / [filename_new_scenary].def.
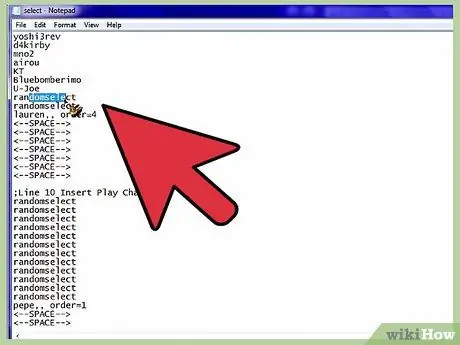
Step 7. Assign the new scenario to one of the characters from the "Arcade" mode
If you need that a certain character in the game can always and only be faced in a certain scenario, during the "Arcade" mode you will have to change the entry for that character in the [Characters] section of the "select.def" file.
- Add a comma to the end of the character's line of text, then type the full path to the scenario configuration file to use. For example, to make sure that the LINK_3D character can only ever be faced within the game scenario "Castle.def", you have to type LINK_3D, stages / Castle.def.
- If the character under consideration also has a sequence order, you will need to indicate this at the end of the relevant line of text. For example LINK_3D, stages / Castle.def, order = 3.
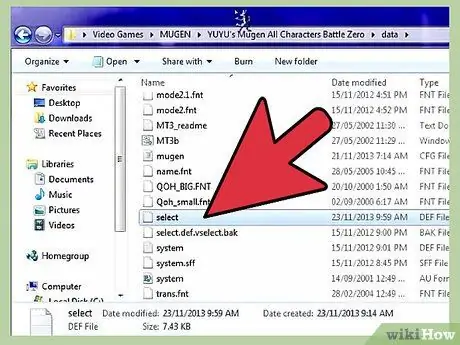
Step 8. Save the changes made to the "select.def" file
Once you have added all the desired characters and scenarios, you can save the game configuration file. At this point you will be able to select one of the newly added characters as soon as you start the MUGEN emulator.


