Changing the orientation of the text can be useful in several situations, for example if you want to create a side menu bar in a newsletter or cards with contact information to be torn from an advertising flyer, or to make the headings of the columns of a table. Here's how to change the orientation of text in popular versions of Microsoft Word.
Steps
Method 1 of 3: Writing Vertically
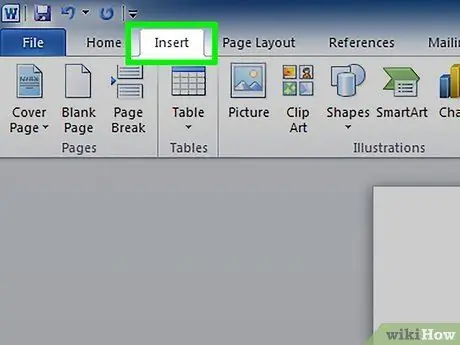
Step 1. Use this method to write words whose letters are arranged vertically, while maintaining a horizontal orientation
In this way the text will appear as a thin vertical string in which the letters are arranged one under the other. If you need to rotate the letters so that your head needs to be tilted to the side to read, go directly to the other instructions.
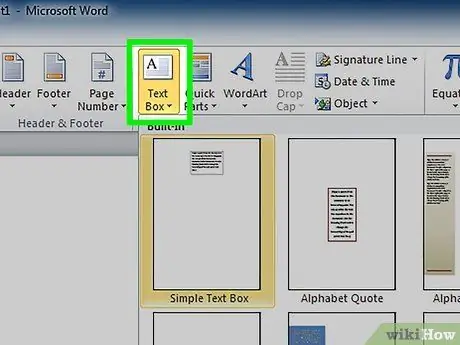
Step 2. Insert a text box
This Word object makes it much easier to change the position and orientation of text. To add a text box to your Word document, follow these instructions:
- Word 2007 or a later version: From the tabbed menu at the top of the window, select the Insert item, then choose the Text Box option and finally select Draw Text Box. Click anywhere in your document, then drag the mouse cursor until the box is the size you want.
- Word for Mac 2011 or later: Go to the Home tab of the menu, then choose the Text Box option on the right side. Click anywhere in your document, then drag the mouse cursor until the box is the size you want.
- Word 2003 / Word for Mac 2008 or an earlier version: Access the Insert menu, then select the Text Box item. Click anywhere in your document, then drag the mouse cursor until the box is the size you want.
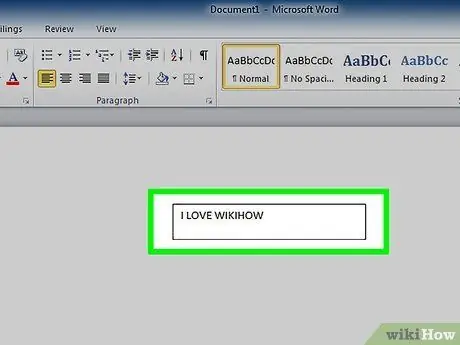
Step 3. Type your text
Click inside the text box and proceed to type the words you want. If the text is already in the document, copy and paste it into the text box.
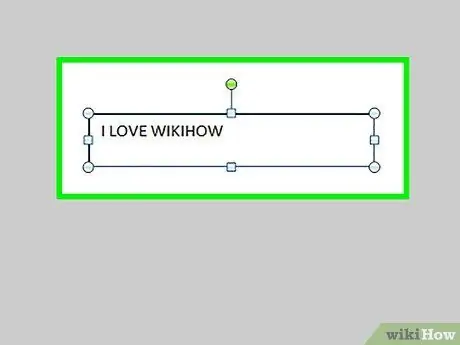
Step 4. Select the text box
The rectangular outline of the box surrounding the text will be displayed. Each corner of the text box has a small circle. These points can be used to change the size of the text box.
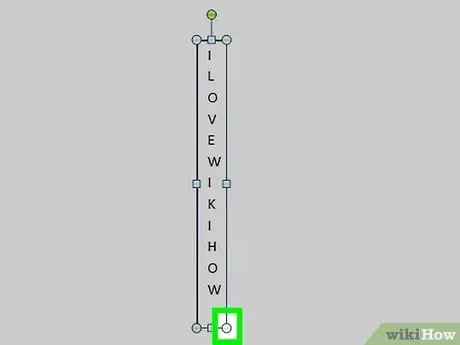
Step 5. Drag a corner of the text box
Select any of the corners of the text box, then drag the mouse cursor to change its shape so that it appears narrow and elongated. When the text box becomes too narrow to display the text horizontally, the letters will automatically be arranged vertically.
If the text box is rotated or moved without changing shape, it means you clicked on the wrong spot. Try again and make sure you select the small circle positioned exactly on the corner of the text box
Method 2 of 3: Rotate a Text Box (Word 2007 and later)
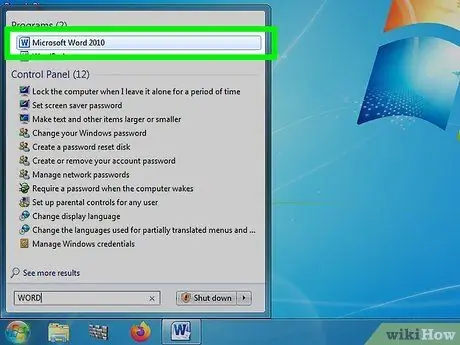
Step 1. Check the version of Word you are using
This method can be applied in Word 2007 for Windows or later versions and in Word 2011 for Mac or later versions. If you don't know the version of Word you are using, run this simple test: if there is a tabbed menu at the top of the program window, rely on the instructions in this section, otherwise go directly to the next method.
If all you can see is just the name of the tabs "Home", "Layout", "Edit", etc., click on the tab name to expand its contents and make the entire menu visible
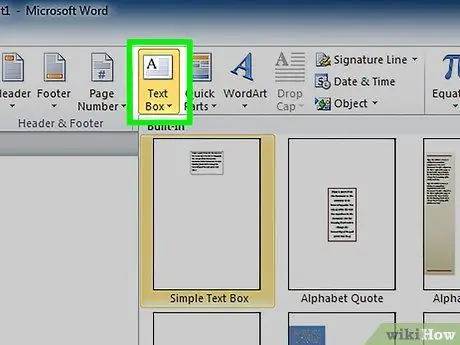
Step 2. Insert a text box
Press the Text Box button on the menu. This option can be found under the "Insert" tab or the "Home" tab, depending on the version of Word you are using.
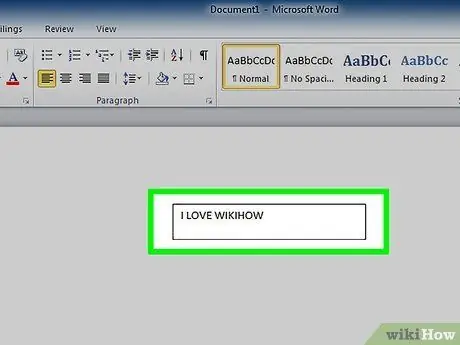
Step 3. Type your text inside the box
To do this, select the text box, then proceed to type the desired text. This will show the outer edges of the box.
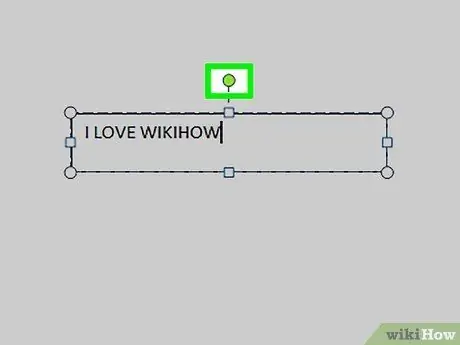
Step 4. Click on the small circle at the top of the text box
Look for a line starting from the top edge of the text box and ending with a small circle. Select the latter by holding down the left mouse button.
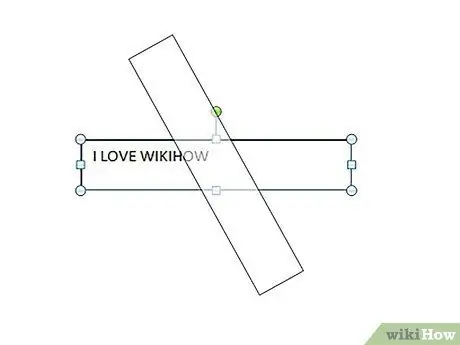
Step 5. Drag the mouse cursor to rotate the text box
Do this by holding down the left mouse button while the cursor is positioned over the small circle of the text box.
After rotation, when you click inside the text box to change its contents, it may appear in normal orientation. This is a Word device designed to simplify the text editing process. Once you have finished editing the text, clicking outside the box should restore the position chosen in the previous step
Step 6. If you need to perform a more precise rotation, hold down the "Shift" key
This expedient limits the number of positions that can be selected during rotation. This will make it easier for you to rotate the text at a precise angle, such as 45 ° or 30 °, or create perfectly parallel text boxes.
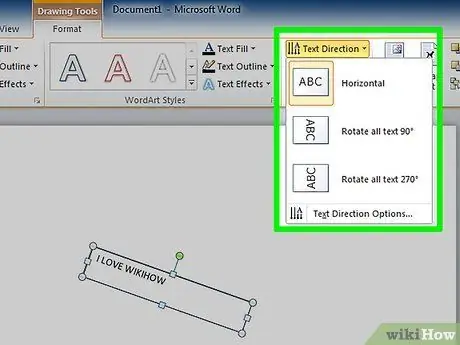
Step 7. If you wish, you can use the menu options
If you are having difficulty getting the desired look and feel, try using the commands in the menu:
- Double-click the text box. This will bring up the Format tab. Alternatively, you can select it directly from the menu at the top of the program window.
- Press the Text Orientation button in the menu. In some versions of Word, this is a small, unlabeled button with an icon that displays vertically oriented text.
- Select one of the options in the drop-down menu that appeared.
Method 3 of 3: Rotate the Text (Word 2003 and earlier)
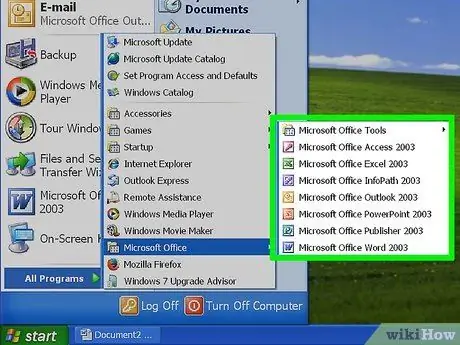
Step 1. Check the version of Word you are using
This method can be applied in Word 2003 for Windows, Word 2008 for Mac or earlier versions.
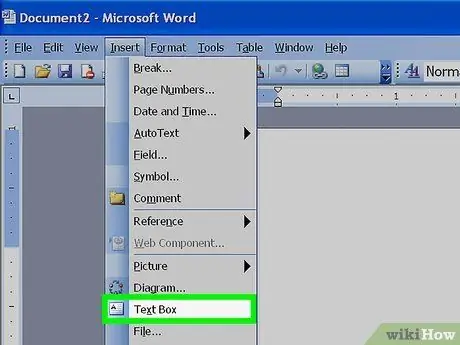
Step 2. Insert a text box
To do this, access the "Insert" menu and choose the "Text Box" item from the drop-down menu that appeared. Click a point inside the text box and start composing your message.
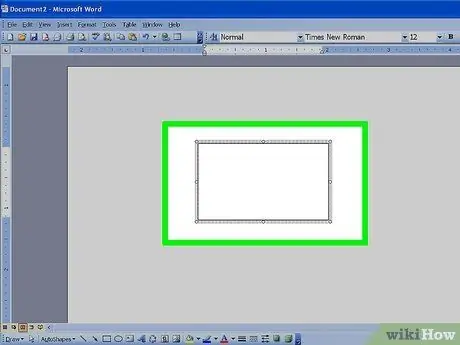
Step 3. If necessary, change the position and size of the text box
To move the text box, select the edges and drag the mouse cursor. To resize it, select one of the small blue circles, then drag the mouse cursor.
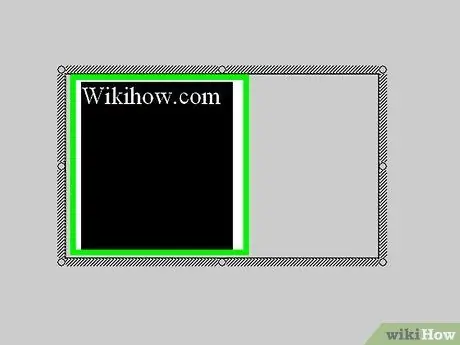
Step 4. Click a point inside the text box
This step allows you to format the text box separately from the rest of the document.
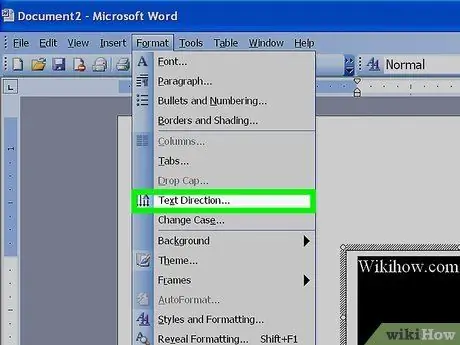
Step 5. Access the "Format" menu, then select the "Text Orientation" item from the drop-down menu that appeared
A pop-up window will appear containing the option to change the orientation of the text.
The text rotation feature of these older versions of Word may not work. If this is the case for you, continue reading this section
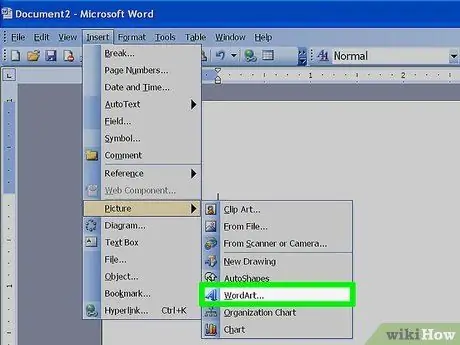
Step 6. Use a WordArt
Access the Insert menu, select the Image item, then choose the WordArt option. At this point, type in the text and choose a style.
Once you have inserted your WordArt, you will no longer be able to edit the text as it will have been converted to an image
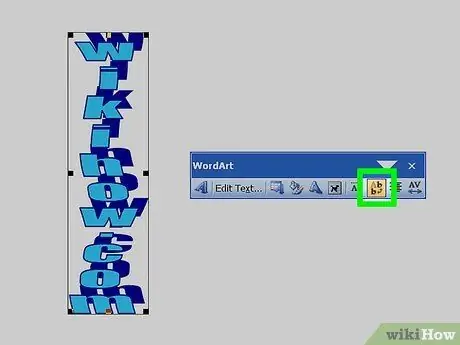
Step 7. Proceed to rotate the WordArt object
Click the image you just created to view its outlines on the screen. Look for a line starting from the top edge of the image and ending with a small circle. Select the latter by holding down the left mouse button, then drag the cursor to rotate the object.


