This article explains how to stop sharing your files and / or internet connection on a computer running Windows.
Steps
Method 1 of 2: Disable Network File Sharing
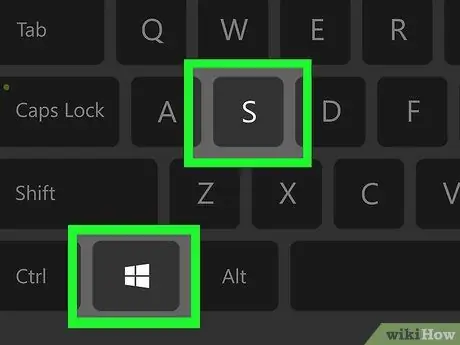
Step 1. Press ⊞ Win + S
This will open the Windows search bar.
Use this method to prevent other people on the network from accessing the files you have on your computer
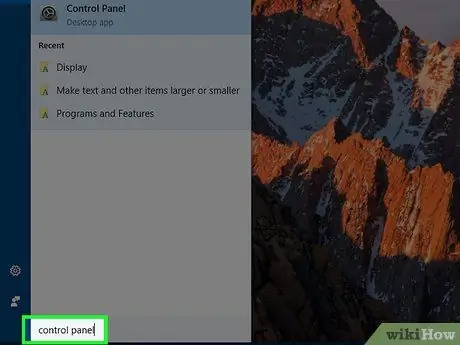
Step 2. Type control panel
A list of results will appear.
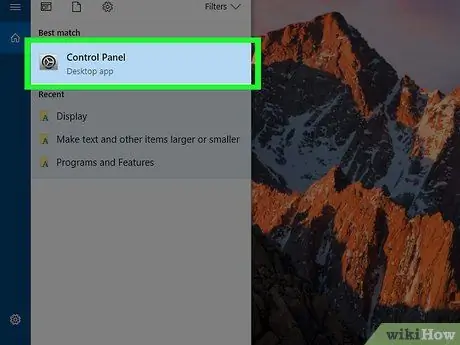
Step 3. Click on Control Panel
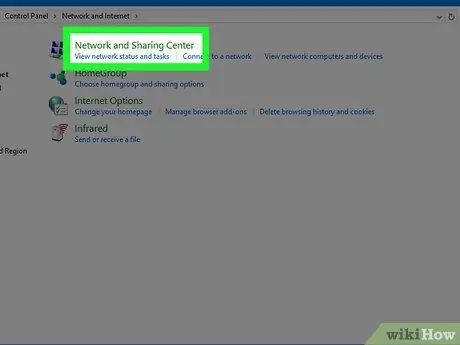
Step 4. Click on Network and Sharing Center
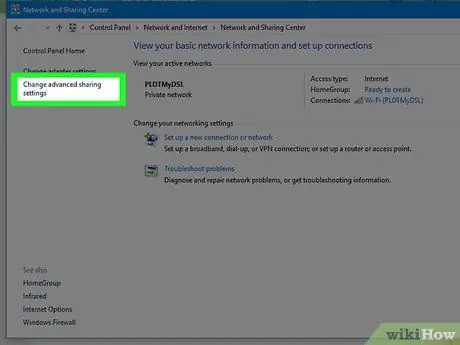
Step 5. Click Change Advanced Sharing Settings
It is the third link from the top in the left column.
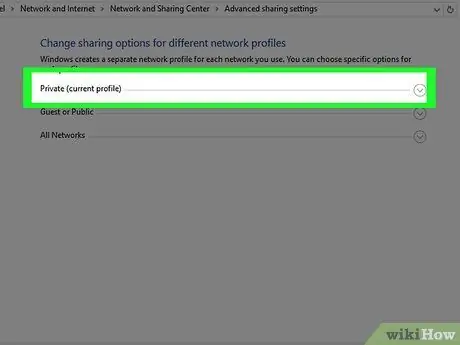
Step 6. Click on the network profile that has "(current profile)" at the end of its name
This will ensure that you change the sharing settings associated with your current connection. You will see "(current profile)" next to one of the following options:
- Private: This profile is used for private connections, for example when you are in your home network.
- Guest or audience: This profile is used when you connect to Wi-Fi in a public place, whether or not you need to enter a password to access the network.
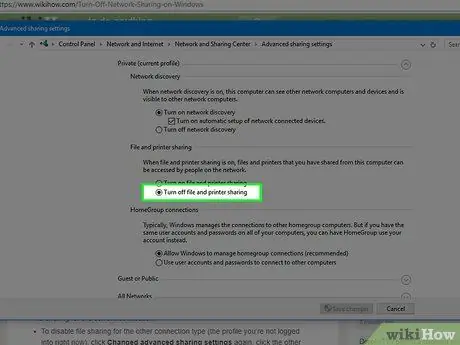
Step 7. Select Turn off file and printer sharing
A dot will appear in the corresponding circle. This means that the item will have been selected.
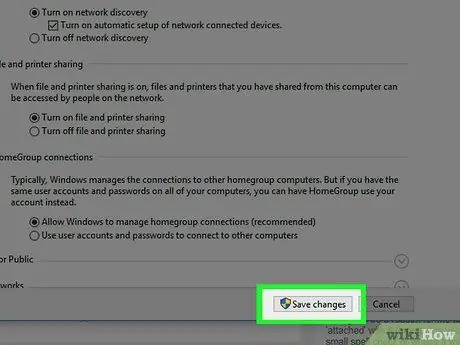
Step 8. Click Save Changes
This button is located at the bottom of the screen. At this point you will have turned off file sharing for the current connection.
To disable file sharing for the other connection type (ie the profile you are not currently connected to), click again on "Change advanced sharing settings", then click on the other network profile and select "Disable sharing files and printers ". Remember to click on "Save changes" at the end of the process
Method 2 of 2: Disable Internet Link Sharing
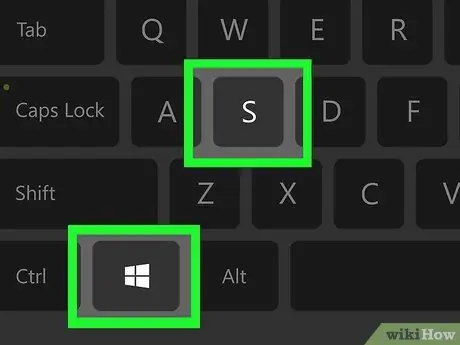
Step 1. Press ⊞ Win + S
This will open the Windows search bar.
This method will prevent other users on your Windows network from sharing your computer's internet connection
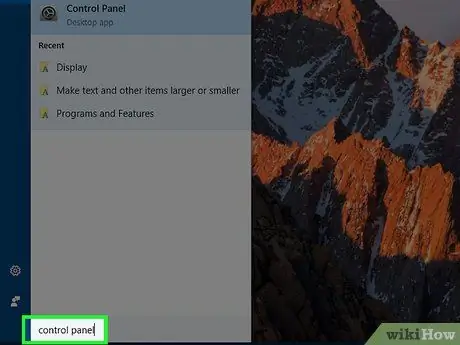
Step 2. Write Control Panel
A list of results will appear.
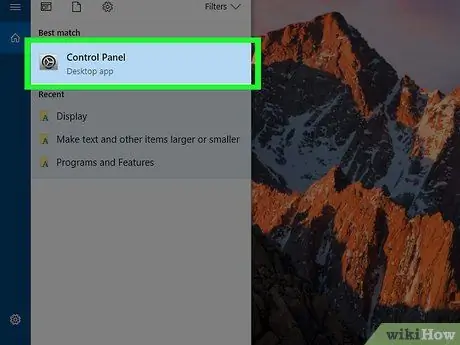
Step 3. Click on Control Panel
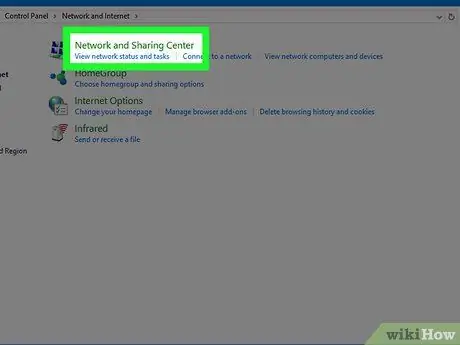
Step 4. Click on Network and Sharing Center
In the section titled "View active networks" (located at the top of the main panel) you will see your current connection. Remember the name of the connection, as you will need it shortly.
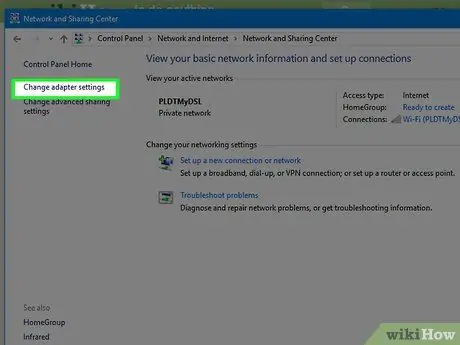
Step 5. Click Change adapter settings
It is the second link from the top in the left column. This will open the list of saved connections.
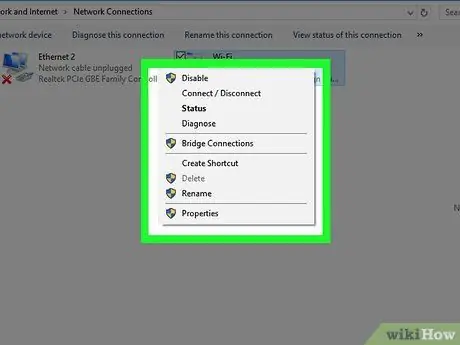
Step 6. Click on the current connection with the right mouse button
Look for the connection name you stored earlier. A pop-up menu will appear.
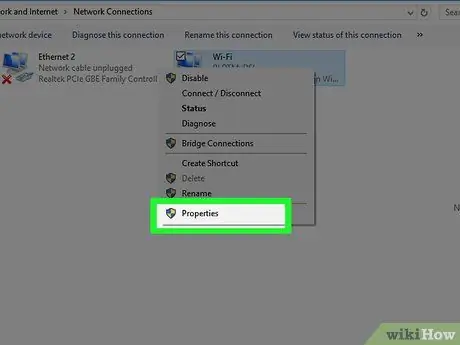
Step 7. Click on Properties
A dialog box with the connection properties will appear.
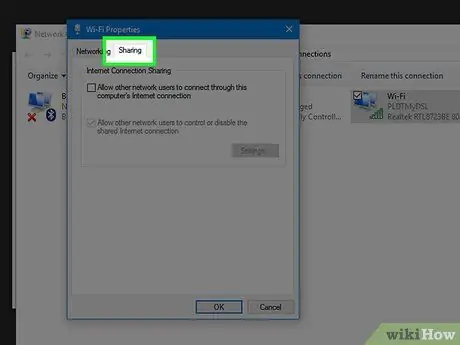
Step 8. Click on the Sharing tab
It is located at the top of the dialog box.
If the Sharing tab is not present, this means that you only have one network adapter enabled. You will need to temporarily activate at least one other
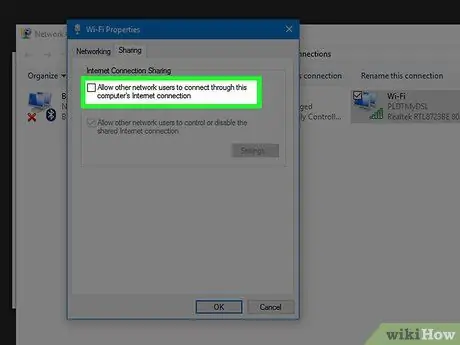
Step 9. Remove the check mark from the "Allow other users to connect via the internet connection to this computer" box
Clicking the box once should remove the check mark.
If the check mark is not there, you will not need to make any changes
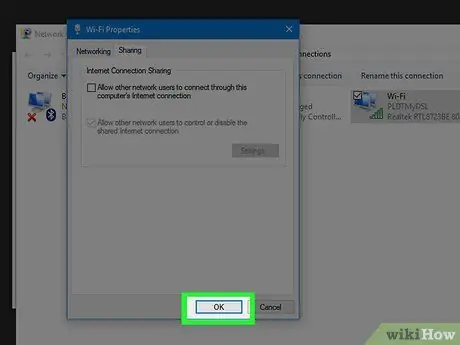
Step 10. Click Ok
This button is located at the bottom of the dialog box. Once connection sharing is deactivated, no other network user will be able to connect to the internet through the computer in question.


