This article explains how to get a USB webcam or a Windows computer's built-in webcam to work properly when only a black screen is displayed. The causes of this type of problem can be many; for example, the program may lack permissions to use the device, there may be a software problem, perhaps it may simply be an incorrect configuration of the settings of the web service or app that should use the webcam. Unless the webcam is physically damaged or faulty, the problem can be easily fixed by following a few simple steps.
Steps
Part 1 of 2: Troubleshooting
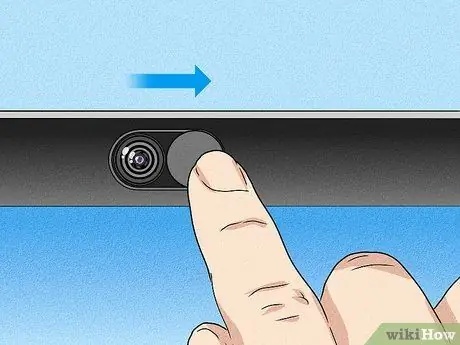
Step 1. Make sure there is nothing obstructing the webcam lens
It may seem obvious, but it's always good to start with the simplest causes, so make sure your webcam's lens is clear of any obstructions - adhesives, dust, other peripherals or objects. If your PC webcam has a protective cover that hides it from view when not in use, make sure it is fully open and the device lens is perfectly visible. If the webcam lens is blocked with debris or dirt, clean it thoroughly with a soft cloth.
If you are using a USB webcam, carefully check that it is properly connected to the computer

Step 2. Close all open applications, including browser tabs
If there is a light on the webcam or near the lens (usually red or green), it means that the camera is in use by a program or web application. If you are not sure which program is actually using the webcam, start by closing all currently active apps on your PC. At this point, restart the application that should use the webcam (for example Chrome or WhatsApp) and check if the images are displayed correctly.
- In addition to closing the applications displayed on the taskbar, also check those whose icon appears in the notification area located next to the system clock in the lower right corner of the desktop. In some cases, the icons of the apps running in the background are hidden, so you will first need to click on a small icon shaped like an arrow pointing upwards to make them visible. At this point, place the mouse cursor on one of the icons present to find out which program it refers to. If it is an app that could use the webcam, click on the corresponding icon with the right mouse button and choose the option Go out or Close from the context menu that will appear.
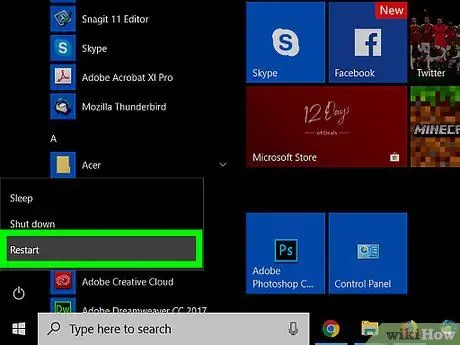
- You can try restarting your PC to make sure that apps and services running in the background are not interfering with the normal functioning of the webcam.
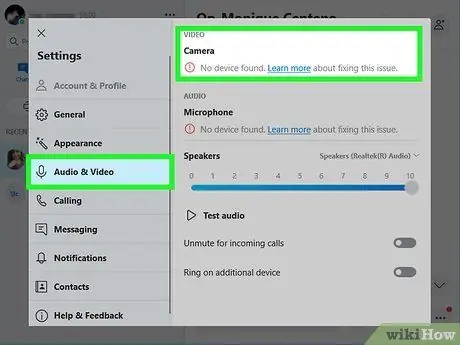
Step 3. Check the webcam configuration settings for the application or web service you are using
Depending on the program you are using (such as Zoom or Facebook), you may need to select your computer's webcam or configure certain settings before you can stream or capture images. Normally, you will have to click on a menu or a special icon that will give you access to the list of all available webcams and devices. If the PC webcam is not already selected, select it and assign it the necessary permissions, if required.
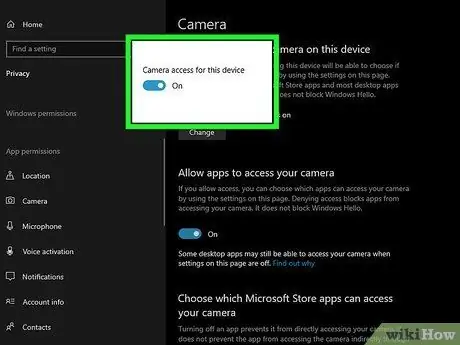
Step 4. Change the permissions
The window related to the images acquired by the webcam may appear completely black, due to the fact that the corresponding application does not have the permissions to be able to use the webcam. To change your computer settings follow these instructions:
- Access the "Start" menu and click on the icon Settings gear-shaped;
- Click on the icon Privacy;
- Scroll down the list displayed in the left pane of the window to be able to select the item Camera present in the "App permissions" section;
- Now, look at the right pane of the window and if at the top of the page it says "Camera access for this device is disabled", click the button Edit, then move the cursor to the "Enabled" position (if the access to the device is already active, you can skip this step);
- The "Allow apps to access the camera" slider should be set to the "Enabled" position; if not, click on it with the mouse to activate it;
-
Scroll down the page to the section "Allow desktop apps to access the camera" and if the corresponding slider is not active, click on it with the mouse to activate it.
The list of applications in the "Allow desktop apps to access the camera" section represents the set of apps that are authorized to use the webcam. For example, if you need to use the webcam within Facebook chat via Google Chrome, the Google Chrome app will need to be listed in the "Allow desktop apps to access camera" section
Step 5. Try using the official webcam software
In some cases, the webcam configuration settings may be changed or altered by an operating system update. Start the webcam management program (which varies according to the make and model of the device), locate the section Preferences or Settings, then change the video settings to see if the image captured by the webcam changes accordingly.
- If it's your PC's built-in webcam, try using the app Camera Windows 10.
- If you are using an external USB webcam made by Logitech or another company, you may need to download and install the official management software from the manufacturer's website.
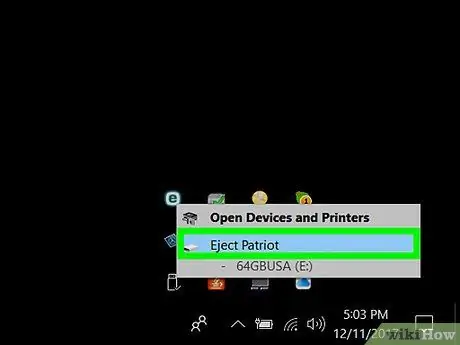
Step 6. Disconnect all other USB devices from the computer (leaving only the webcam connected)
It is possible that another USB device may be adversely affecting the webcam. Leave only the webcam connected to the computer by disconnecting all other USB devices. If the webcam still doesn't work properly, try using a different USB port.
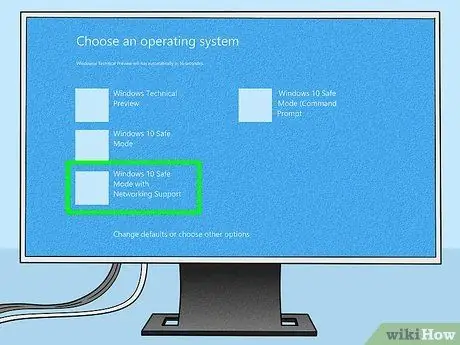
Step 7. Restart your computer in "Safe Mode"
If even in this scenario the webcam simply shows a black screen, try updating the drivers. However, if the webcam works correctly in "Safe Mode", most likely the cause of the problem is one of the programs that runs automatically when Windows starts. Try disabling autostart programs, such as antivirus and programs like Slack or Steam.
If the problem persists and you are unable to use the webcam, please refer to this method to try to fix it
Part 2 of 2: Update the Drivers
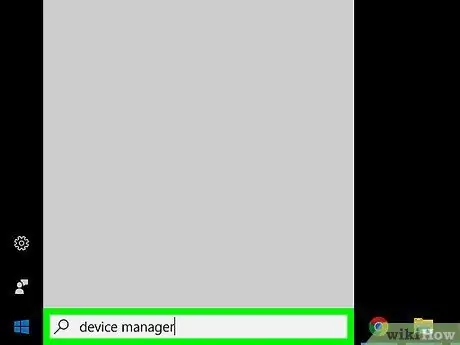
Step 1. Type the keyword device manager into the Windows search bar
If there is no search bar next to the Windows "Start" button, click on the icon with a magnifying glass or a circle. Alternatively, you can use the "Start" menu directly.
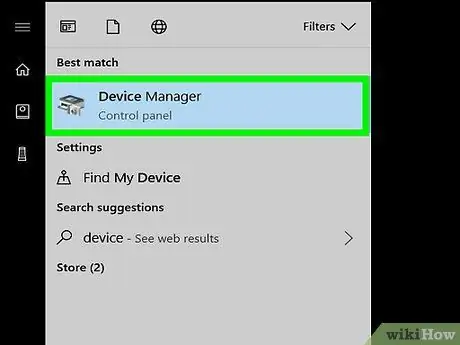
Step 2. Click the Device Manager icon
It is visible at the top of the results list.
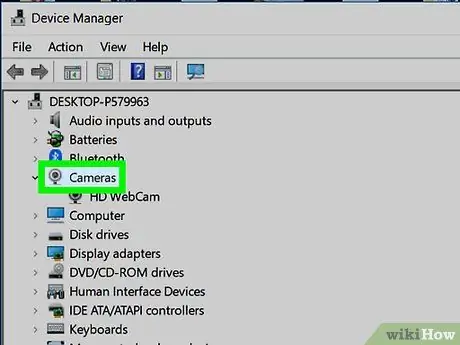
Step 3. Scroll down the list of device categories and double-click the Cameras item
Inside, the webcam should also be listed.
- If the webcam is not present, try looking at the section Image acquisition devices or Sound, video and game controllers.
- If the webcam is not listed in any of the sections indicated, make sure it is connected to the computer (in the case of an external USB camera), then click on the menu Action located at the top of the window and choose the option Detect hardware changes.
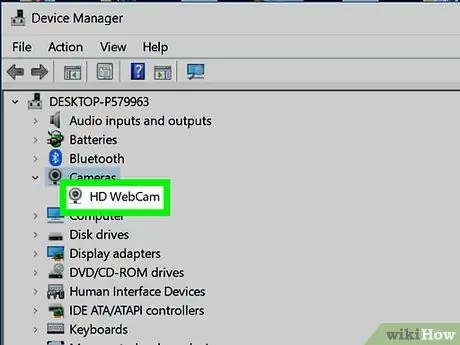
Step 4. Click on the webcam name
This way the device will be selected.
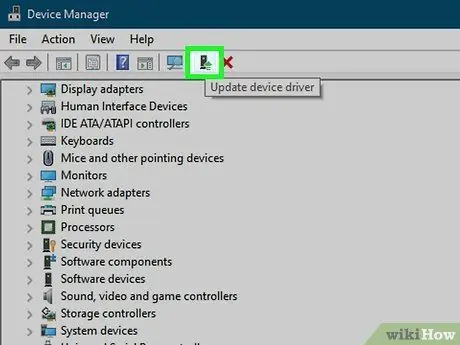
Step 5. Click on the "Update Device Driver" button
It features a black rectangular icon with a small green arrow pointing up at the top of the "Device Manager" window.
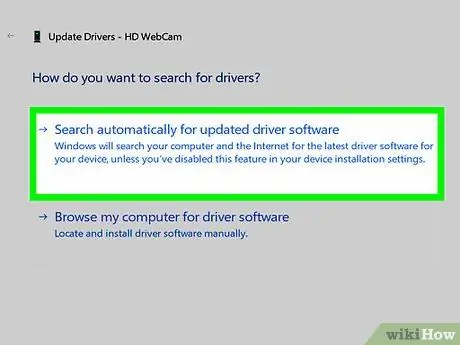
Step 6. Click the Automatically search for an updated driver option
It is visible in the center of the appeared pop-up. In this way, Windows will automatically locate an updated driver for the indicated device.
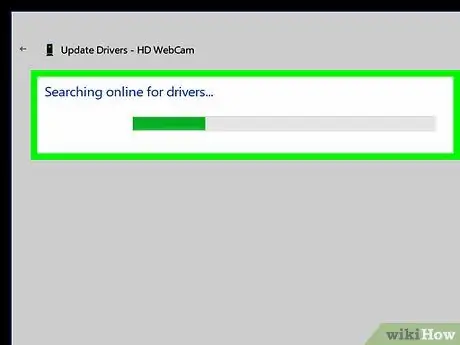
Step 7. Wait for Windows to complete the search for a possible updated webcam driver
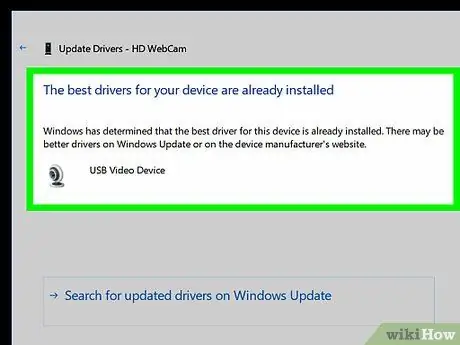
Step 8. Install new drivers if available
If Windows detects the presence of an updated webcam driver, follow the instructions that appear on the screen to install it.
If no drivers are found and the webcam is not working properly, read on
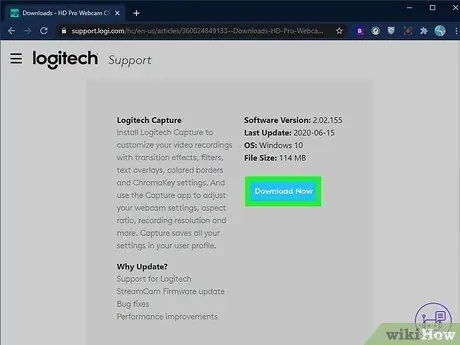
Step 9. Install the drivers manually
If the problem persists, you may need to download a specific driver directly from the device manufacturer's website. If you are using a laptop with a built-in webcam, the specific drivers should be available directly on the computer manufacturer's website (for example on the Acer or Lenovo website). If it's a USB webcam, you'll need to visit the device manufacturer's website instead.
For example, if you are using a Logitech C920 webcam, visit the customer support section of the Logitech website, select the C920 webcam model and click on the link Download to locate the camera software. Click on the button Download now or Download Now to download the software and drivers to your computer. At this point, run the setup file you just downloaded to install the webcam management software and drivers on your computer.
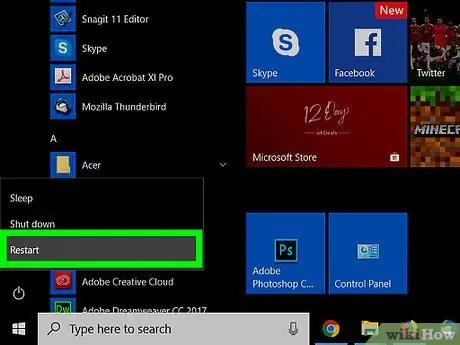
Step 10. Restart your computer
After the reboot is complete, the webcam should detect the new drivers and function correctly.
Advice
- Before purchasing a third-party webcam, check the hardware and software compatibility information.
- Some computers sold with the Windows 7 or Windows 8 operating system and then upgraded to the Windows 10 version are not powerful enough to support all the features of the latest Microsoft operating system. In some cases, the PC's built-in webcam may not work properly.


