This article explains how to change the webcam settings of a computer running Windows to zoom in on Skype. The method shown works only if the webcam supports the zoom feature.
Steps

Step 1. Open Skype
It is found in the menu
or on the desktop.
If you are using a macOS, you cannot change the zoom settings for videos streamed on Skype
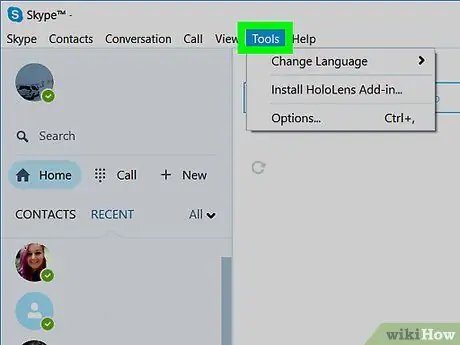
Step 2. Click on the Tools menu
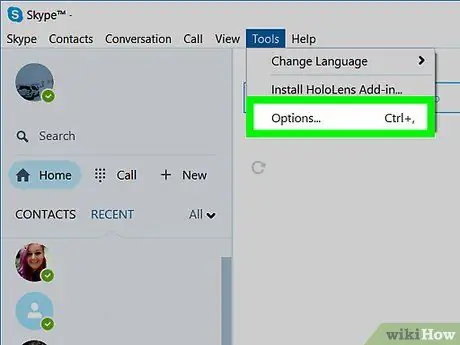
Step 3. Click on Options…
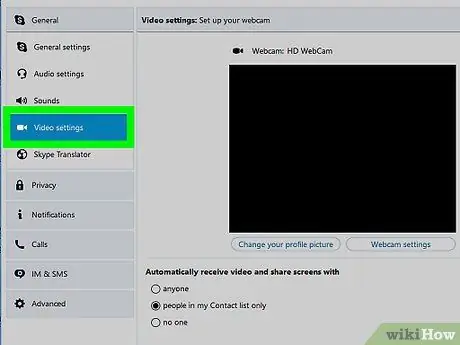
Step 4. Click on Video Settings
It is located in the column on the left. In the main panel (located on the right), you will see the webcam preview.
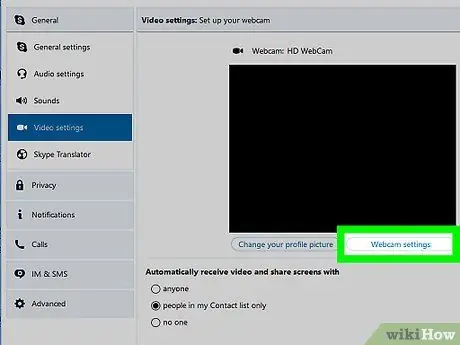
Step 5. Click Webcam Configuration
This button is located below the webcam preview.
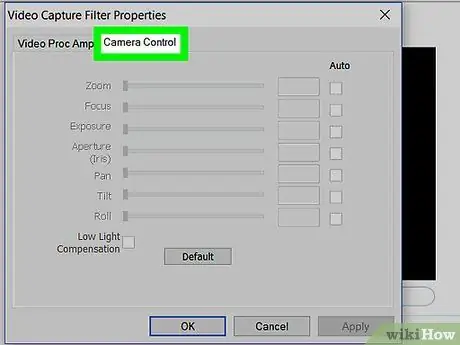
Step 6. Click on the Camera Adjustment tab
It is located at the top of the window titled "Properties".
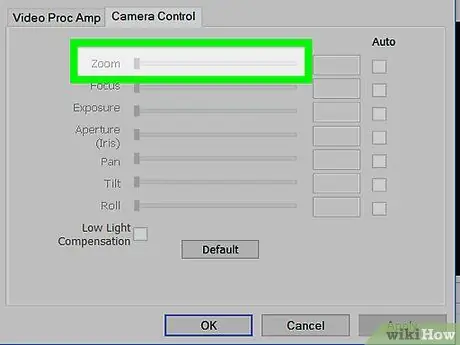
Step 7. Drag the zoom slider to the right
As you move the slider, watch the webcam preview. The more you move the slider to the right, the more you will zoom in. When you get the desired result, stop dragging the slider.
- If the box titled "Auto" (located next to "Zoom") has a check mark, remove it to activate the slider.
- If you can't drag the slider (or don't see it), your webcam doesn't support this feature.
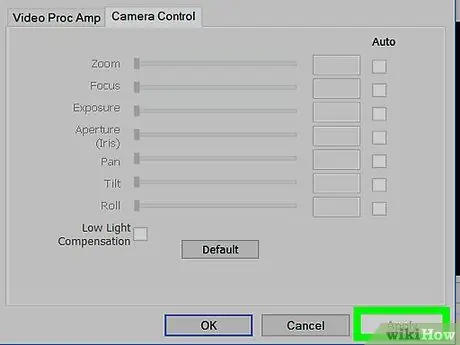
Step 8. Click Apply
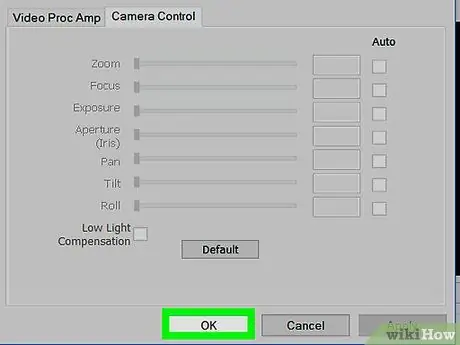
Step 9. Click OK
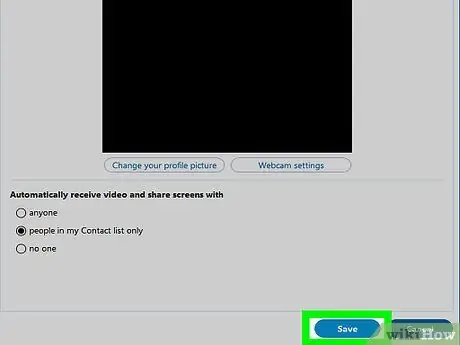
Step 10. Click Save
It is the first blue button at the bottom of the window. When you make a video call in the future, the webcam will zoom in to the point you selected.


