This article explains how to backup your SMS and MMS on Android using a free application called "SMS Backup & Restore".
Steps
Part 1 of 2: Install SMS Backup & Restore
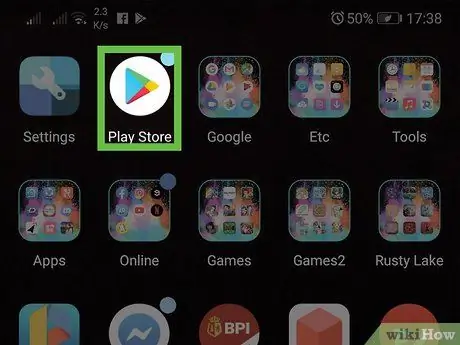
Step 1. Open the Play Store
It is usually found on the home screen or in the app drawer.
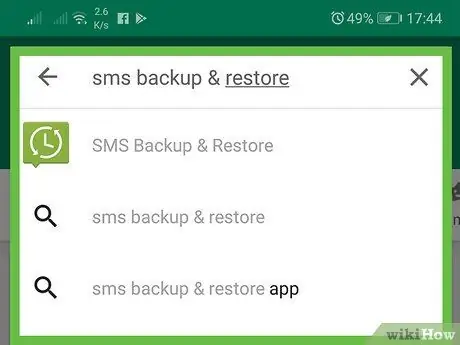
Step 2. Type sms backup and restore in the search bar
A list of relevant results will appear.
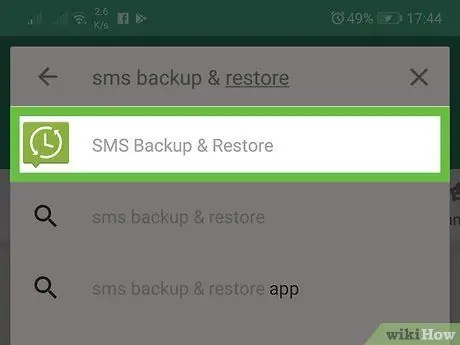
Step 3. Tap SMS Backup & Restore
The icon of this app, developed by Carbonite, depicts a green dialogue bubble containing a white clock.
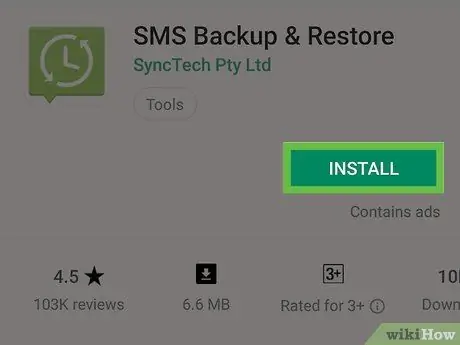
Step 4. Tap Install
The application will then be installed on the Android device.
- Depending on your settings, your mobile or tablet may need to be authorized before the download starts.
- Once the application is downloaded, the "Install" button will change to "Open" and a new icon will appear in the app drawer.
Part 2 of 2: Back Up Messages
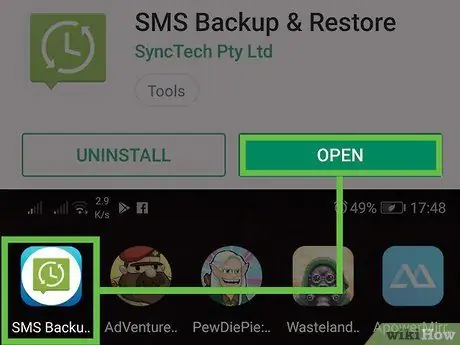
Step 1. Open "SMS Backup & Restore"
The icon looks like a green speech bubble containing a clock made up of darts. As this is your first time using the application, you will need to set it up.
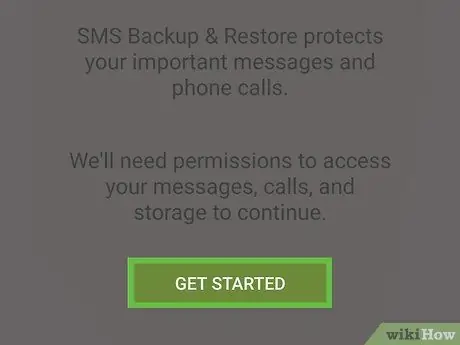
Step 2. Tap Let's Get Started
A series of windows will appear asking you for various permissions.
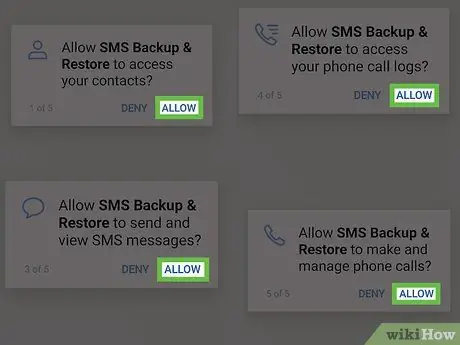
Step 3. Tap Allow in the four windows that appear
This way the application will have permission to backup messages and restore them.
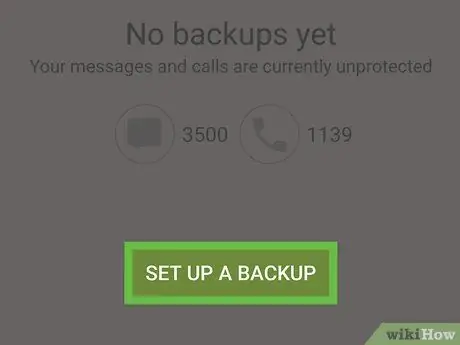
Step 4. Tap Set up a backup
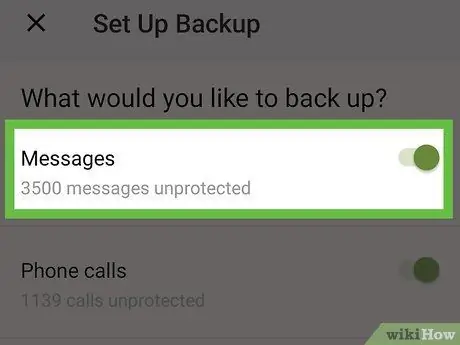
Step 5. Select the items you want to backup
You can backup your messages and / or calls. Since your goal is to back up your messages, swipe the relevant button to activate it
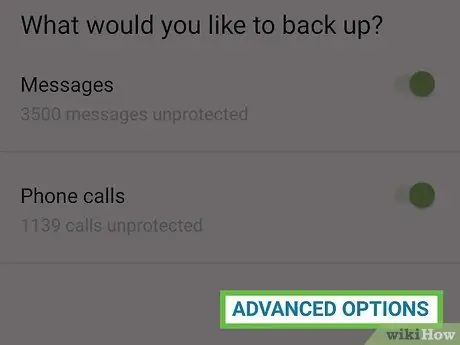
Step 6. Tap Advanced Options
You will be shown other options at the bottom of the screen.
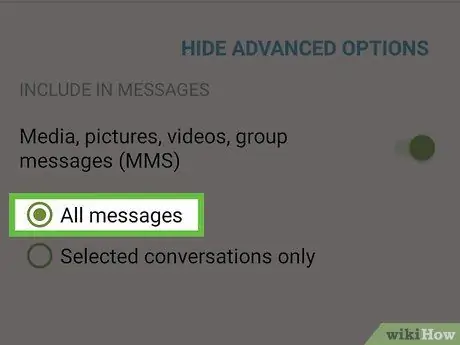
Step 7. Determine what you want to include in the backup
-
To include group messages, photos and videos, swipe the "Media, photos, videos and group messages (MMS)" button to activate it
-
Swipe the "Emoji and special characters" button to activate it
if you want to include them in the backup.
- Select "All messages" to backup all messages.
- If you want to backup only specific messages, choose "Selected conversations only", then decide which ones to save.

Step 8. Tap Next
It is located at the bottom right.
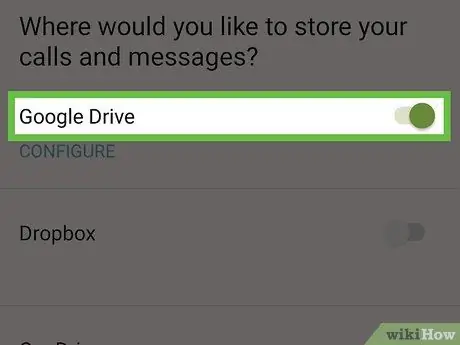
Step 9. Select the backup location
You can back up your messages to any of the listed accounts by swiping your finger on the corresponding button
. Since you use Android, the rest of this method will assume that you have decided to back up to your Google Drive account. The steps should be similar for the other options as well.
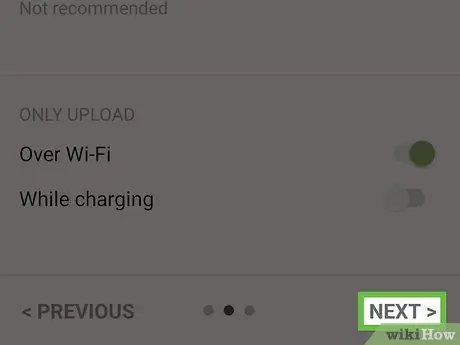
Step 10. Tap Next
This will open a screen to set up Google Drive.
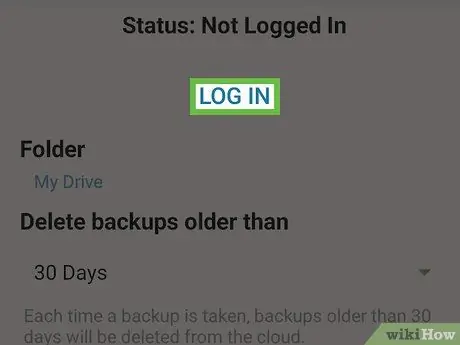
Step 11. Log into Google Drive
Tap "Sign in", select the account you want to backup to and then tap "Ok". A pop-up window will appear.
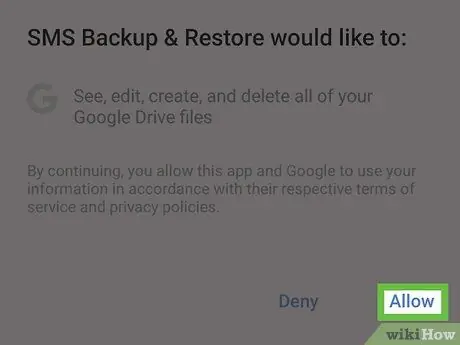
Step 12. Tap Allow
In this way the application will be authorized to save messages on your Google account.
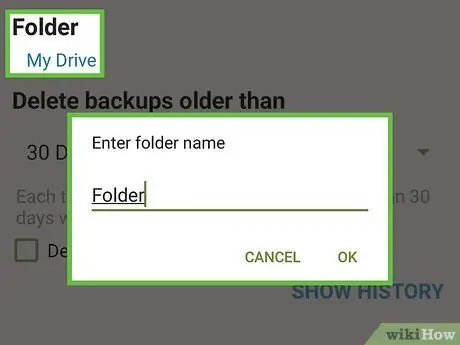
Step 13. Select a folder to backup your messages
This step is optional. If you want the messages to be saved in a new folder, select the "Create new folder" option and enter the name.
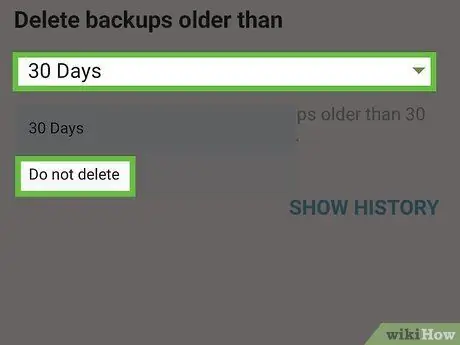
Step 14. Decide how to manage old backups
If you want old backups to be deleted after a certain amount of time, tap the drop-down menu titled "Delete backups older than" and select a time interval. Otherwise, select "Do not delete".
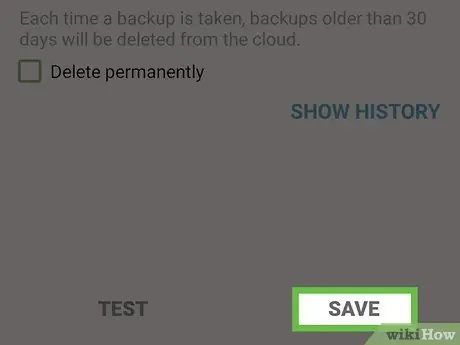
Step 15. Tap Save
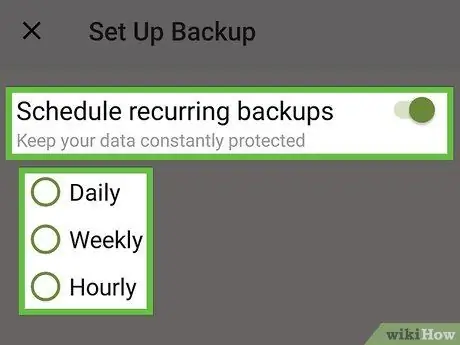
Step 16. Select recurring backup options
-
If you want the application to back up messages according to a set schedule, swipe the button
and configure the schedule.
-
To back up your messages this time only, be sure to disable the button
Step 17. Tap Start Backup
This button is located at the bottom right. The messages will then be backed up to the desired folder.


