With lamination, you can protect a sheet from dirt, creases, time and loss of color. You can laminate important documents that you intend to keep, such as certificates, invitations or wedding banns, or documents that need to be handled often, such as menus or price lists. This article will teach you how to laminate sheets with or without special machines.
Steps
Method 1 of 2: Using a Laminating Machine
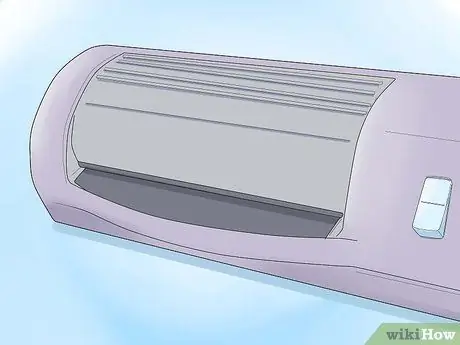
Step 1. Choose a laminator that suits your needs
For most of the domestic uses, a machine that laminates A4 format sheets (210x297 mm) is sufficient.
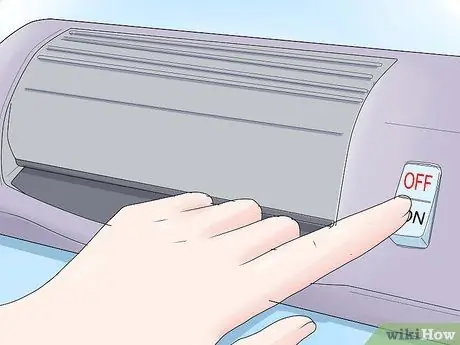
Step 2. Turn on the machine and let it reach temperature
Most models are equipped with a led that lights up when the heating is complete and the machine is ready for use.
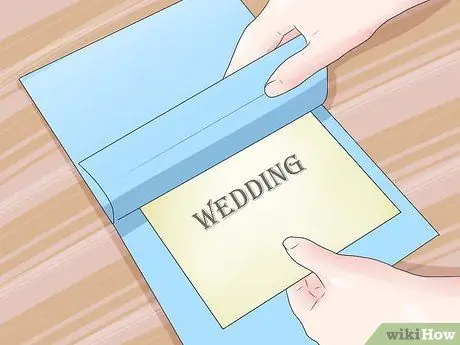
Step 3. Insert the sheet to be laminated inside the plastic bag
The envelope, on sale in stationery and office supply stores, is made up of two layers of plastic of varying thickness (depending on the use to which they are dedicated) joined on a short side.
- If the paper is nearly as large as the envelope, be careful to center the document so that the edges are even on all sides.
- If the paper is much smaller, you can avoid centering it as you can trim the edges later.
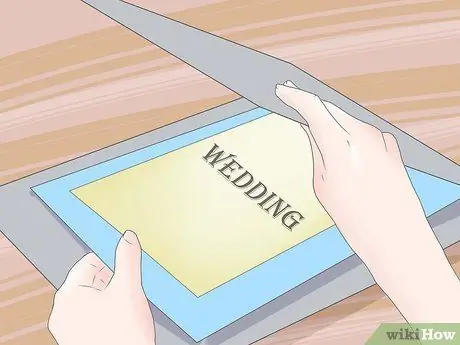
Step 4. Place the plastic bag with the sheet inside inside the laminating machine, inserting the sealed side first
The laminator is equipped with guides and guards that prevent the plastic from melting and blocking internal components.
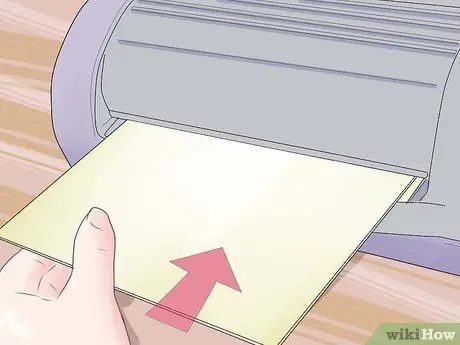
Step 5. Insert the sheet from the side where the plastic bag is already sealed, and let the machine run at the speed specified by the manufacturer
Do not force the process, which takes place by melting the plastic in a predetermined and variable time based on the temperature and thickness of the bag.
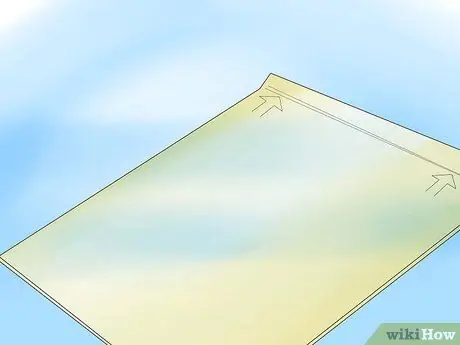
Step 6. Wait a few moments when the process is complete, in order to grab the laminated sheet without burning yourself
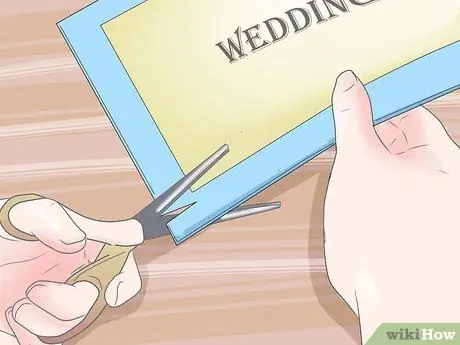
Step 7. Cut out the edges with a cutter or scissors
Leave at least 2 mm on each side.
Method 2 of 2: Laminating with Adhesive Plastic
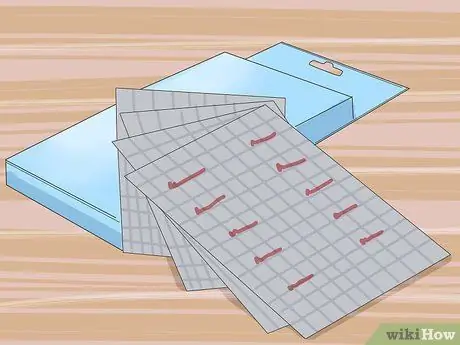
Step 1. Purchase adhesive plastic sheets (often sold in rolls to cut to the required size)
The best ones have a grid on the support, as an aid to measure and position the sheets to be laminated.
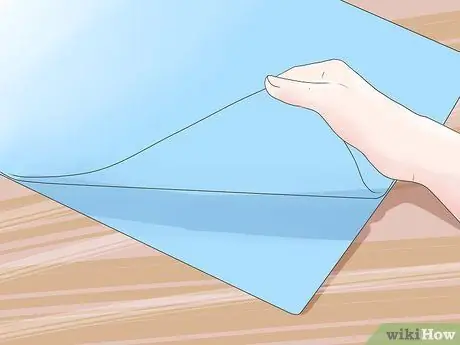
Step 2. Remove the backing to expose the adhesive layer
Handle the adhesive on the edges to leave few fingerprints. Use the grid to center the document before removing the backing.
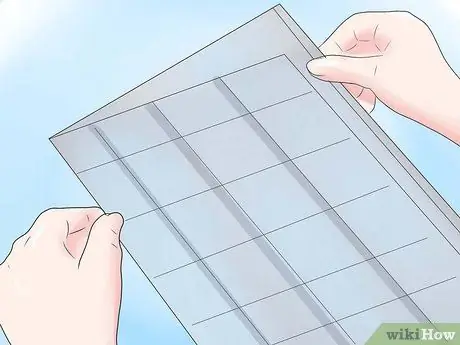
Step 3. Arrange the adhesive plastic with the adhesive side facing up, and possibly the support with the grid positioned under the transparent side to better center the sheet to be laminated
Secure the grid to the table to prevent it from moving during fixing.
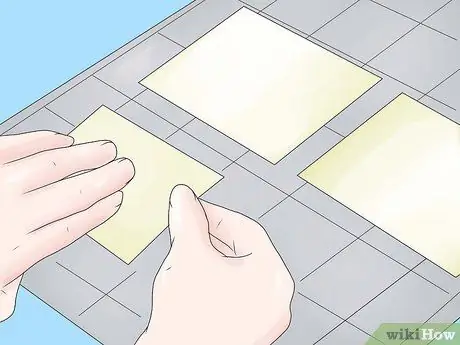
Step 4. Center the document on the adhesive plastic cutout
Also in this case it is not important to center small documents on large adhesive sheets, while it is necessary to center documents that leave only a few millimeters of space on the edges.
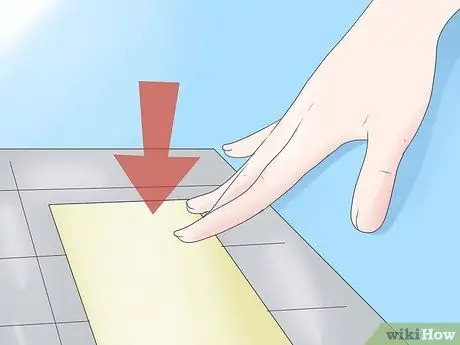
Step 5. Apply pressure to one corner
Press with your fingers starting from one corner of the plastic, so that it adheres to the document.
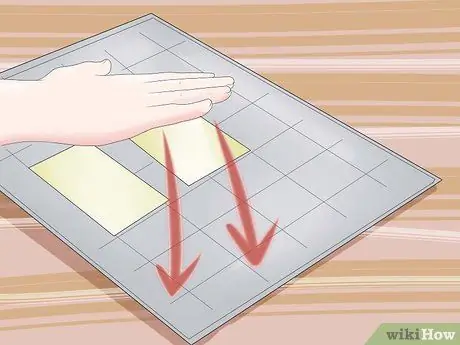
Step 6. Adhere the rest of the sheet to the adhesive plastic
Smooth the plastic with your hands so that it sticks flat and without bubbles or creases.
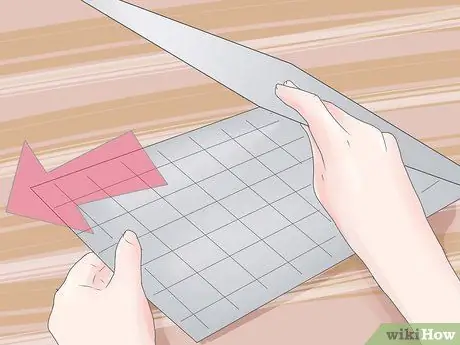
Step 7. Remove the backing from a second adhesive plastic sheet cut to the same size
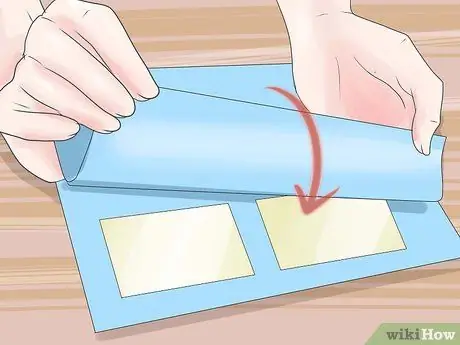
Step 8. Place the second adhesive sheet on the opposite side of the first
Start on one side and proceed carefully to avoid bubbles or creases. You can use a putty knife or hard plastic tile to smooth out the adhesive plastic effectively.
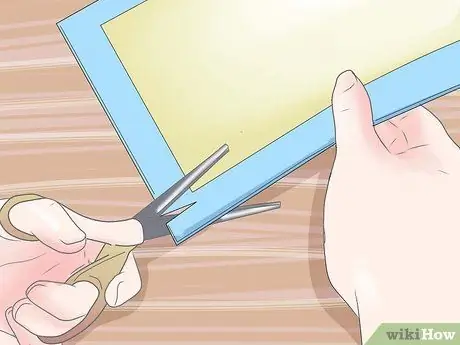
Step 9. If necessary, trim the edges leaving at least 2 mm so that the plastic does not lift
Advice
- If you often laminate sheets but don't want to buy a special hot laminator, you can choose a cold laminator that uses special plastic bags. In some cases, laminating machines work both ways.
- Transparent adhesive plastic in rolls is a valid alternative for laminating documents, and can be found on sale in household and office supply stores.
Warnings
- A hot laminator is not suitable for documents that can be damaged by heat, such as receipts or other printed on thermal paper, photographs and drawings made with crayons.
- Avoid laminating important historical documents.


