It will surely have happened to you that you need to reduce the functionality of your Ipad, perhaps to allow children to use only the apps dedicated to them, watch a video or play games, or even for your targeted use, at a particular time. The iPad is equipped with a feature called "Guided Access" that allows you to define the perimeter of use of the device, temporarily disabling part of the touchscreen, and the buttons.
Steps
Part 1 of 3: Enable Guided Access
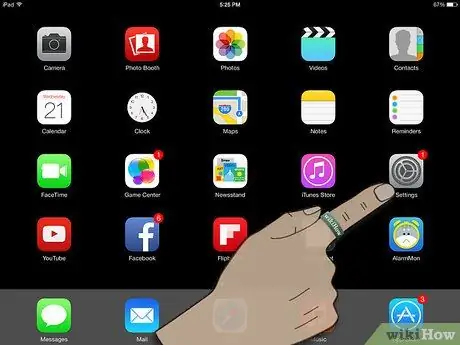
Step 1. Go to the "Settings" menu
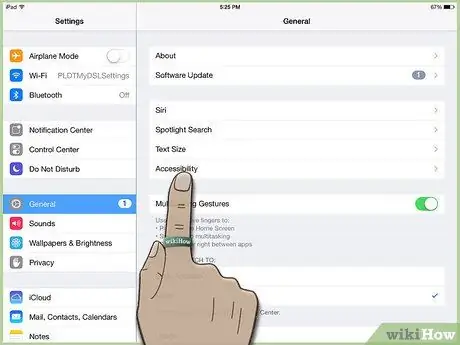
Step 2. Select "General", and then "Accessibility"
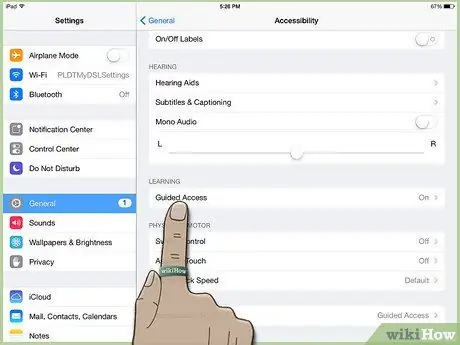
Step 3. Scroll down to "Learning", and select "Guided Access"
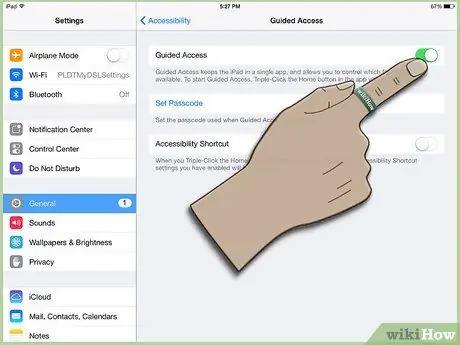
Step 4. Activate it by clicking on the button:
you will see that from white, it will turn green. To set the password, select "Set code".
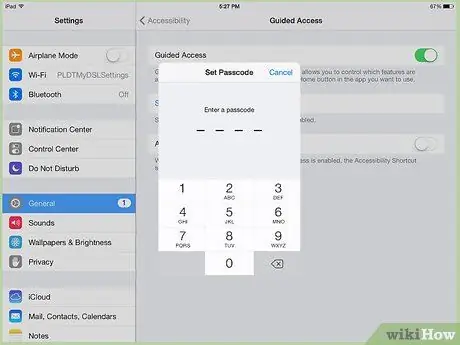
Step 5. Enter your preferred password to exit Guided Access
You should use a password that you remember easily but that others, including children, are unaware of. You will be asked to re-enter the password for confirmation, then, exit the settings.
Part 2 of 3: Using Guided Access
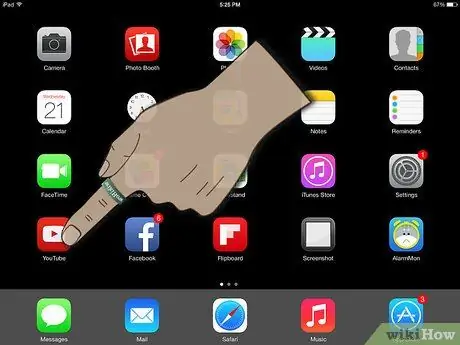
Step 1. Open the application you want to use, the Guided Access can work on any app
If the lock is for children, you can allow them to watch videos or play some games.
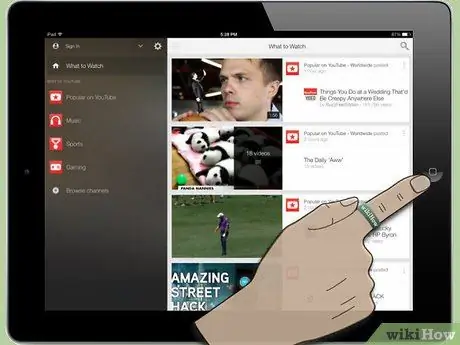
Step 2. Click the Home button 3 times
At the bottom, the panel with the Guided Access settings will open.
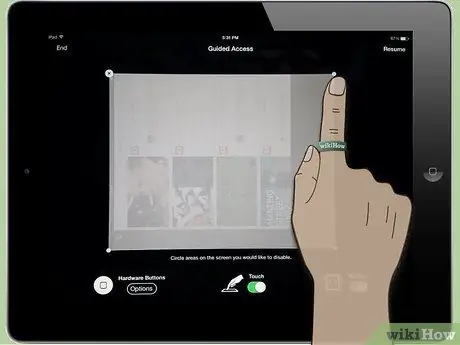
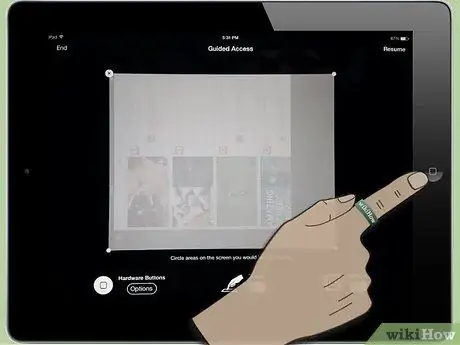
Step 3. With your finger, draw the area of the screen you want to disable
These sections will remain locked regardless of the actions taken on the screen, and the apps launched. The areas relating to advertising, applications with the possibility of paying in app, applications that require the download or subscription to other applications, perhaps for a fee, are certainly to be included in the off-limits area for children.
It is not important that the drawn shape is perfect, the iPad will transform it into a precise shape (square, oval, etc.), furthermore, once the perimeter has been traced, you can still modify it, moving the corners and sides of the created shape
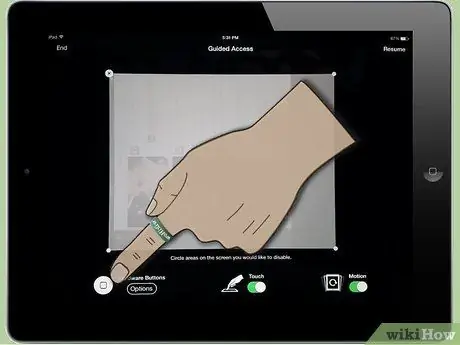
Step 4. If you want, you can also disable the physical buttons
Click on "Options", and set the "On Screen" button, or the "Volume" keys as you see fit. If the buttons are indicated in green, they will be active and functional, while if you see them in white, it means that they are disabled.
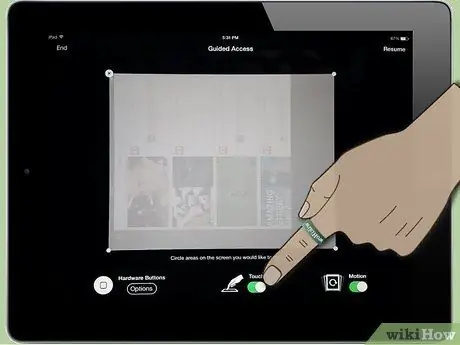
Step 5. You can also disable touch
By setting the "Touch" button to white, the entire screen will be disabled, and the iPad will enter "Read Only" mode.
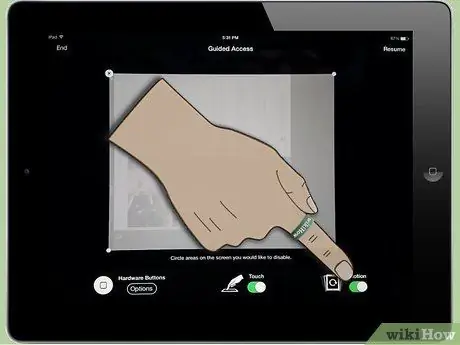
Step 6. You can also disable "Movement"
When this option is disabled (button in white), even by tilting or rotating the screen, there will be no effects, neither on the iPad, nor on the apps.
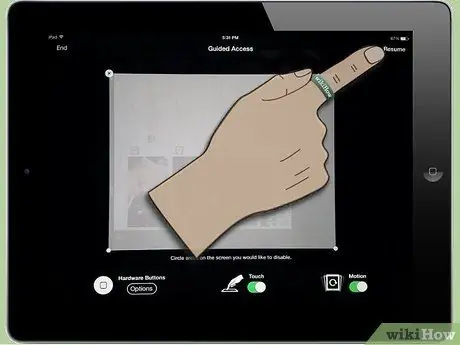
Step 7. Click on "Start" to enter Guided Access mode
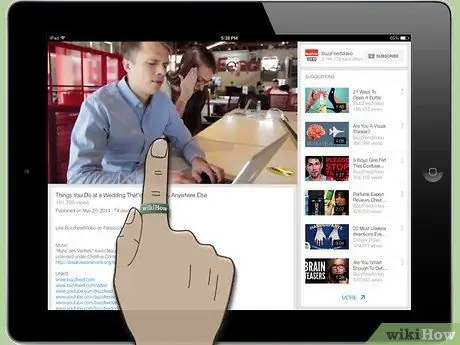
Step 8. Launch your app, or allow your child to use it
The blocked parts will not be available, so even touching these areas, nothing will happen, and you will be able to navigate without problems.
Part 3 of 3: Disabling Guided Access
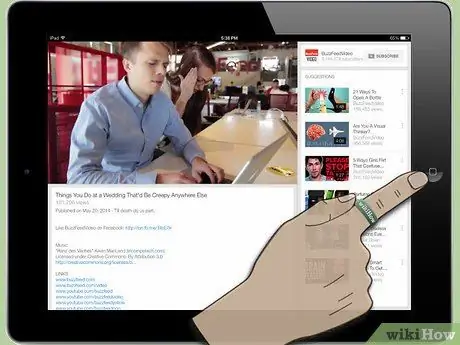
Step 1. Click the Home button three times consecutively to exit Guided Access mode
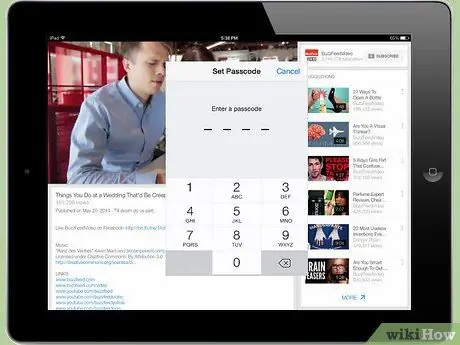
Step 2. Enter your password
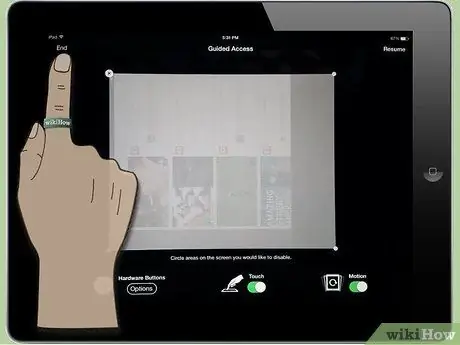
Step 3. Change the settings, or disable the Guided Access
Changing the settings is very useful, for example, to be able to use a new app, or navigate to a new screen. Click "Resume" if you wish to return to Guided Access, or click "Finish" to exit.
Step 4. Whenever you want to resume Guided Access mode, just click the Home button three times
You will be asked to enter and confirm your password.

Step 5. Thanks to Guided Access, you can safely let your child play or browse, without having to worry about accessing unsuitable apps or activating advertisements, and paid services
Advice
- If you want to completely disable Guided Access, go to the Settings - General - Accessibility menu (if the toggle, or button, is white, it means that the feature is disabled). Subsequently, click three times on the Home button, you will see that, at the bottom, the Guided Access panel will no longer appear.
- Although with some minor differences, these guidelines can also be used for Iphone.


