This article shows you how to reduce the number of people who send you friend requests on Facebook by changing your privacy settings so that only friends of your friends can contact you. While it is not possible to completely disable friend requests, by acting on the available filters you can drastically reduce the number of individuals who try to add you to their list of acquaintances.
Steps
Method 1 of 2: on Mobile Device
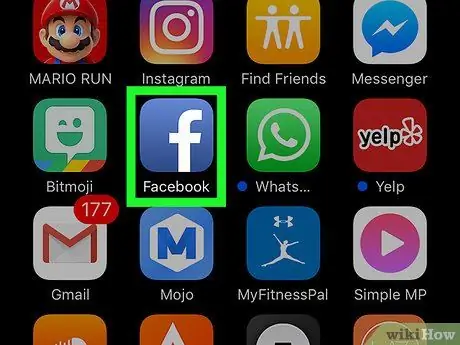
Step 1. Open Facebook
This is the dark blue icon with a white letter "f"; by doing so, if you have already entered your login credentials, you can directly view the news section.
If you are not already logged in, enter your email address (or mobile number) and password

Step 2. Tap the ☰ button
You can find it in the lower right corner (iPhone) or in the upper right corner of an Android device screen.
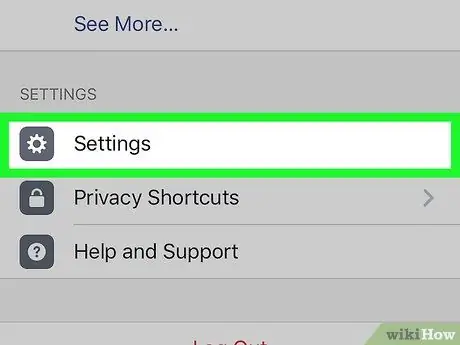
Step 3. Scroll down the page and select Settings
You should find this option towards the bottom of the menu.
If you have an Android mobile, skip this step
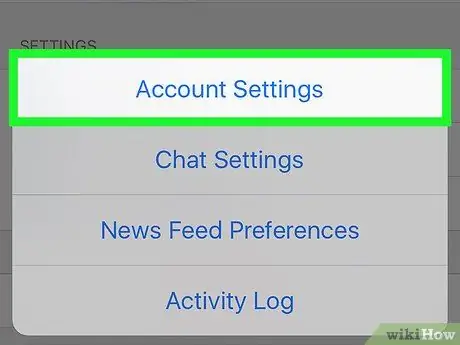
Step 4. Tap the Account Settings button
If you own an iPhone, you can find it at the top of the pop-up menu; if you have an android mobile, you can see it towards the end of the menu ☰.
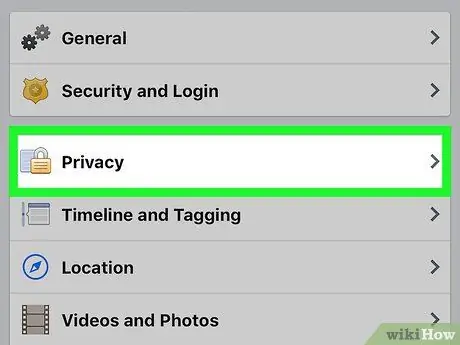
Step 5. Select Privacy
It should be at the top of the screen.
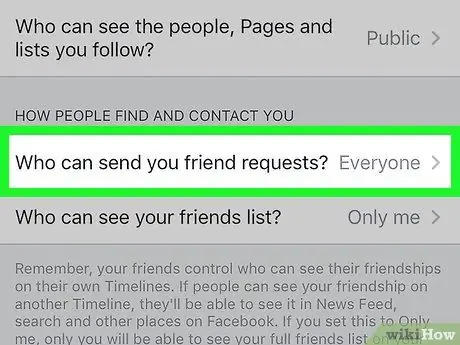
Step 6. Tap Who can send you friend requests?
This option is located towards the bottom of the menu.
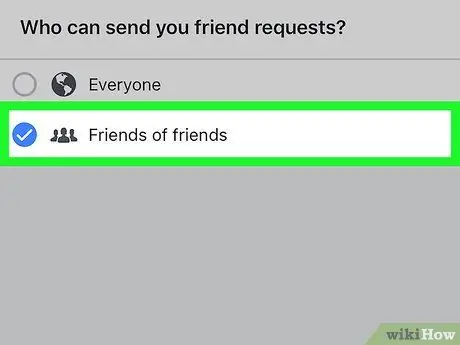
Step 7. Select Friends of Friends
It is the second option at the top of the screen; in this way, you prevent anyone who does not belong to your circle of friends from sending you friend requests.
Method 2 of 2: at the Computer
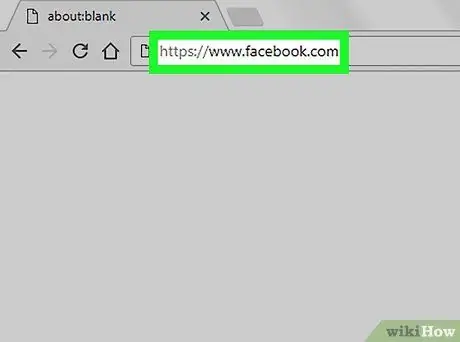
Step 1. Log in to the Facebook website
The address is If you have already entered your login credentials, you should see the news section.
If you haven't logged in yet, you must first type your email address (or mobile number) and password in the upper right section of the screen
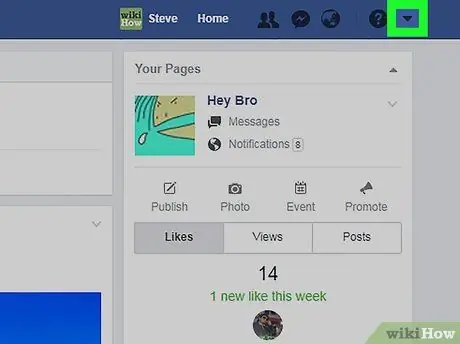
Step 2. Click on the ▼ button
You can see it in the upper right corner of the web page.
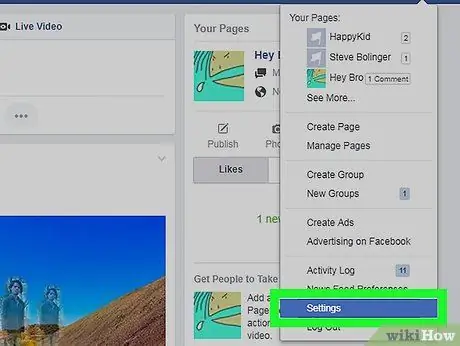
Step 3. Click on Settings
This option is located towards the end of the drop-down menu.
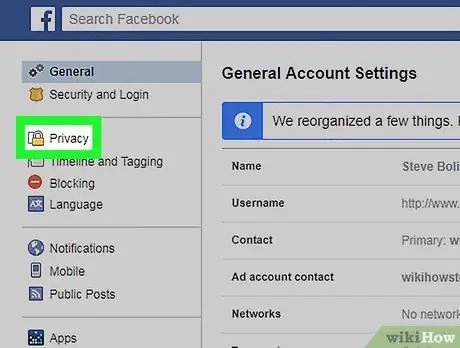
Step 4. Select Privacy
It is the label that is proposed on the left side of the screen.
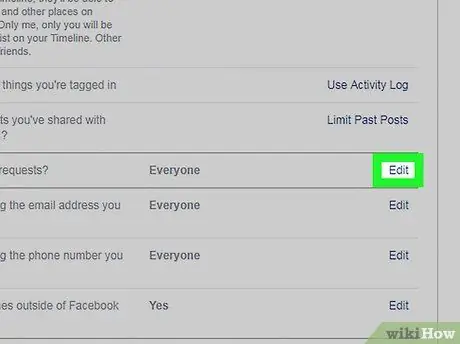
Step 5. Click on the Edit button to the right of "Who can contact me?
This section is located almost in the middle of the page.
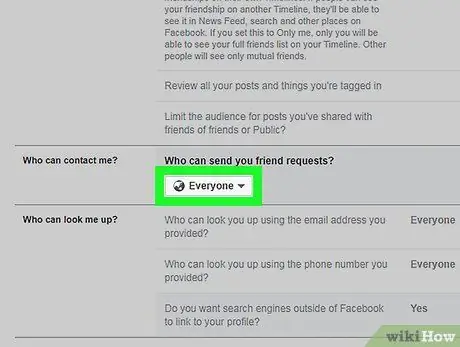
Step 6. Click on All
This box is located under the heading "Who can send you friend requests?".
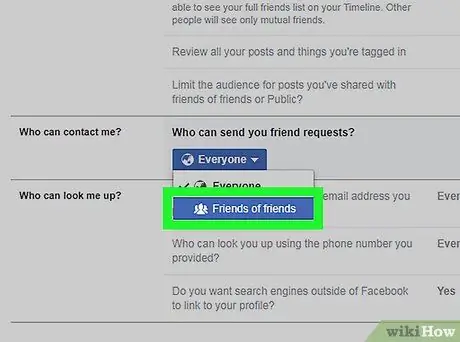
Step 7. Choose Friends of Friends
This is the other option in the drop-down menu; in this way, you change your privacy settings to prevent people who are not part of your circle of friends from sending you requests.


