Resetting an HP Photosmart printer is useful for resolving ink cartridge and print job problems and error messages. To reset the printer, you can choose to disconnect it from the power supply or you can choose to restore factory settings.
Steps
Method 1 of 2: Reset the Printer
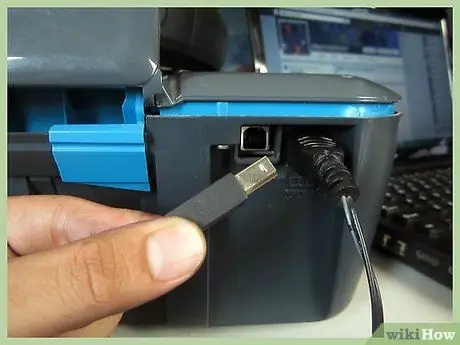
Step 1. Make sure the Photosmart printer is turned on, then unplug the USB cable from the back of the device
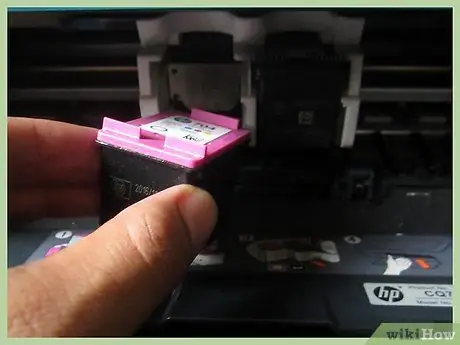
Step 2. Open the printer compartment that provides access to the print cartridges, then remove the cartridges
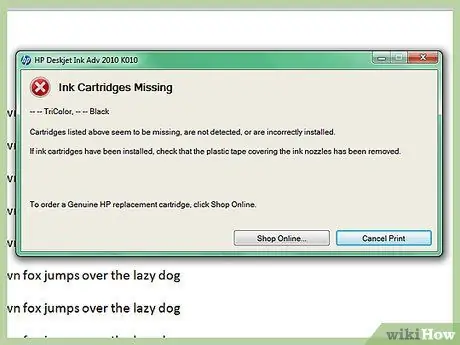
Step 3. Close the printer compartment and wait for the "Insert Cartridge" message to appear on the display
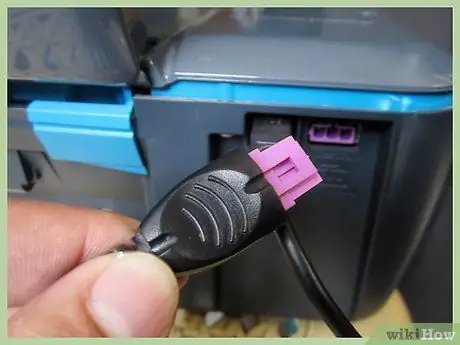
Step 4. Unplug the printer power cord
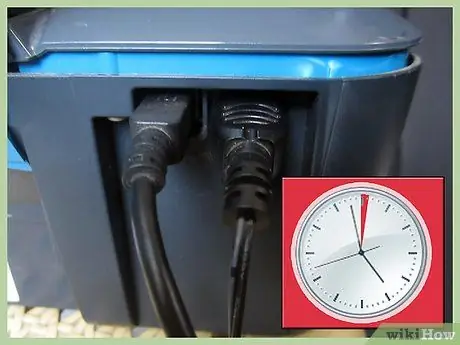
Step 5. Wait 60 seconds, then plug the power cord back into the printer
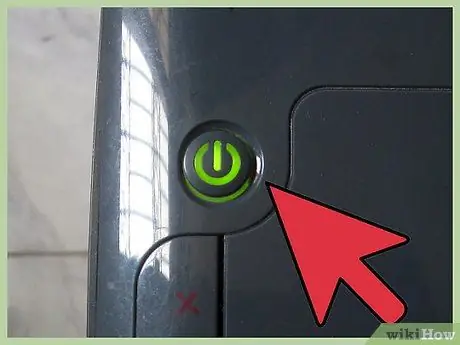
Step 6. Wait for the printer to turn on automatically
In case the device does not turn on automatically, press the "Power" button
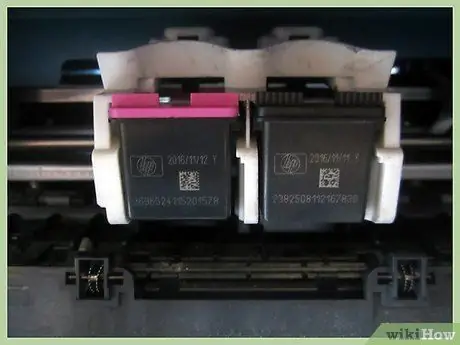
Step 7. Open the front door of the printer and insert the ink cartridges
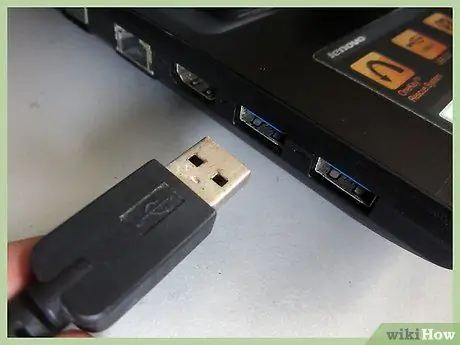
Step 8. Close the printer door and reconnect the USB cable
At this point, you have completed the reset of your HP Photosmart.
Method 2 of 2: Reset to Factory Settings
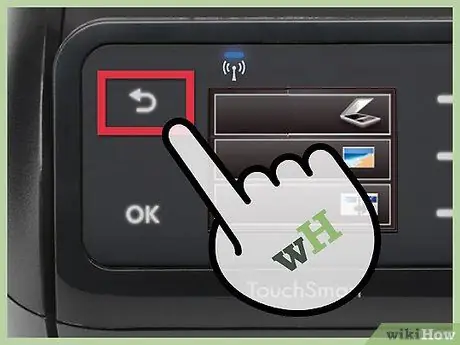
Step 1. Press the "Menu" button located on the HP Photosmart printer command console
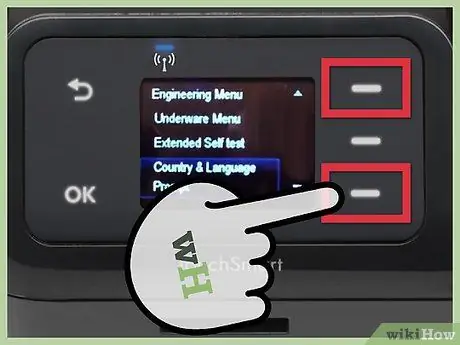
Step 2. Use the up and down directional arrows on the command console to select the "Preferences" menu item
If the "Preferences" item is not available, look for the "Restore Defaults" option or access the "Services" menu and choose the "Restore Defaults" item. The menu may vary depending on the HP Photosmart printer model you are using
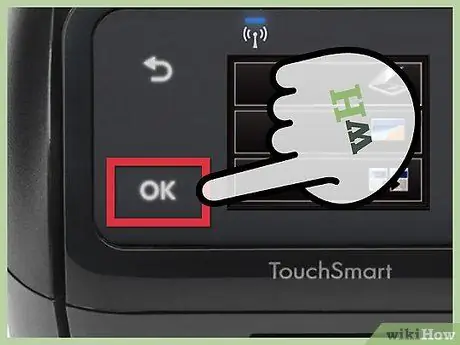
Step 3. Select the "Restore Defaults" item and press the "OK" button
The printer will automatically restore the original factory settings and notify you when the process is complete.


