This article shows you how to use a computer without having a mouse, but using only the keyboard. You can do this by taking advantage of the functionality that allows you to control the mouse pointer and simulate the left and right buttons using the computer keyboard. This function is supported by both Windows and Mac systems. It is also possible to facilitate the use of the computer without a mouse by using special key combinations, to quickly access all the functions offered by the system.
Steps
Method 1 of 2: Windows systems
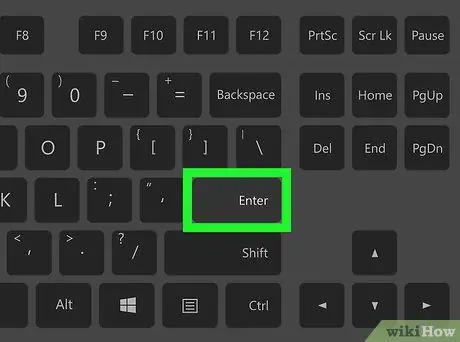
Step 1. Try using the basic key combinations
To quickly select the elements present in the active window, you can use the directional arrows and the Enter key. When you are on the desktop or inside a Windows app (for example the "File Explorer" window), you can press the keyboard key corresponding to the initial letter of the item you want to select. There are also other shortcut key combinations that can be very useful:
- Alt + Tab ↹ - allows you to cycle through all currently open windows;
- Alt + F4 - close the application or window currently in use;
- ⊞ Win + D - minimizes all open windows to be able to view the desktop directly;
- Ctrl + Esc - displays the "Start" menu;
- ⊞ Win + E - opens the "File Explorer" system window;
- ⊞ Win + X - displays the context menu of the "Start" button located in the lower left corner of the desktop;
- ⊞ Win + I - allows direct access to the Windows "Settings" app;
- ⊞ Win + A - allows direct access to the Windows notification center.
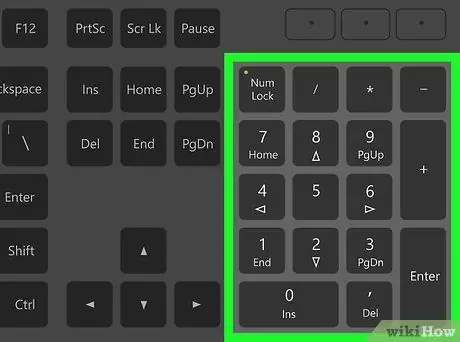
Step 2. Make sure your computer keyboard has a numeric keypad
If there is no grid of number keys similar to that of a telephone or calculator to the right of the keyboard, you will not be able to take advantage of the directions in this method.
However, you will still be able to use the hotkey combinations listed in the previous step
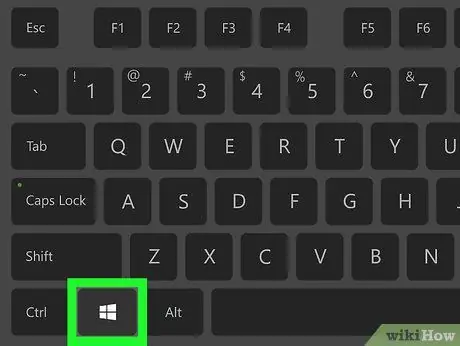
Step 3. Access the "Start" menu by clicking the icon
It features the Windows logo and is located in the lower left corner of the desktop. The "Start" menu will appear.
Alternatively you can press the key combination Ctrl + Esc or just the ⊞ Win key
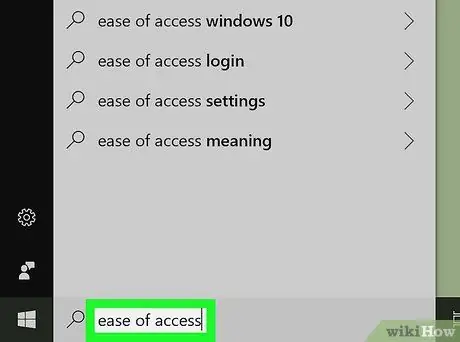
Step 4. Type in the accessibility center keywords
Your computer will search for the "Ease of Access Center" program.
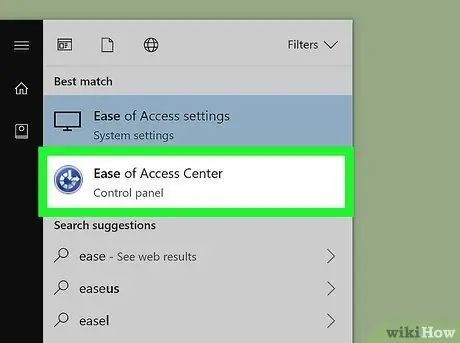
Step 5. Select the Ease of Access Center icon
Use the arrow keys on your keyboard to navigate the "Start" menu, then hit the Enter key after selecting the correct icon. The "Ease of Access Center" window will appear.
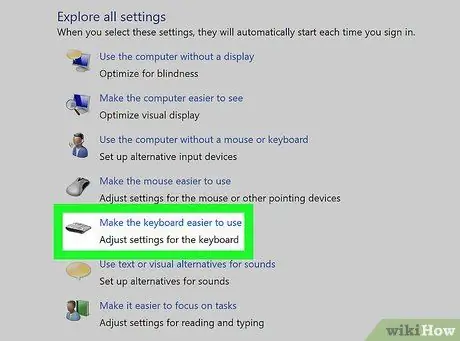
Step 6. Select the Make the keyboard easier to use link
It is located in the lower central part of the "Ease of Access Center" window. Use the ↓ key to move the selection cursor to the indicated option, then press the Enter key to open the link.
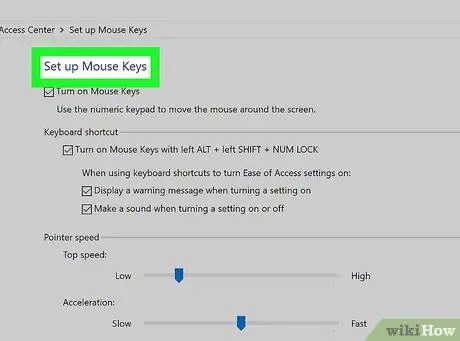
Step 7. Choose the Set Pointer Control option
It is located at the bottom of the "Keyboard Mouse Control" section located at the top of the window. It is a blue link. Use the ↓ key to move the selection cursor to the indicated option, then press the Enter key.
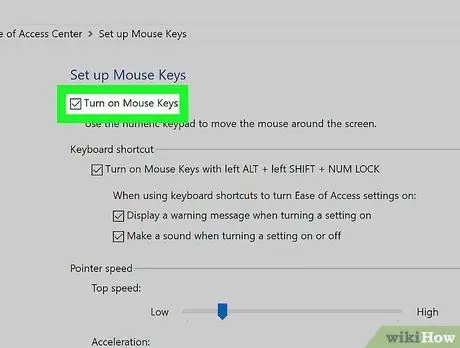
Step 8. Activate mouse pointer control using the keyboard
Use the ↓ key to select the "Enable Pointer Control" checkbox, then press the + key.
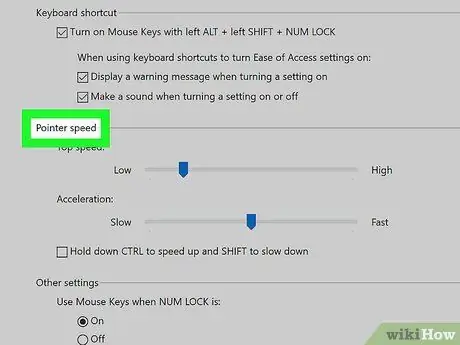
Step 9. Scroll down the list to the "Pointer Speed" section
Use the ↓ key to select the "Maximum Speed" slider visible within the "Pointer Speed" section.
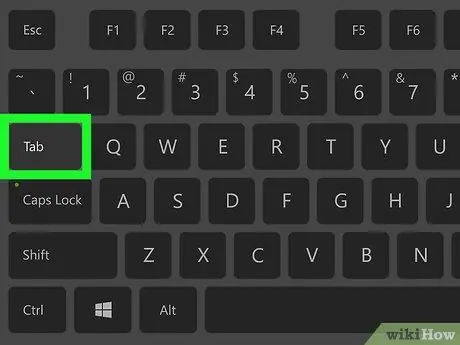
Step 10. Adjust the speed at which the mouse pointer moves
After setting the desired value, you can press the Tab key ↹ to move to the next item:
- Maximum speed slider - allows you to determine the maximum speed at which the mouse pointer will move while moving it using the keyboard. Press the → key to increase the maximum speed or the ← key to decrease it. The chosen value should be high enough (for example 75% or higher).
- Acceleration slider - allows you to determine how quickly the mouse pointer will reach its maximum speed of movement. Press the → key to increase the acceleration or the ← key to decrease it. This value should be set to approximately 50%.
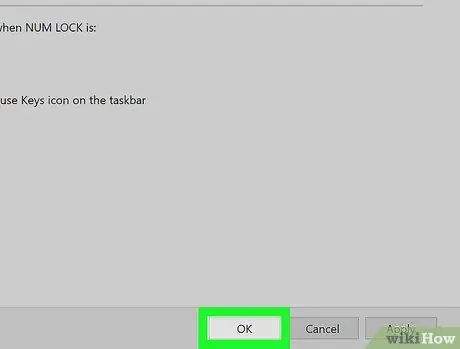
Step 11. Press the OK button
It is located at the bottom of the window. This will activate the "Pointer Control" functionality and the "Ease of use of the keyboard" window will close.
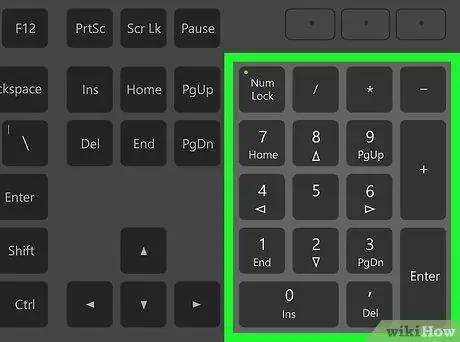
Step 12. Use the numeric keypad on the keyboard to move the mouse pointer
Use keys 4, 8, 6 and 2 to move the mouse pointer left, up, right and down respectively.
- Use the keys 1, 7, 9 and 3 to move the mouse pointer to the bottom left, top left, top right and bottom right respectively, following an angle of 45 °.
- If the mouse pointer does not move, press the Num Lock key on the numeric keypad (or press the Fn + Num Lock key combination if you are using a laptop), then try moving the mouse pointer again using the indicated keys.
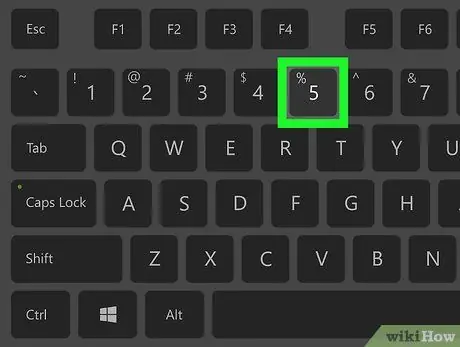
Step 13. Press the button
Step 5. to simulate pressing the left mouse button
It should be the key located exactly in the center of the numeric keypad.
If pressing the 5 key brings up a context menu, press the / key on the numeric keypad to disable the simulation of pressing the right mouse button. At this point the 5 key should work correctly, simulating the operation of the left mouse button
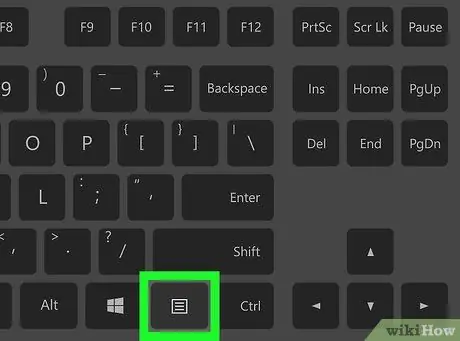
Step 14. Display the context menu of an item
All keyboards of computers with Windows operating system are equipped with a key that allows direct access to the context menu of the selected item (for example an icon). It is usually characterized by a square, inside which the symbol ☰ is visible. By pressing the indicated key, the context menu of the selected element will be displayed, exactly as it would be if selecting the latter with the right mouse button.
Remember that, before pressing the indicated key, you must select an item using the 5 key on the numeric keypad because otherwise a generic context menu will be displayed in one of the corners of the screen
Method 2 of 2: Mac
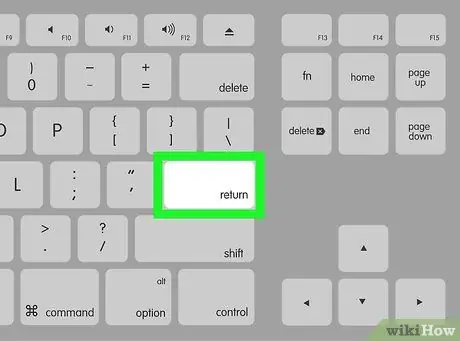
Step 1. Try using basic hotkey combinations
To quickly select the elements present in the active window, you can use the directional arrows of the Mac and the Enter key. There are also other shortcut key combinations that can be very useful for carrying out complex operations in a few moments:
- ⌘ Command + Q - allows you to close an application or the currently active window;
- ⌘ Command + Space - opens the Spotlight search field exactly in the center of the screen;
- ⌘ Command + Tab ↹ - allows you to switch between windows;
- ⌘ Command + N - if the Mac desktop is displayed, opens a new Finder window;
- Alt + F2 and ⌘ Command + L - pressed in succession, these two key combinations allow you to access the "System Preferences" window;
- Ctrl + F2 - the "Apple" menu is selected (pressing the Enter key will access the indicated menu).
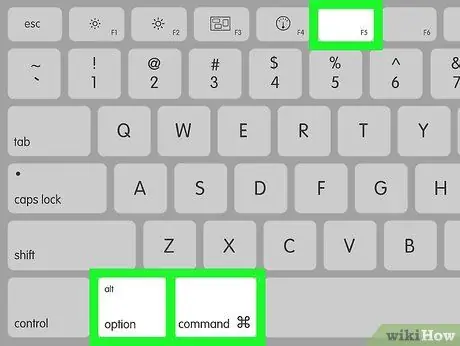
Step 2. Open the "Accessibility Options" window
Depending on your Mac model, you will need to use one of the following hotkey combinations:
- MacBook with Touch Bar - tap the Touch ID button three times in quick succession;
- MacBook without Touch Bar - press the key combination Fn + ⌥ Option + ⌘ Command + F5;
- iMac - press the key combination ⌥ Option + ⌘ Command + F5.
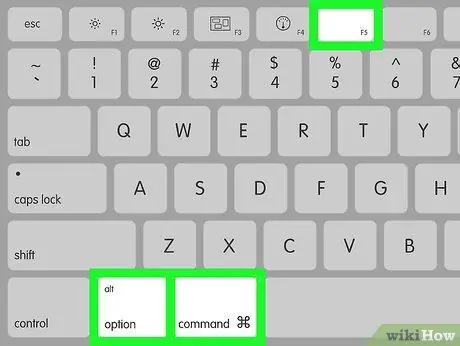
Step 3. Activate the "Mouse Keys" function
Tap the Touch ID key three times (MacBook with Touch Bar) or use the key combination ⌘ Command + ⌥ Option + F5 (for all other Mac models).
Alternatively, you can use the ↓ key to move the cursor to the "Enable Mouse Keys" checkbox, then press the Enter key (or Spacebar on some Macs) to select it
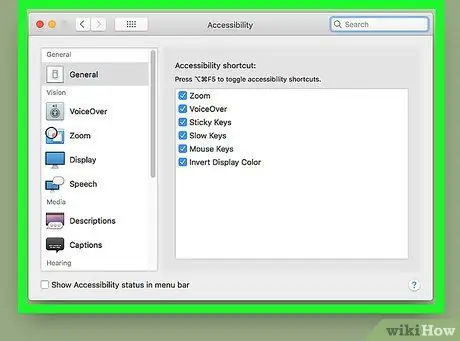
Step 4. Do not close the "Accessibility Options" window
This will give you the option to disable the "Mouse Keys" feature using the same hotkey combination you used to activate it.
Unfortunately, while the "Mouse Keys" function is active it is not possible to use the keyboard to enter text or other data
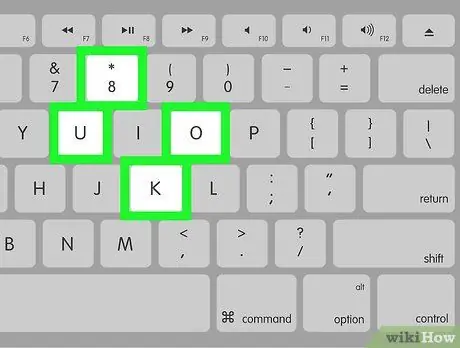
Step 5. Move the mouse pointer across the screen
Use the U, 8, O and K keys to move the mouse pointer left, up, right and down respectively.
Use the J, 7, 9 and L keys to move the mouse pointer to the bottom left, top left, top right, and bottom right respectively, at a 45 ° angle
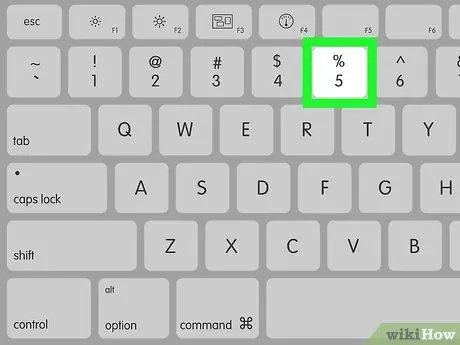
Step 6. Press the button
Step 5. to simulate pressing the left mouse button
When the "Mouse Keys" option is activated, the indicated key performs the same function as the left mouse button.
To simulate pressing the right mouse button, hold down the Control key while pressing the 5 key
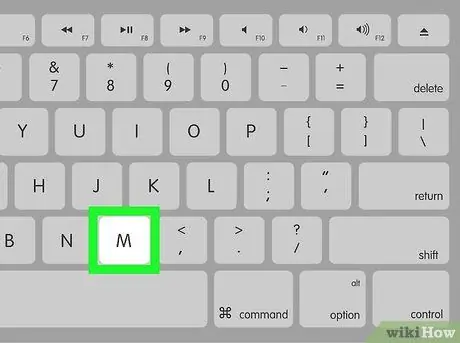
Step 7. Simulate the action that corresponds to holding down the mouse button
Move its pointer over an icon, then press the M key on your keyboard. In this way you will have the possibility to drag the selected item along the entire screen using the keys indicated to move the mouse pointer.
- This feature is also very useful for accessing special menus, such as the context menu of the system recycle bin.
- To release the selected item at the chosen point, press the key.


