One of the useful information about the HP LaserJet 1010 printer is the date of its release, well before the advent of Windows 7. For this reason the procedure of installing this device on a Windows 7 system could be slightly difficult, due to a 'incompatibility. Fortunately, there is another HP driver from the same printer family that you can use to install the HP LaserJet 1010 printer on your Windows 7 computer. This tutorial shows you the steps to follow.
Steps
Part 1 of 2: Connect the Printer to the Computer
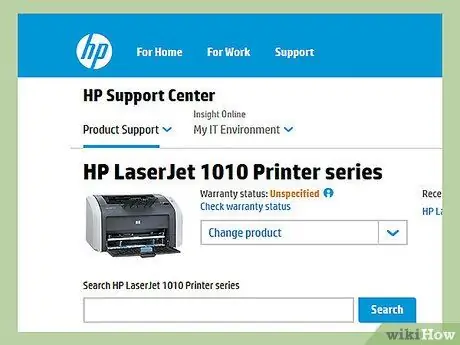
Step 1. Connect the HP LaserJet 1010 printer to your computer using the supplied USB cable
Step 2. Connect the device to the mains using the appropriate power cable and press the power button

Step 3. Access the Start menu by pressing the button in the lower left corner of the screen, then select the "Control Panel" item
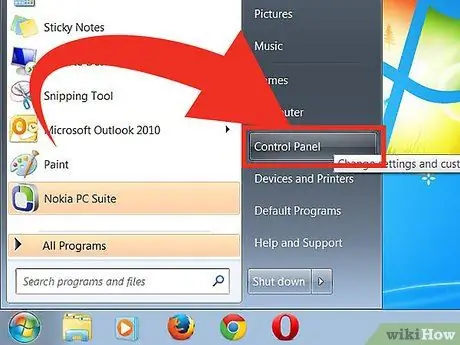
Step 4. Select the "Devices and Printers" icon
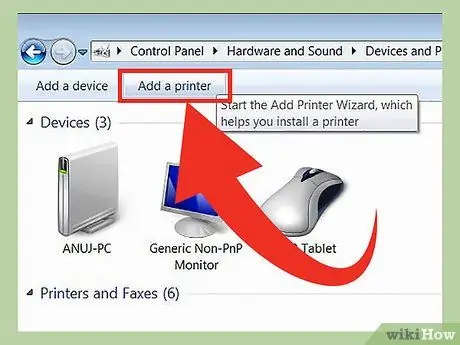
Step 5. Select the "Add Printer" button
It is located in the upper left part of the window.
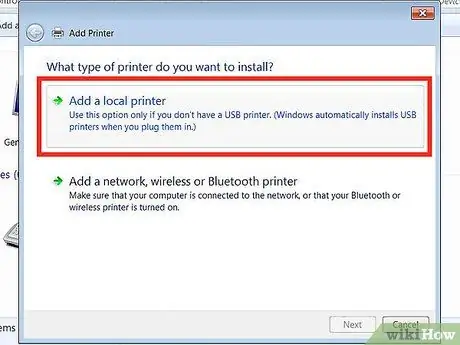
Step 6. Choose the "Add local printer" option, then press the "Next" button to continue
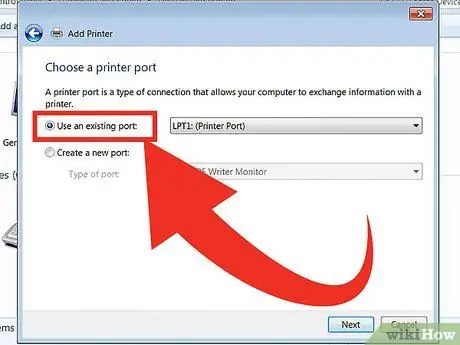
Step 7. Choose the "Use an existing port" option
A list of items will be displayed: select the "DOT4_001" option.
Press the "Next" button to go to the next page
Part 2 of 2: Configure the Settings
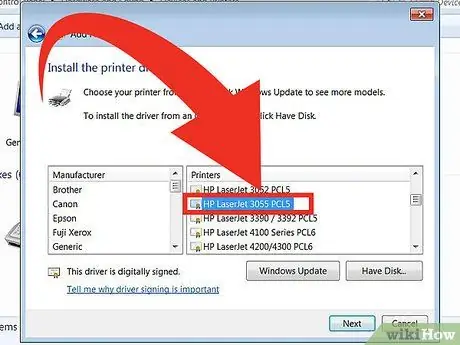
Step 1. Select "HP" from the list of available manufacturers, then choose the "HP LaserJet 3055 PCL5" printer model from the list of printers
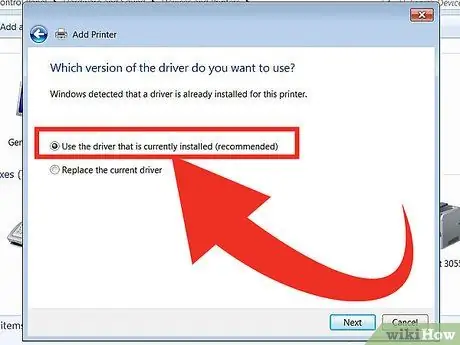
Step 2. Select the item "Use the currently installed driver", then press the "Next" button to proceed
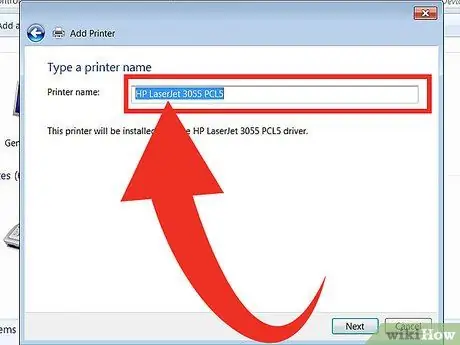
Step 3. Type in the name you want to give your printer
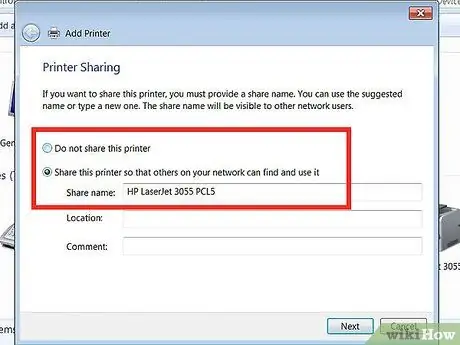
Step 4. Choose whether or not to share the use of the printer
Choose whether to set the printer as the system default printer.
-
When finished, press the "Finish" button to complete the configuration.

Connect HP LaserJet 1010 to Windows 7 Step 11Bullet1


