This article shows you how to connect two routers together. This step is useful for increasing the distance that the network's Wi-Fi signal can reach and for increasing the maximum number of devices that can be connected. The easiest and fastest way to connect two network routers together is to use an Ethernet cable, although it is possible to connect the secondary router to the primary one via Wi-Fi connection.
Steps
Method 1 of 2: Wired Connection
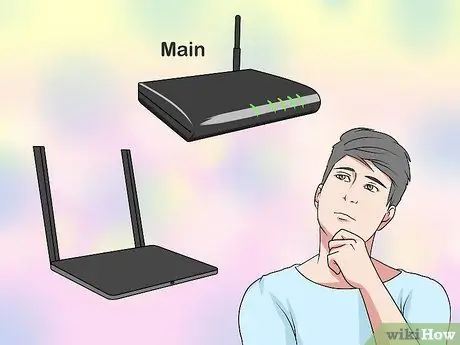
Step 1. Determine which router will be the primary router on your network
This is the device connected directly to the ADSL modem or cable that allows internet access. It is normally best to have this role assigned to the most modern and most advanced router at your disposal.
Obviously, if you have two identical routers, you will not need to choose which one to use as the primary and which as the secondary

Step 2. Determine which will be the secondary router
This is the network device that will extend the capacity of your local LAN. Normally, the oldest and least advanced router is dedicated to this purpose.
This device will have the role of controlling and managing the secondary LAN if you choose to use a "LAN-WAN" connection type (which is explained later in the article)
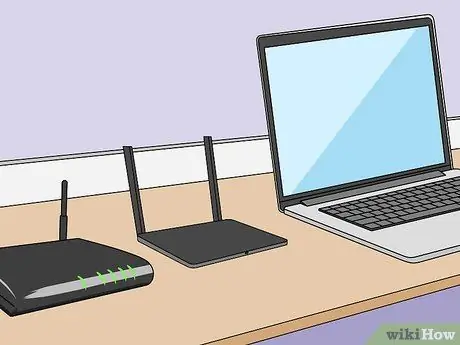
Step 3. Place both routers near the computer
During the configuration phase, the network devices must be kept close to the computer to be able to access them quickly and easily. Only at the end of the configuration will you be able to install them in their final destinations.

Step 4. Decide whether to use a "LAN-LAN" or "LAN-WAN" connection
Both of these connections are made using a normal Ethernet network cable, however they are used in slightly different scenarios:
- LAN-LAN connection - is used to increase the area covered by the Wi-Fi network signal that will be extended thanks to the second router. This type of connection also allows the sharing of files and printers between all devices connected to the network such as computers, smartphones, tablets, consoles, etc.
- LAN-WAN connection - in this case a real secondary LAN network is created within the main one. In this way you will have the possibility to manage and control the internet access of any computer or other device connected to the secondary network. In this case, files and printers can only be shared within the two LANs, which means that a computer connected to the main network will not be able to communicate directly with one connected to the secondary one.
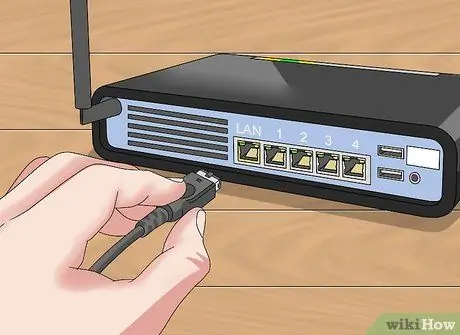
Step 5. Run the installation of the first router
Connect the network device that will act as the primary router to the modem managing the internet connection using an Ethernet cable, then connect the router to the computer using a second network cable.
- If you're using a Mac, it most likely lacks an RJ-45 port (normal Ethernet network port). In this case, you'll need to purchase an Ethernet to USB-C port adapter (also known as "Thunderbolt 3") to fix the problem.
- If you are using a Windows system that does not have an Ethernet port, you will need to purchase a USB to Ethernet adapter.

Step 6. Configure the primary router
Since the network device under consideration will have to manage internet access you will have to configure it exactly as you would if it were the only network router.
- To access most routers, simply type their IP address into the address bar of the internet browser.
- The configuration and administration interface of a router varies by make and model. If in your case you are unable to locate the settings or sections indicated in the article, consult the user manual or the online documentation relating to your specific router model.
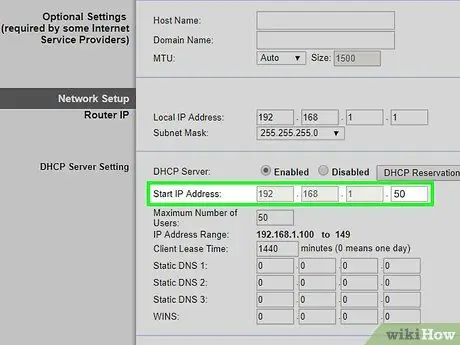
Step 7. Change the DHCP service settings
If you have connected the two routers via a "LAN-WAN" connection, access the configuration page of the main router and set the set of IP addresses available to the DHCP service as follows: from the address 192.168.1.3 to the address 192.168. 1.50.
- If you have chosen to use a "LAN-LAN" connection to connect the two network routers, you can use the default configuration of the DHCP service.
- When you have finished configuring the primary router, disconnect the network device from the computer.

Step 8. Configure the secondary router
If necessary, disconnect the primary router from the computer and connect the secondary router to it, then follow these instructions:
- Access the configuration page of the second router;
-
Modify the IP address of the device so that it is identical to that of the main router with the foresight to increase the penultimate group of digits by one unit (for example if the IP address of the main router is 192.168.1.1 at the second router you will need to assign the following IP 192.168.1.2);
If you used a "LAN-WAN" connection to connect the two routers to the secondary network device, you will need to assign the following IP address 192.168.2.1;
- Make sure the "Subnet Mask" or "Subnet Mask" address is the same as the one used for the main router.
- Disable the "UPnP" functionality of the second network router if it has one.
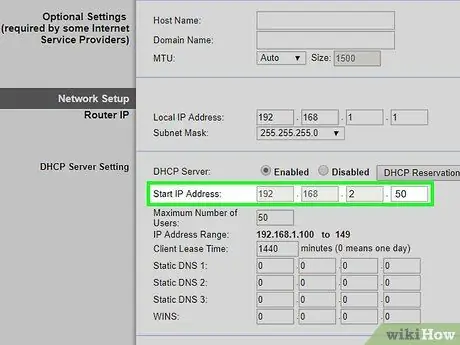
Step 9. Configure the secondary router's DHCP service
If you have chosen to use the "LAN-LAN" connection, the DHCP server of the second network router must be disabled because the management of all the IP addresses of the LAN will be entirely carried out by the main router. If you have chosen to use a "LAN-WAN" connection, the DHCP service of the second router will have the following set of IP addresses available: from 192.168.2.2 to 192.168.2.50.
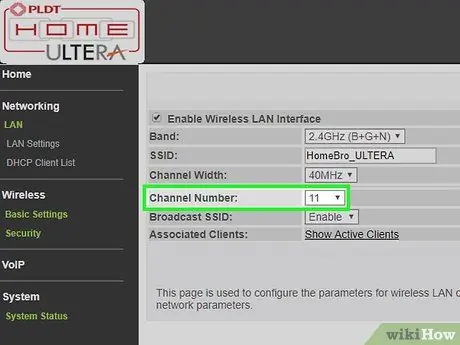
Step 10. Change the broadcast radio channel of the Wi-Fi signal
If both network routers are Wi-Fi, you will need to manually change their respective broadcast channels so that the radio signals from their respective Wi-Fi networks do not interfere with each other. Set the channel of the primary router choosing it in the range between 1 and 6, then set the radio channel of the secondary router to value 11.
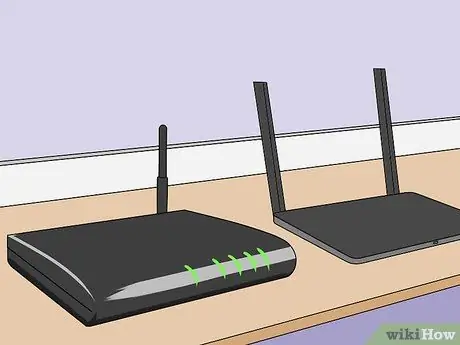
Step 11. Install the two routers in place
Now that both devices are configured correctly you can install them in their final destinations. Remember that you will need to have a sufficiently long Ethernet cable to be able to establish the connection.
- If you plan to place the two routers in separate rooms in the house, you will need to do the related wiring first by installing an Ethernet cable connecting the two rooms.
- It will most likely be more efficient and convenient to place the main router near the modem that manages the internet connection.
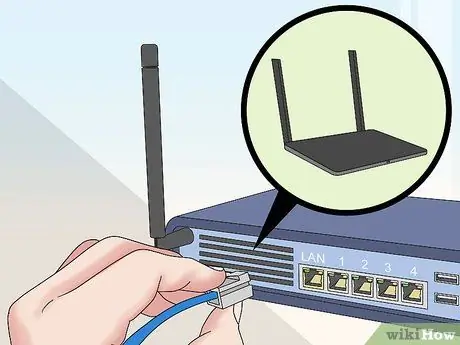
Step 12. Connect the two routers
Plug one end of the Ethernet cable into a free LAN port on the primary router, then plug the other end into one of the LAN ports on the second network device.
If you have chosen to use the "LAN-WAN" configuration, you will need to plug the second connector of the Ethernet cable into the "WAN" (sometimes called "Internet") port of the secondary router
Method 2 of 2: Wireless Connection

Step 1. Determine if your network equipment supports this type of connection
While most wireless routers can be used in "access point" (or "extender") mode, many of those on the market do not allow you to create a subnet within an existing LAN network.
- In order to realize the scenario in question, that is to create a separate Wi-Fi network from the main one, the secondary router must support the "bridge" or "repeater" operating mode.
- Your router documentation will allow you to find out if it supports "bridge" mode. Alternatively, you can search online using the make and model of the device.
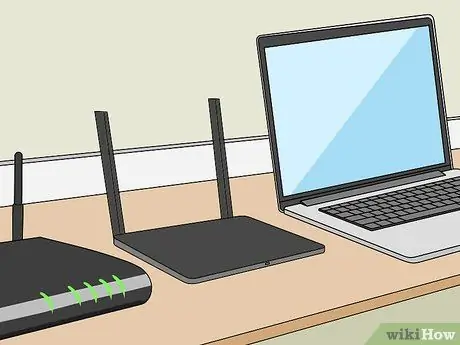
Step 2. Place both routers near the computer
During the configuration phase of the network devices, the latter must be kept close to the computer and the modem that manages the internet connection, in order to be able to access them quickly and easily. Only at the end of the configuration will you be able to install them in their final destinations.
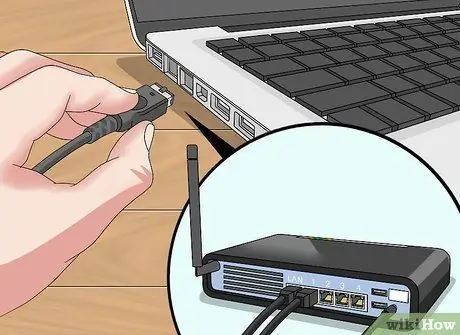
Step 3. Run the installation of the first router
Connect the network device that will act as the primary router to the modem managing the internet connection using an Ethernet cable, then connect the router to the computer using a second network cable.
- If you are using a Mac, it most likely lacks the RJ-45 port (normal Ethernet network port). In this case, you'll need to purchase an Ethernet to USB-C port adapter (also known as "Thunderbolt 3") to fix the problem.
- If you are using a Windows system that does not have an Ethernet port, you will need to purchase a USB to Ethernet adapter.

Step 4. Configure the primary router
Since the network device under consideration will have to manage internet access you will have to configure it exactly as you would if it were the only network router.
- To access most routers, simply type their IP address into the address bar of the internet browser.
- The configuration and administration interface of a router varies by make and model. If in your case you are unable to locate the settings or sections indicated in the article, consult the user manual or the online documentation relating to your specific router model.
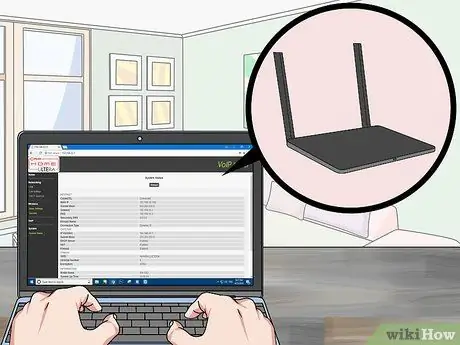
Step 5. Access the configuration page of the second router
Connect the secondary router to the computer using another Ethernet cable, then open its configuration web interface. In this case you will not need to connect it to the modem as well. After logging in, locate the section labeled "Internet" or "Wireless".
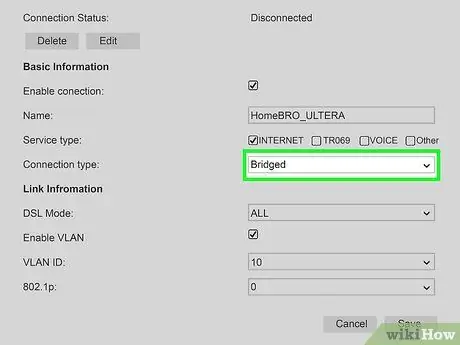
Step 6. Activate "Bridge" mode
Select the "Bridge Mode" or "Repeater Mode" option from the "Network Mode", "Wireless Mode" or "Connection Type" drop-down menu in the "Wireless" section. If you are unable to locate the menu indicated, it most likely means that the router under consideration does not support this mode of operation. In this case, you will need to connect using an Ethernet network cable.
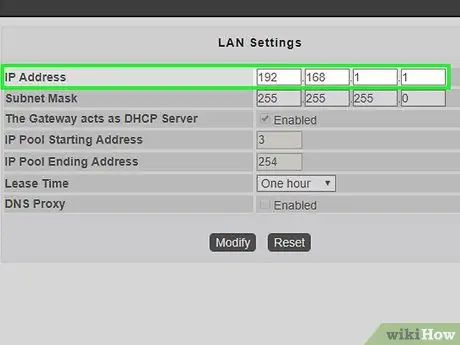
Step 7. Assign an IP address to the secondary router
You will need to select a free address that falls within the same network address class managed by the main router. For example, if the IP address of the main router is "192.168.1.1", you can assign the address "192.168.1.50" or a similar one to the second device, making sure that it is not included in the range of values that can be used by the DHCP service of the main router to avoid possible conflicts between IP addresses when there will be many devices connected simultaneously to the network.
Make sure that the "Subnet Mask" or "Subnet Mask" address of the secondary router is identical to that of the primary router
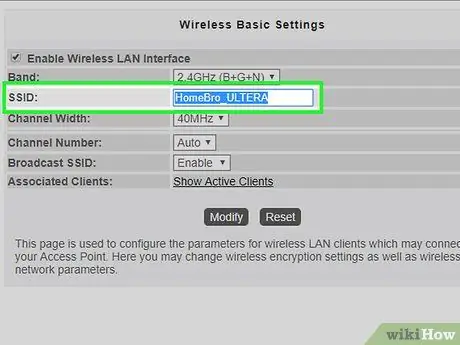
Step 8. Assign a unique name (SSID) to the Wi-Fi network generated by the second router
This way you will always know which device you are connected to.
- For example, you can call the Wi-Fi network managed by the main router "Studio", while that of the secondary router "Living room".
- Make sure that the security-related network protocol is set to "WPA2" on both routers and that the password to access the two Wi-Fi networks is always the same.
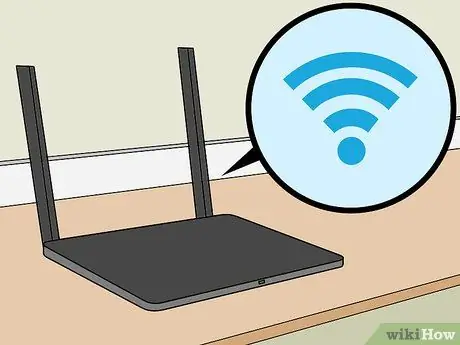
Step 9. Install the secondary router in its final location
After completing the configuration of the device, you can place it where you need to have access to the Wi-Fi network. In order to achieve a stable and fast wireless connection, you will need to install the secondary router in a place where the Wi-Fi signal strength of the primary router is not less than 50%.


