The first clue that makes you understand that there is some problem with the car's lambda probe is the turning on of the "engine warning light"; a quick check with a handheld for diagnostics confirms that you need to replace it. Depending on the car manufacturer and the car model, there may be from 2 to 4 probes located in the exhaust system; there is at least one in front of the catalytic converter and another in each exhaust manifold. The scanner should indicate which sensor array has failed.
Steps
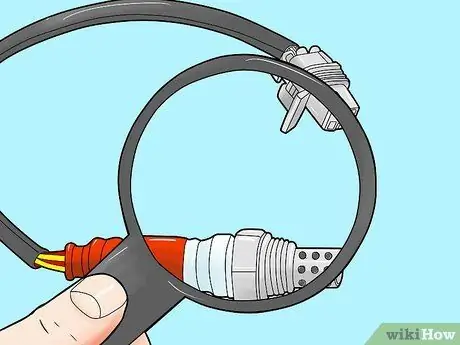
Step 1. Locate the lambda probe by looking in the vehicle for the component that looks like a spark plug and protrudes from the exhaust pipe
It should have electrical wiring.
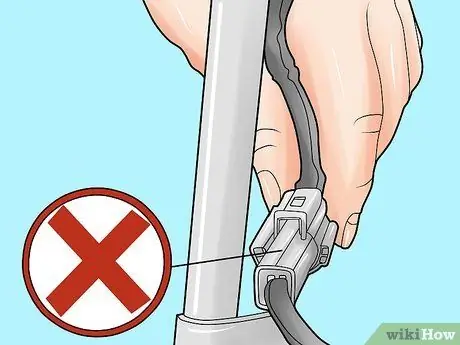
Step 2. Disconnect the electrical connection
Use a flat-blade screwdriver to push in the retaining tabs and separate the wiring.
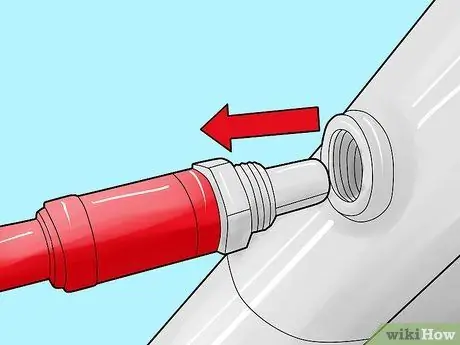
Step 3. Unscrew the probe from the exhaust duct using an adjustable wrench or socket
Most of these parts can be disassembled with a 22mm wrench.
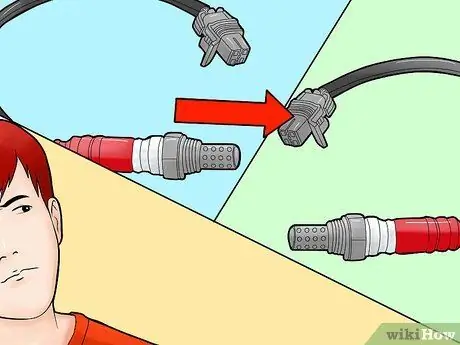
Step 4. Compare the replacement probe with the old one
If it doesn't have any wiring but just has wires sticking out, some electrical work awaits you.
- Cut off the connector from the malfunctioning probe, strip the cables and solder them to the new one; alternatively, you can use butt connectors.
- Use heat-shrink electrical tape to seal the connections.
- Follow the manufacturer's instructions to know which cables need to be joined.
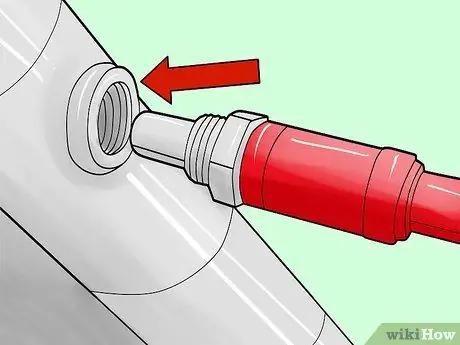
Step 5. Reverse the steps you followed to disassemble the probe and insert the new one
Add a small amount of anti-seize lubricant to the threaded portion of the spare, screw it clockwise and tighten it with the wrench or socket; do not over tighten so you will not risk stripping the thread.
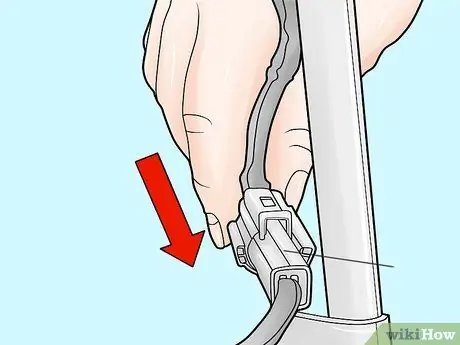
Step 6. Restore electrical wiring
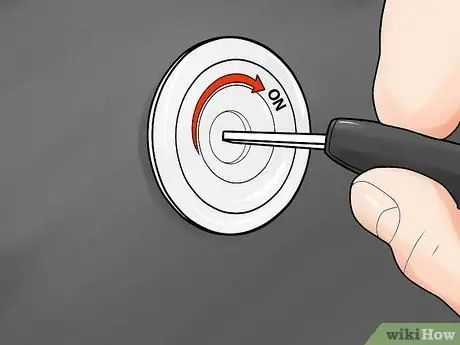
Step 7. Turn the ignition key without starting the engine
Use the diagnostic handheld to clear the error code from the vehicle ECU.
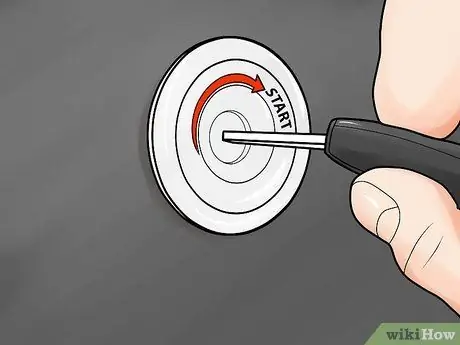
Step 8. Start the car
You should notice immediate improvement.
Advice
- You may encounter an error message from the rear probe when in fact the problem comes from the faulty catalytic converter.
- Spray penetrating oil on the thread to loosen a stuck probe.
- When you return to the auto parts store where you bought the new probe to return the tools you borrowed, you can ask the staff to use their PDA to clear the error codes.
- The clerk can use the auto parts store scanner to tell you which probe needs to be changed and rent you the specific socket wrench.
Warnings
- Always wait until the engine and exhaust system have cooled down before starting work, to avoid accidental burns.
- You have to lift the vehicle to change the probes which are located behind the catalytic converter; remember to respect all safety regulations by placing tripods and wearing protective goggles.


