Using the Android OS Settings app, you can configure the use of Arabic as the primary language. You can also change the keyboard settings so that you can type text using Arabic language characters. If you normally use the "OK Google" feature, you can change the speech recognition settings so that you can issue commands directly in Arabic.
Steps
Part 1 of 3: Changing the Language

Step 1. Launch the Settings app
It is located inside the "Applications" panel, which you can access by pressing the button characterized by a grid of dots. It is usually located in the lower right corner of the Home screen. The Settings app features a gear icon.
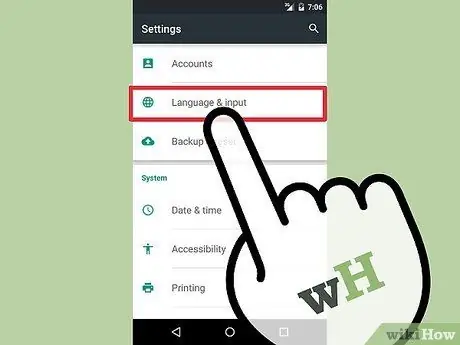
Step 2. Select the "Language and input" option
You find it within the third group called "Personal" into which the "Settings" menu is divided, it should be the fourth option from the top.
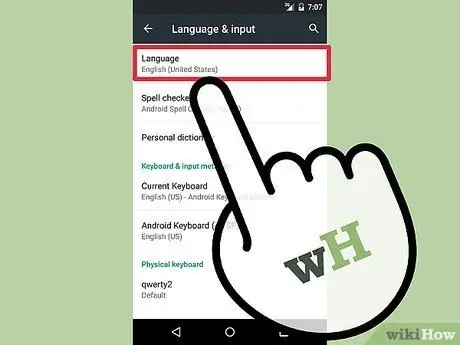
Step 3. Tap "Language"
It is the first option in the "Language and input" menu.
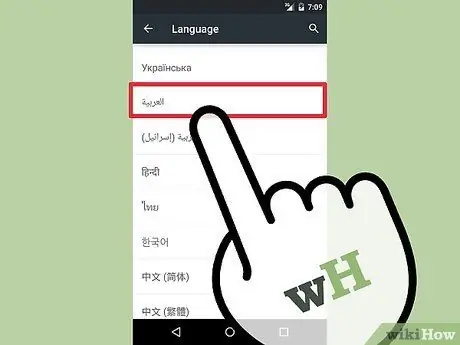
Step 4. Select Arabic from the list of usable languages
The label of this language is printed directly in Arabic (العَرَبِيَّة) and can be found at the end of the list.
After choosing Arabic, the language used to display the contents of the device will be changed immediately as well as the orientation of the text that will be read from right to left instead of from left to right
Part 2 of 3: Changing the Input Language

Step 1. Launch the Settings app
You can change your device's virtual keyboard settings so that you can use Arabic language characters without restrictions. To do this, use the Settings app found inside the "Applications" panel.
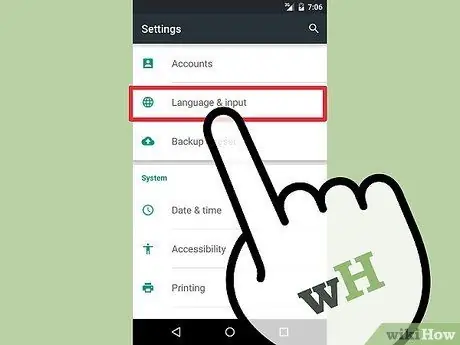
Step 2. Select the "Language and input" option
This will give you access to the language configuration settings.
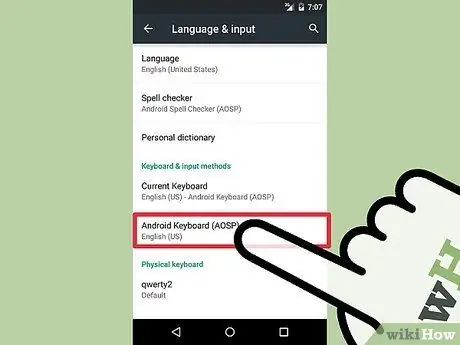
Step 3. Tap the keyboard you want to use to enter Arabic text
If you have multiple keyboards installed on your device, the wisest choice is to set the Arabic language to the one you use most often. The procedure for making this change varies by keyboard, but usually it is a very similar series of steps.
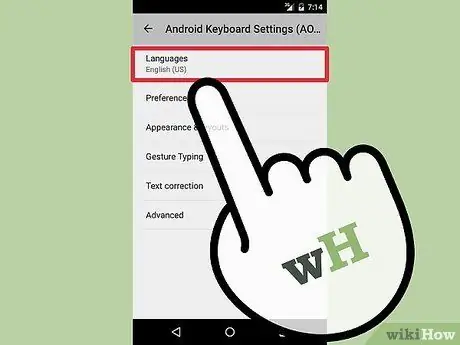
Step 4. Tap "Language Options" or "Input Languages"
A list will be displayed containing the languages available for entering text via the keyboard.

Step 5. Select the checkbox of the Arabic language
There may also be the option to use the Moroccan language if you need to.
If Arabic is not available you can try installing a different keyboard. The Google keyboard (Gboard), available for installation directly from the Play Store, fully supports the Arabic language

Step 6. Launch an application that allows you to enter text
After enabling the use of the Arabic language, you will have to choose it via the keyboard to be able to use it for text input. Launch an app that uses the virtual keyboard of the device to allow you to change the input language.

Step 7. Press the globe button to switch between languages
Each time this button is pressed, one of the installed input languages will be selected cyclically. The international abbreviation of the currently chosen language will be shown next to the space bar of the keyboard.
You can press and hold the space bar to view all available languages
Part 3 of 3: Change the Language of the "OK Google" Feature

Step 1. Launch the Google app
You can change the language used by the "OK Google" voice recognition service so that it can understand the voice commands given in Arabic. You can access these settings directly from the Google app installed on your device.

Step 2. Press the "☰" button to enter the main menu
It is located in the upper left corner of the screen. Alternatively, swipe the screen from left to right.

Step 3. Choose "Settings" from the Google app menu
In this way you will have access to the homonymous section of the menu.

Step 4. Choose the "Voice" option
The "OK Google" service voice settings screen will be displayed.
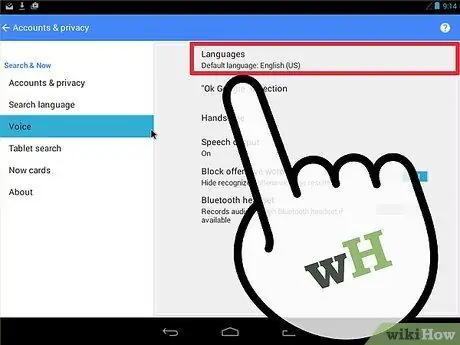
Step 5. Tap the "Language" option
It is located at the top of the "Voice" menu that appeared.
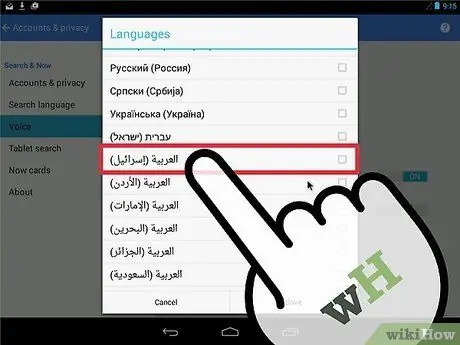
Step 6. Scroll through the list of available languages to locate the Arabic language settings
You will have several voices to choose from.
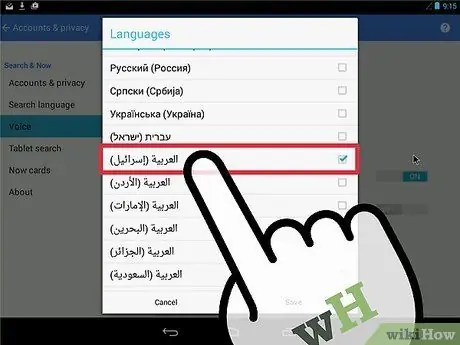
Step 7. Select the check button for the language you want to use
The voice chosen will be the one used to read the information received from the "OK Google" service and to be able to issue voice commands in Arabic.


