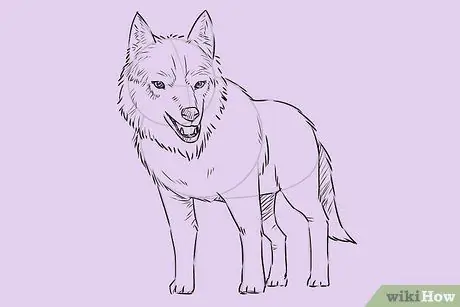
Learn how to draw a wolf by following the steps in this tutorial.
Steps
Method 1 of 4: Wolf in Standing Position
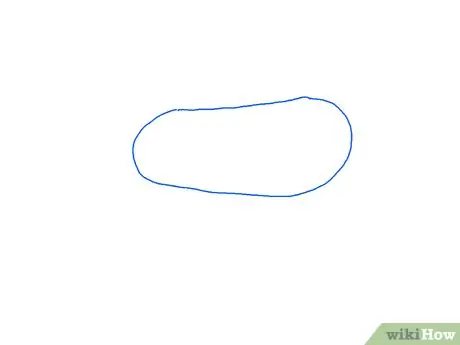
Step 1. Draw an oval to create the body
- Draw a kind of oblong bean for the body.
- Make sure you use a pencil for the sketches, so you can erase them later and get a neat job.
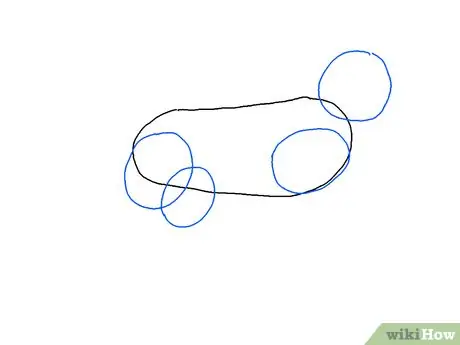
Step 2. Add joints and head
- Draw a circle on one end of the "bean"; will become the head of the wolf.
- For the posterior joints, draw two circles that overlap. One should be smaller, as it is for the rear leg which is not fully visible, based on the angle.
- About the height of the chest part, add a slightly elongated circle for the front legs.
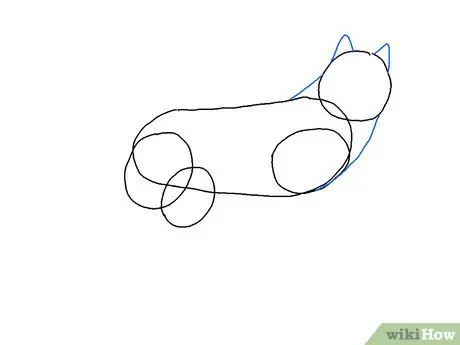
Step 3. Finish the neck and add the ears
- Draw two pointed curves at the top of the head to create the ears. The wolf's ears are smaller than a fox's.
- To make the neck (or scruff), simply draw two slightly curved lines and join both sides of the head to the bean-shaped body.
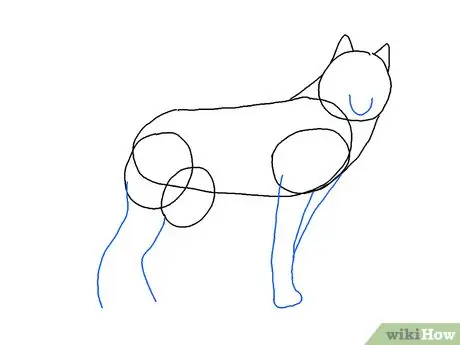
Step 4. Add muzzle and legs
- For the back legs, start by drawing curved lines starting at the back joint. The lines should curve outward, towards the tail.
- For the front legs, you can simply add two large lowercase "l". Since one of the wolf's legs is hidden, only a small part of the other should be visible.
- For the muzzle, add a small letter "U" to the head.
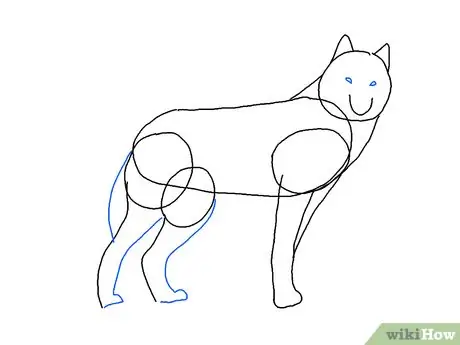
Step 5. Add eyes, tail and complete the hind legs
- For the eyes, simply add two small teardrop-shaped figures on the muzzle.
- Complete the hind limb by creating a shape similar to the one you drew earlier, but this time add the paws to the end of each leg.
- The tail will not be very visible because it is hidden behind the hind limbs. For this reason you can simply add a long curved line at the end of the bean-shaped body.
- At this point you should have drawn the complete basic structure of the wolf.
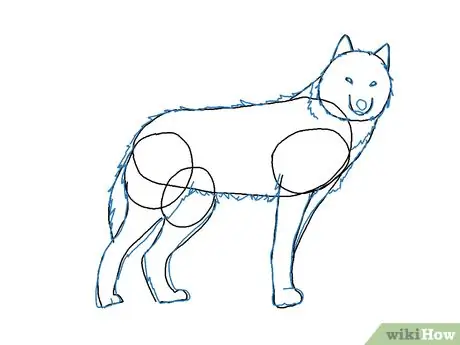
Step 6. Using a pen, draw on your sketch
- Keep in mind the lines that overlap and the parts that should be hidden.
- Remember to draw crooked and irregular lines to create the wolf fur effect.
- The stroke does not have to be perfect, but once the pencil sketch is erased it must be clean.
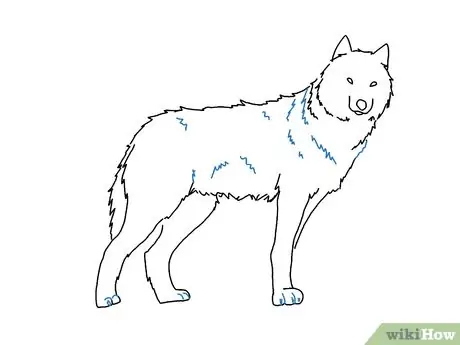
Step 7. Erase the pencil sketch and add the details
- You can add details like the ears, eyes, muzzle, paws, claws, and fur.
- You can also add other lines to highlight the paws and fur.
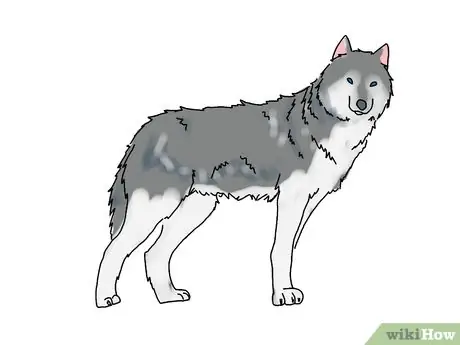
Step 8. Color the wolf
Depending on the breed, wolves can have different shades from gray to brown or perhaps white
Method 2 of 4: Wolf Howling
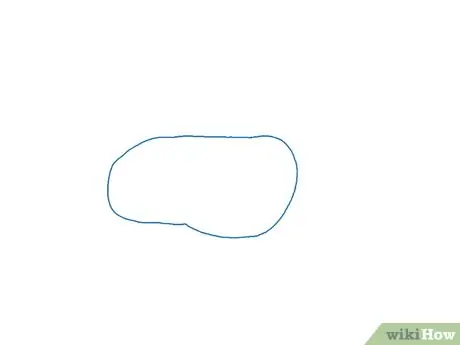
Step 1. Create the body by drawing an irregular oval
- Draw a kind of oblong bean for the body.
- Make sure you use a pencil for the sketches, so you can erase them later and get a neat job.
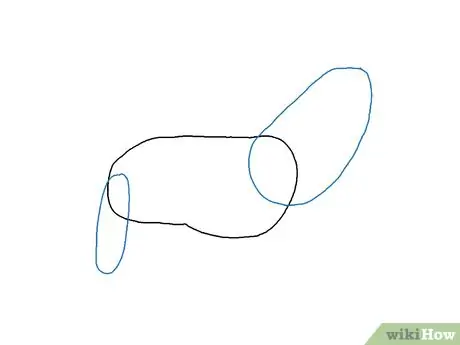
Step 2. Add two ovals
- One should be larger and point upwards. This will become the wolf's neck and head.
- The other oval should be drawn on the other end of the body. Add a long, thinner oval for the tail.
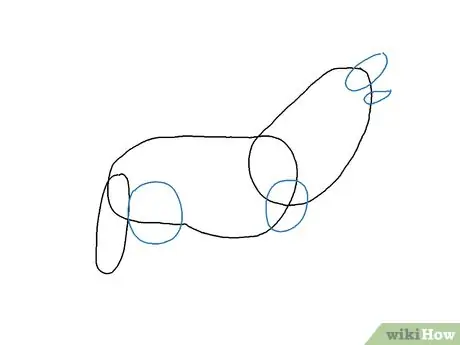
Step 3. Draw the muzzle and joints
- Add two circles for the leg joints right next to the tail part and the base of the sloping oval.
- For the muzzle, add a small oval oriented in the same direction as the one intended to become the wolf's neck / head.
- Add a teardrop-shaped figure under the muzzle to create the jaw.
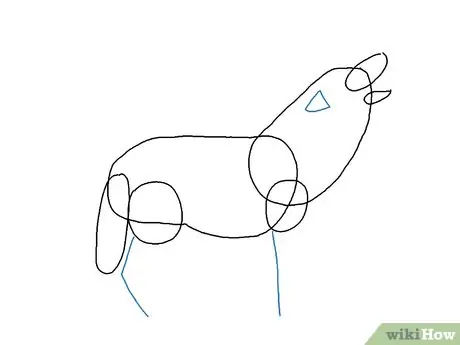
Step 4. Add ears and legs
- Given the angle, only one ear will be visible. To create it, simply draw a rounded triangle pointing in the opposite direction to that of the muzzle.
- Add the legs by drawing lines under the joints. the back leg should curve towards the tail.
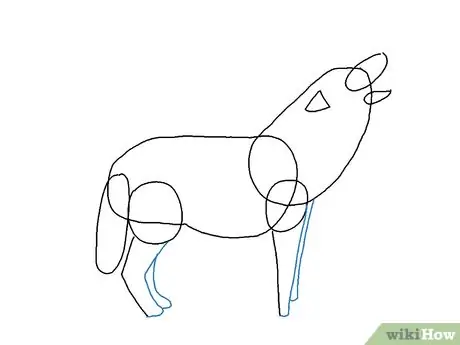
Step 5. Complete the legs
- Add similar lines to define the thickness of the wolf's legs. The underside should flatten out where it rests on the ground.
- Add a couple more legs behind the ones you drew earlier. Since they are only slightly visible given the perspective, draw only a portion of them sticking out from behind.
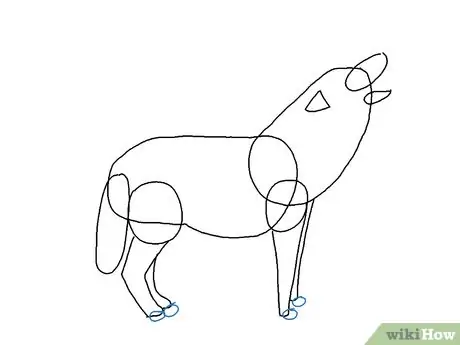
Step 6. Add the legs
- Add two pairs of circles to the end of the flat base of the legs.
- At this point you should have the basic outline.
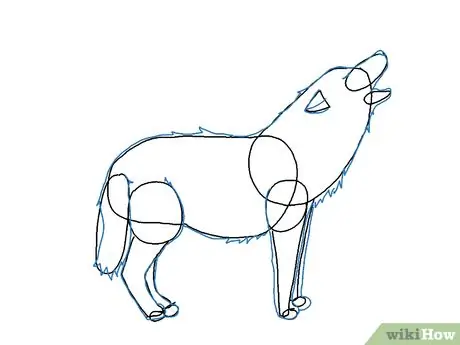
Step 7. Using a pen, draw on your sketch
- Keep in mind the lines that overlap and the parts that should be hidden.
- Remember to draw crooked and irregular lines to create the wolf fur effect.
- The stroke does not have to be perfect, but once the pencil sketch is erased it must be clean.
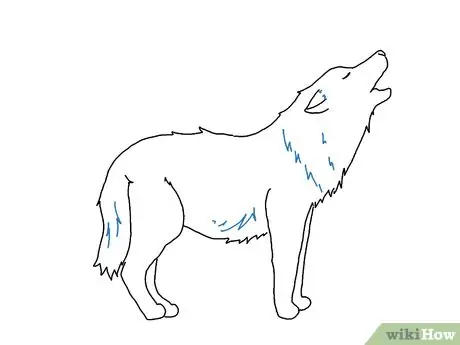
Step 8. Erase the pencil sketch and add the details
- You can add details like the ears, eyes, muzzle, paws, claws, and fur.
- You can also add other lines to highlight the paws and fur.
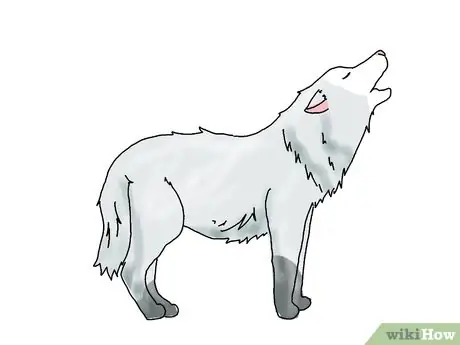
Step 9. Color the wolf
Depending on the breed, wolves can have different shades from gray to brown or perhaps white
Method 3 of 4: Cartoon Wolf
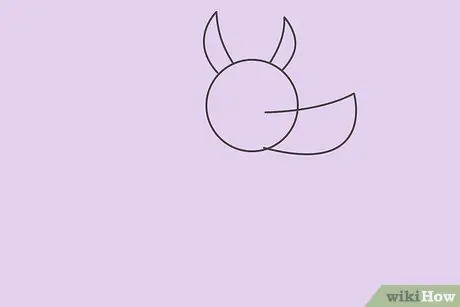
Step 1. Draw a circle
Draw two pointed shapes for the ears on the sides of the circle. Draw the nose using curved lines.
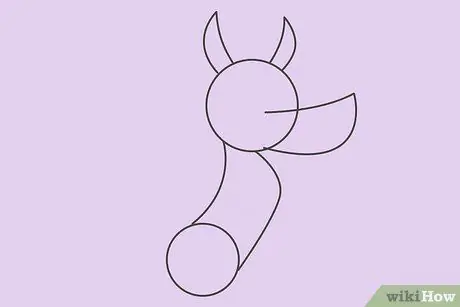
Step 2. Draw a circle under the head and connect it to it with curved lines which will thus form the body
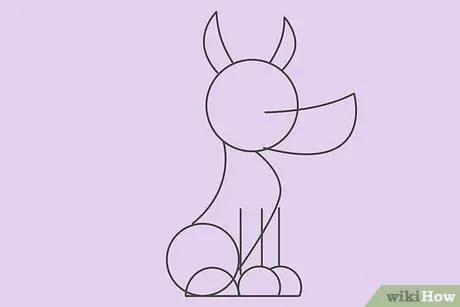
Step 3. Draw three straight lines for the front legs and a semicircle for the feet
Use another semicircle for the foot of the hind leg.
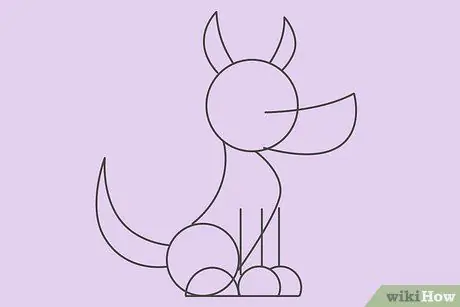
Step 4. Draw the tail pointing upwards with a crescent shape
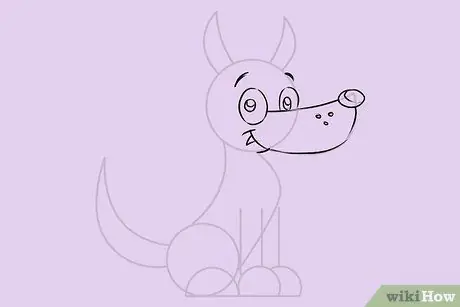
Step 5. Add details on the animal's face
Make egg-shaped eyes with a small circle inside for the pupils. Draw two curved lines for the eyebrows and a circle at the tip of the nose. Make three circles next to the nose and add a pointed fang that comes out of the wolf's mouth with curved lines.
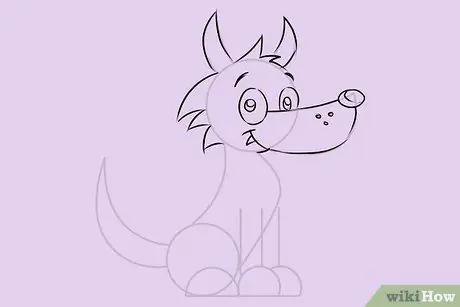
Step 6. Use short curved strokes of pencil as you draw the head, to give the impression of the fur
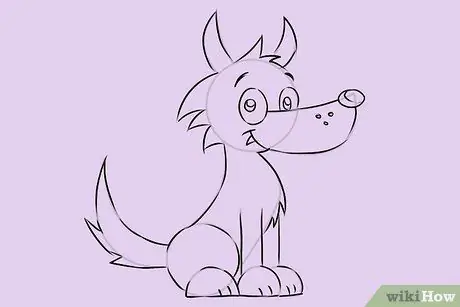
Step 7. Draw the rest of the body
Add curved lines on the chest to make the fur and slanted lines to separate the toes.
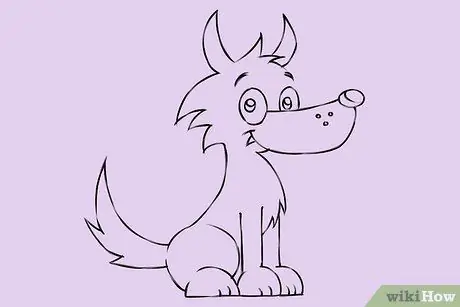
Step 8. Delete the lines you no longer need
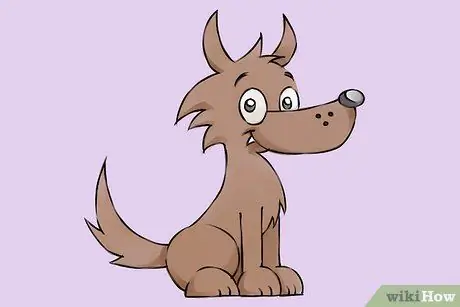
Step 9. Color the drawing
Method 4 of 4: Simple Wolf
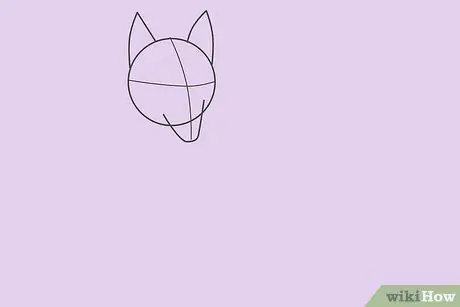
Step 1. Draw a circle for the head
On the sides of the circle, make two kinds of triangles for the ears. In front of the circle draw an arc for the protruding nose, then draw a cross in the circle that extends up to the nose.
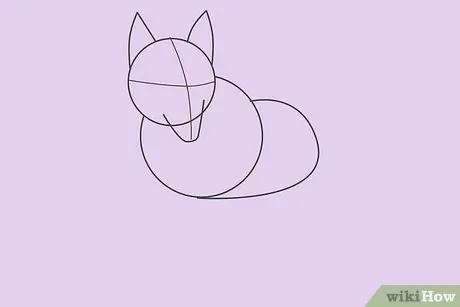
Step 2. Make a circle for the neck area and another for the body
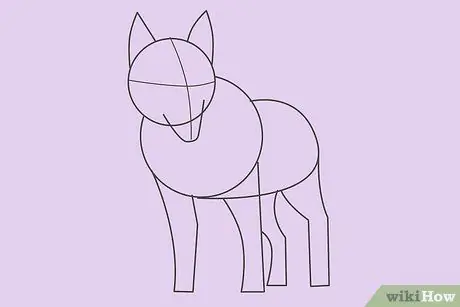
Step 3. Draw the legs with curved and straight lines
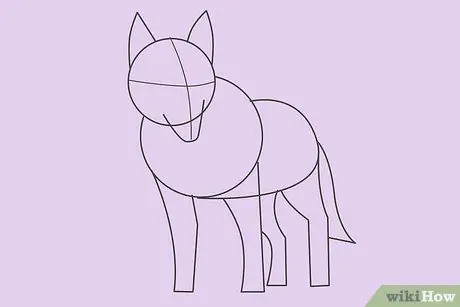
Step 4. Draw the tail at the back of the wolf with a curved line
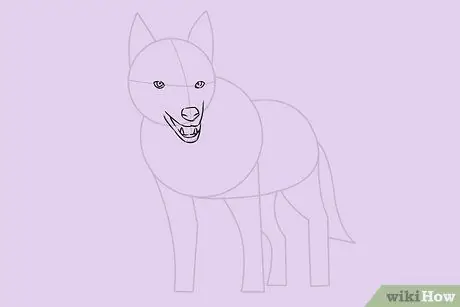
Step 5. Add details to the animal's face
Make eyes with two almond shapes with a headband inside. For the nose, use a circular shape. Draw the mouth and sharp teeth.
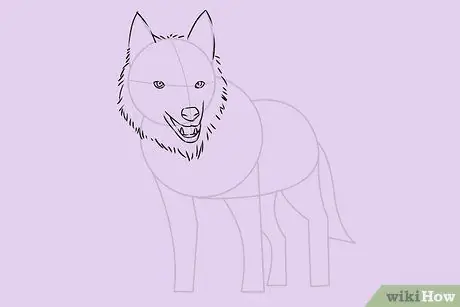
Step 6. Draw the head with short angled strokes of pencil to give the impression of the fur
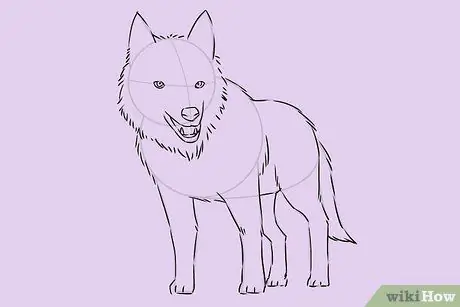
Step 7. Draw the rest of the body by adding more slanted lines for the hair
Use small slanted lines on the feet to separate the toes.
