Pixelmon is a Minecraft mod. The name suggests that it is a modification that aims to simulate the video game of Pokémon within Minecraft using the characteristic graphics of the latter. As a starter Pokémon, you can choose from Bulbasaur, Charmander, Squirtle, and Eevee. Thanks to this mod you will also have the possibility to catch wild Pokémon just like it happens in the games of the Pokémon series. This article explains how to download and install Pixelmon mod on Minecraft.
Steps
Part 1 of 4: Download the Necessary Files
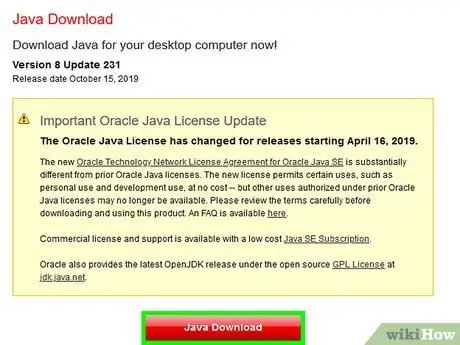
Step 1. Download and install Java (if needed)
In order to play Minecraft Java Edition on a computer and install mods, you need to have the Java platform available. If you have not already installed it on your computer, download the corresponding installation file from the following URL:

Step 2. Download and install Minecraft Java Edition on your computer
To install mods like Pixelmon, you need to own the original version of the game. The use of mods is not supported by the Windows 10, console, or mobile version of Minecraft. Follow these instructions to install Minecraft Java Edition:
- Visit the URL https://www.minecraft.net/it-it/download/ using your computer browser;
- Click on the button Download;
- Run the installation file directly from the browser window or by accessing the "Download" folder;
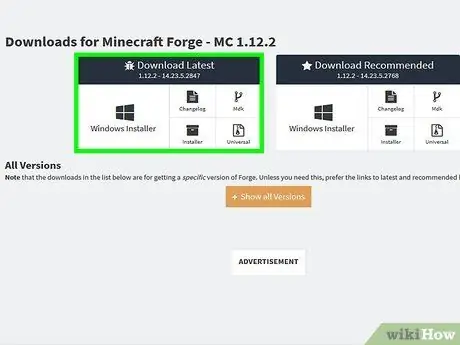
Step 3. Download Minecraft Forge version 1.12.2-14.23.5.2838
This is the tool you need to be able to install Minecraft mods. Specifically, in order to install the Pixelmon mod you will need to have Forge version 1.12.2-14.23.5.2838 available. If you have installed a newer version of the program, you will not be forced to uninstall it; however, you will need to install the indicated version alongside the existing one.
- Visit the URL
- Click on the orange button Show all version;
- Scroll down the list to "14.23.5.2838";
- Click on the link Installer-win to download the Windows version or click on the link Installer to download the Mac version;
-
Wait 6 seconds, then click the button Skip 'located in the upper right corner of the page. Attention:
the Adfoc.us website may try to trick you into downloading malware and other unnecessary programs. For this reason, do not click on any buttons or links other than those indicated. To be able to download, you will need to temporarily disable any adblocker currently active on your browser;
- Click on the installation file forge-1.12.2-14.23.5.2838 visible in the browser window or in the "Downloads" folder. If by mistake you were to download other files from the adfoc.us website, in addition to those indicated in the article, do not open or run them at all. In this case, just delete them immediately.
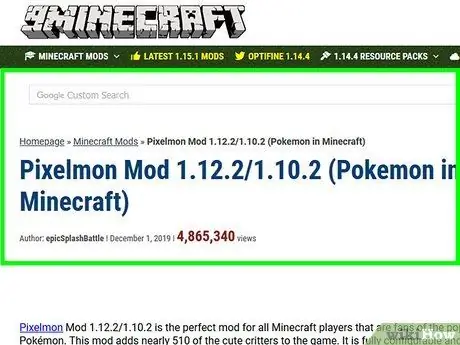
Step 4. Download the Pixelmon mod from the creator's site
Follow these instructions:
- Visit the URL https://www.9minecraft.net/pixelmon/ using your computer browser;
- Scroll down the page to the "For Minecraft 1.12.2" section.
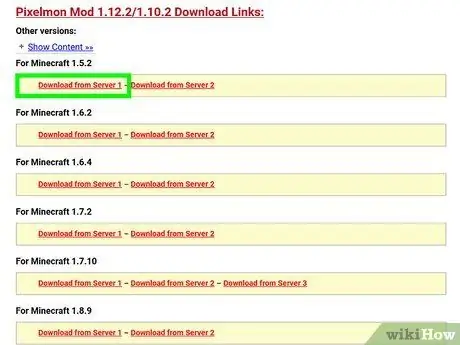
Step 5. Click on the Download from Server 1 link for the "v7.1.1" item
If the given link doesn't work, try using an alternative one.
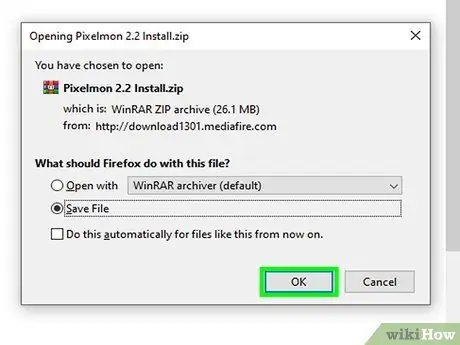
Step 6. Locate the Pixelmon mod JAR file inside your computer's "Download" folder
At the end of the Pixelmon mod download, you will find the corresponding file inside the "Download" folder. Once you have located it, you can choose to keep the "Downloads" folder window open or to move the JAR file directly to your desktop.
Again, if by mistake you have downloaded other files in addition to the one indicated, delete them immediately without opening them
Part 2 of 4: Install Pixelmon Mod Files
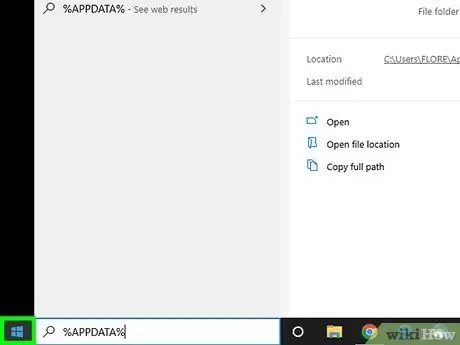
Step 1. Click on the "Start" button
It features an icon depicting the Windows logo. By default, it is located in the lower left corner of the desktop.
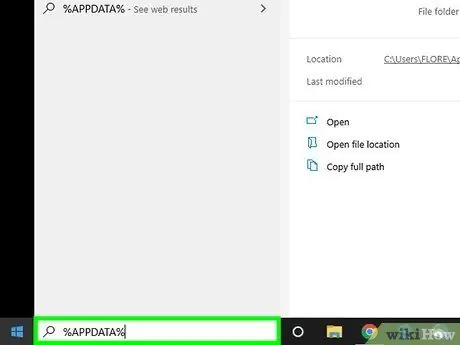
Step 2. Type the% APPDATA% command into the search bar and press the Enter key
This way you will have access to the folder that contains the Minecraft installation directory via the "File Explorer" system window.
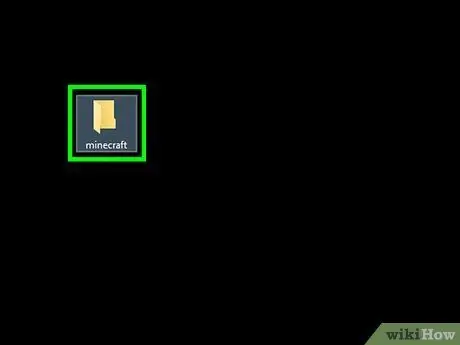
Step 3. Go to the ".minecraft" folder
This is the Minecraft installation folder on Windows systems.
If you are using a Mac, open a Finder window and click on the menu Go. Click on the item Go to the folder. Type the command "~ / Library / Application Support / minecraft" in the bar that appears and click on the button Go.
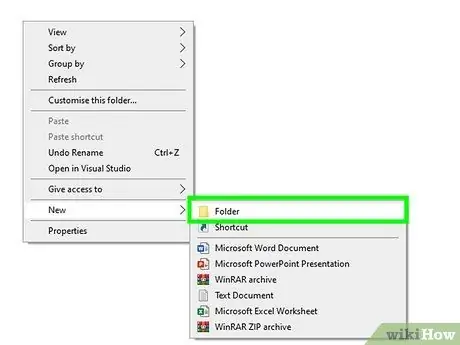
Step 4. Create the "mods" folder (if needed)
If this is your first time using a Minecraft mod, you will need to create the "mods" directory. Click on an empty spot inside the Minecraft folder using the right mouse button, click on the item New one, then choose the option Folder or New folder. Name the new folder "mods" (use lowercase letters only). If the folder in question already exists, open it with a double click of the mouse.
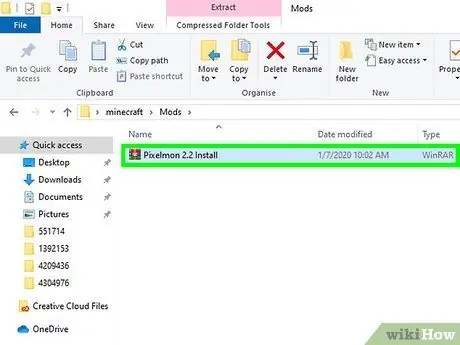
Step 5. Drag the Pixelmon mod JAR file into the "mods" folder
After having opened or created the "mods" directory, you have to move the JAR file of the Pixelmon mod that you find on the desktop or in the "Download" folder inside it.
Part 3 of 4: Create a New Pixelmon Installation
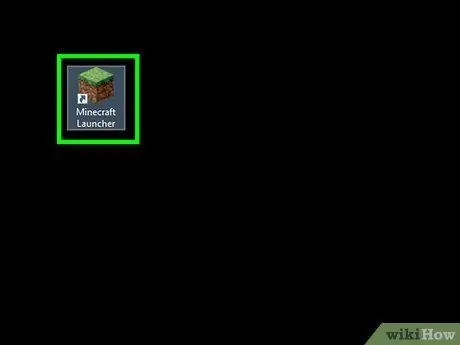
Step 1. Launch the Minecraft Launcher program
It features an icon depicting a Minecraft block of dirt and grass and is visible in the "Start" menu on Windows or in the "Applications" folder on a Mac.
If this is your first time using Minecraft, click the button Plays to start the program, then close the window. This step is required in order to create a new installation within the Minecraft Launcher.
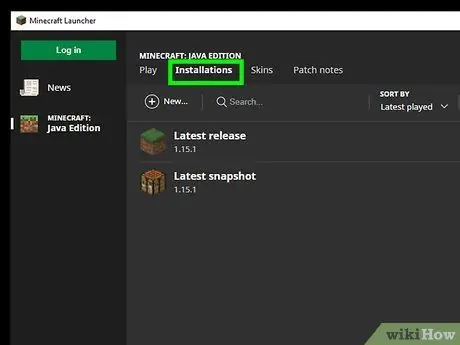
Step 2. Click on the Installations tab
It is the second tab listed at the top of the Minecraft Launcher window. The list of all Minecraft installations you have created will be displayed.
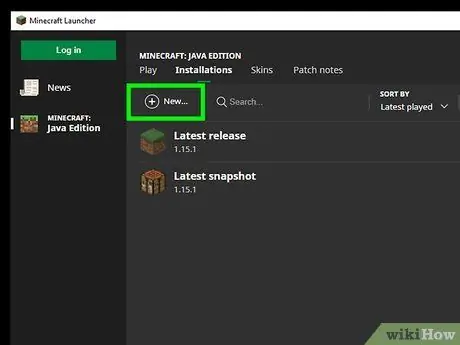
Step 3. Click on the + New button
It is located in the upper right corner of the pane. The dialog box will appear that will allow you to create a new Minecraft installation.
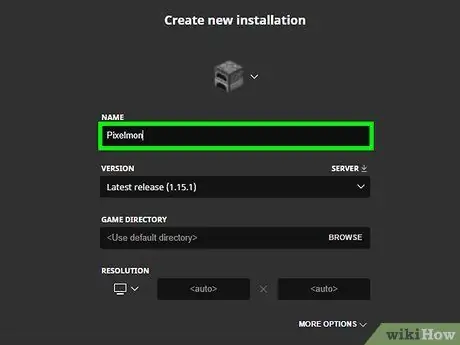
Step 4. Type the Pixelmon keyword in the "Name" text field
It is visible at the top of the "Create a new installation" window. You can use whatever name you like, but it will be easier if you choose a descriptive name like the one indicated.
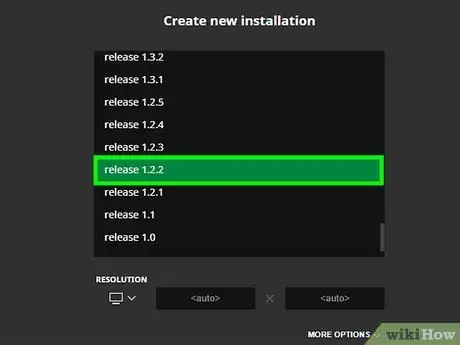
Step 5. Select the "Release 1.12.2-forge1.12.2-14.23.5.2838" option from the "Version" drop-down menu
The version indicated is listed at the bottom of the drop-down menu that will appear.
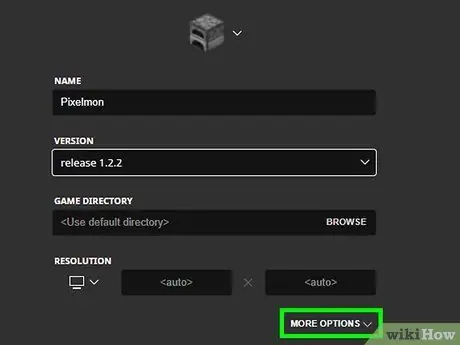
Step 6. Click on the More Options button
It is visible at the bottom of the "Create a new installation" window.
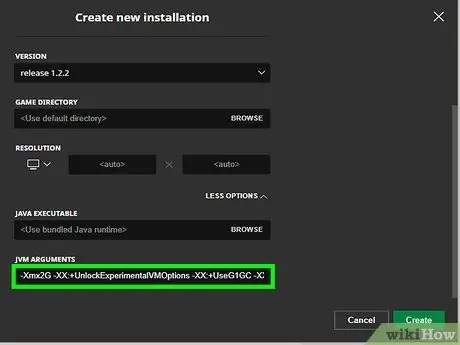
Step 7. Make sure that the single parameter "-Xmx2G" or higher is displayed in the "JVM Arguments" text field
The first parameter displayed in the "JVM Arguments" text field indicates the amount of RAM that will be allocated for the installation of Minecraft. The minimum amount of RAM is 2 GB. If the first visible parameter in the "JVM Arguments" text field is "-Xmx1G", you will need to change it to "-Xmx2G". Depending on the amount of RAM in your computer, you can choose to use the larger value.
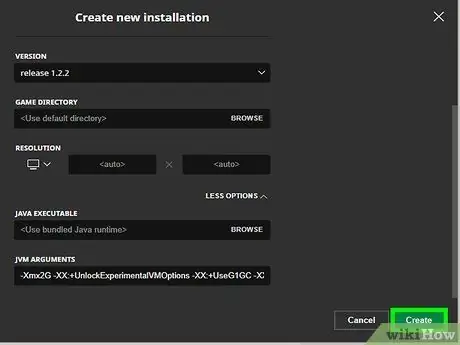
Step 8. Click the Create button
This will create a new Minecraft installation that will contain the Pixelmon mod.
Part 4 of 4: Playing Pixelmon
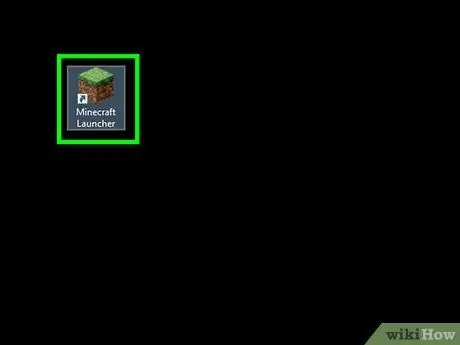
Step 1. Launch the Minecraft Launcher program
It features an icon depicting a Minecraft block of dirt and grass and is visible in the "Start" menu on Windows or in the "Applications" folder on a Mac.
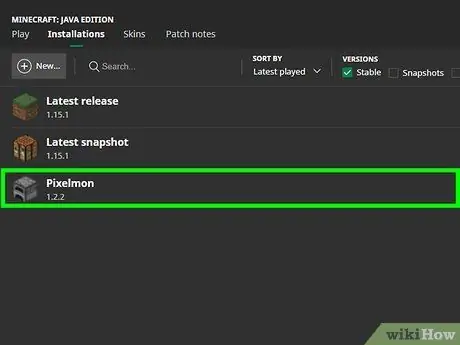
Step 2. Select Pixelmon installation
Use the drop-down menu located to the right of the green "Play" button, visible in the Minecraft launcher window, to be able to select the Pixelmon installation you just created.
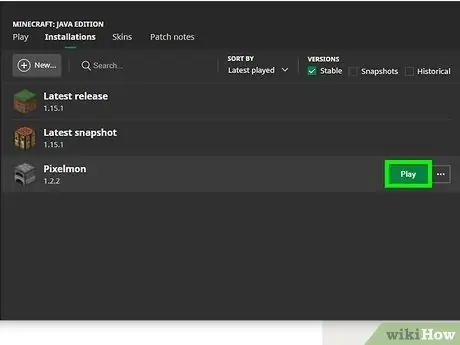
Step 3. Click the Play button
The Minecraft game will start which will include all the mods you have installed. Loading mods may take several minutes. If the installation was successful, the number of mods installed will be shown in the lower right corner of the game window and they should all be active.


