This article explains how to connect and set up an AirPort Time Capsule device to a Mac. Time Capsule is a device that integrates a Wi-Fi router and hard drive that can be used as an automatic backup system for all computers on the wireless network. After connecting Time Capsule to the modem that manages the internet connection, you can configure it as a Wi-Fi router and use it to manage your home wireless network.
Steps
Part 1 of 3: Connect the Time Capsule to the Modem
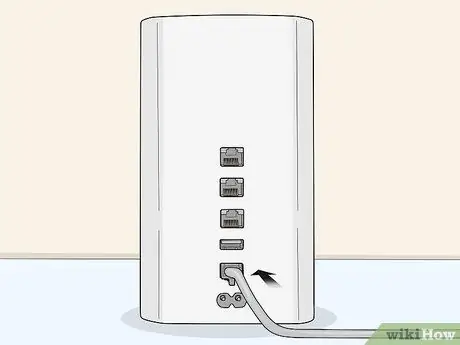
Step 1. Connect an Ethernet cable to the corresponding port on the Time Capsule device
To connect, use the network cable included in the package and plug one end into the Time Capsule's WAN port.
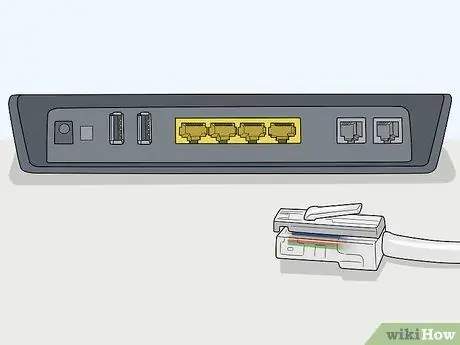
Step 2. Connect the other end of the Ethernet cable to one of the free ports on the modem / router that manages the internet connection
This type of modem is usually equipped with four LAN ports to which as many devices can be connected using a normal network cable. Plug the free end of the Time Capsule's Ethernet cable into one of the free ports on the modem.
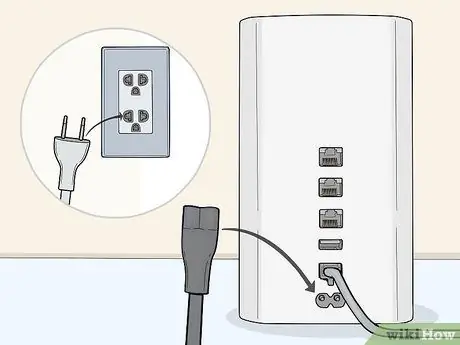
Step 3. Plug the Time Capsule's power cord into a power outlet
The Time Capsule device is powered by a normal AC adapter that plugs into a power outlet. Make sure there is a free outlet near where you have decided to install the Time Capsule unit.
It is always a good idea to connect the Time Capsule unit (and any other electronic device of a certain value) to an electric power strip equipped with protection systems against voltage surges to prevent the delicate electrical components inside these devices from becoming damage
Part 2 of 3: Configure the Wireless Network
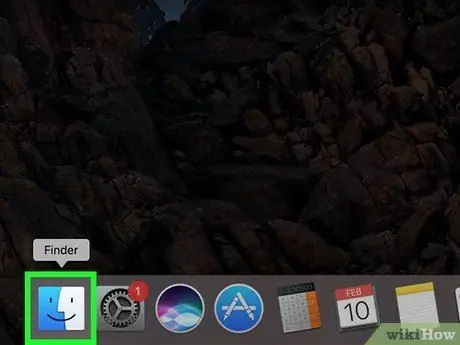
Step 1. Open a Finder window by clicking on the icon
of your Mac.
It features a blue and white icon depicting a stylized smiling face. The Finder app is used on a Mac to browse the contents of all memory drives connected to the computer for files and applications.
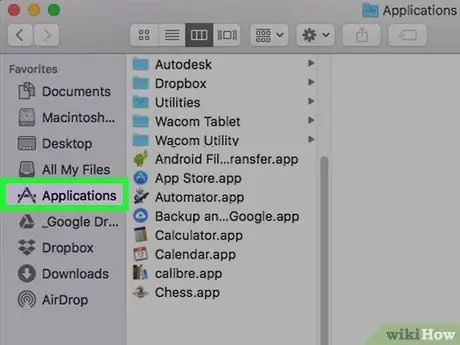
Step 2. Click on the Applications folder
It is listed in the left pane of the Finder window. The list of all applications installed on the Mac will be displayed.
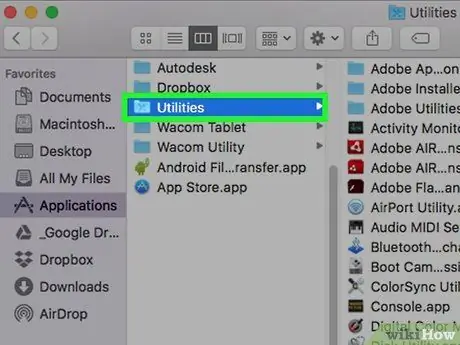
Step 3. Double-click the Utilities folder
It is characterized by a blue folder inside which a screwdriver and a wrench are visible. It is located at the bottom of the window. All the Mac system applications are stored in the "Utilities" folder.
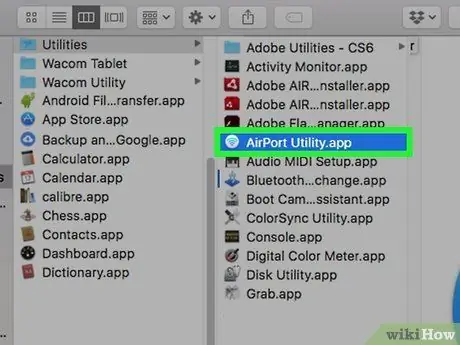
Step 4. Double-click the AirPort Utility app
It features a blue icon depicting the classic Wi-Fi connection symbol. It is placed at the top of the window if the icons are arranged in alphabetical order.
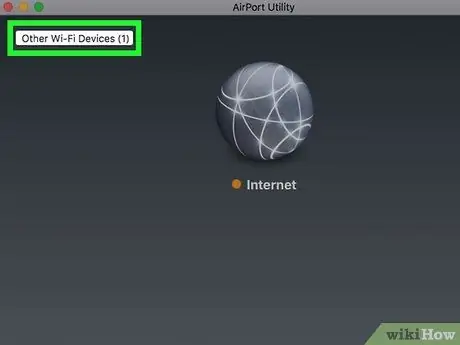
Step 5. Click on the item Other wireless devices
It is displayed in the upper left corner of the AirPort Utility app window.
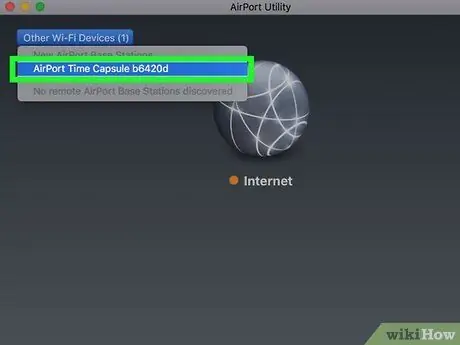
Step 6. Click on the AirPort Time Capsule option
It is one of the items listed in the "Other wireless devices" menu that appeared. The item in question is characterized by a unique identification code consisting of six alphanumeric digits, for example "fea88c" or similar.
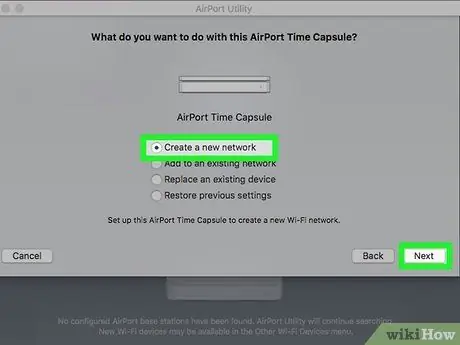
Step 7. Select the option I want to create a new wireless network, then click the button Continues.
After clicking on your Time Capsule unit in the "AirPort Utility" window you will see a series of options appear. Click on the radio button "I want to create a new wireless network" which should be the first option in the list, then click on the "Continue" button.
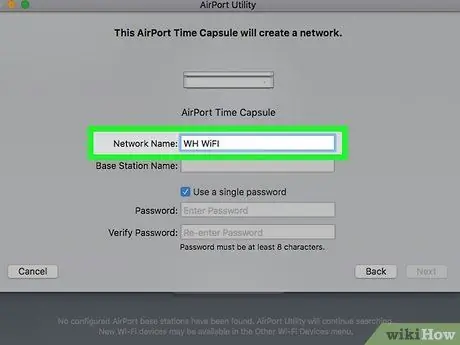
Step 8. Name your Wi-Fi network
Click on the "Network Name" text field and type in the name you want to assign to the network. You can choose whatever name you want, for example you can use your last name or something more ingenious.
Step 9. Name the base station
Click on the "Base Name" text field and type in your chosen name. It will be used to identify the Time Capsule drive within the network. Having a specific name for your Time Capsule device is useful in case you want to purchase a second Time Capsule unit in the future to expand your wireless network.
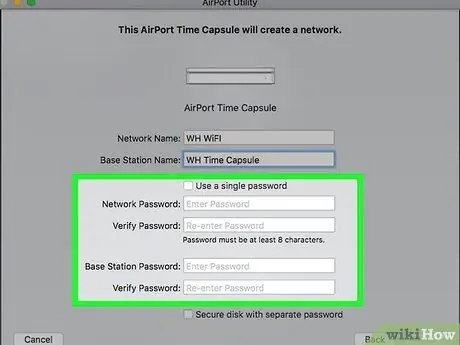
Step 10. Create a login password
Click on the "Wireless Password" and "Verify Password" text fields to enter the password you want to use. Make sure you enter the same password in both of the text fields indicated.
To create a separate password to protect access to the Time Capsule, uncheck the "Use a single password" checkbox. This will bring up two text fields where you can enter the individual login password for the Time Capsule unit. This is a very useful step if you have multiple Time Capsule units on your network and you want to create a password for your guests
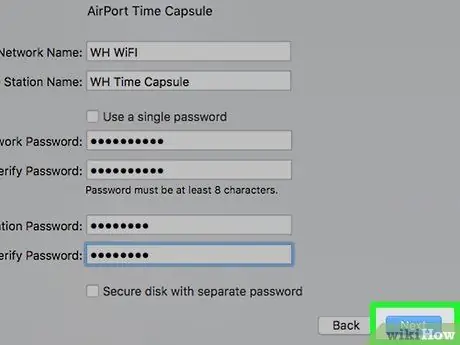
Step 11. Click the Continue button
It is located in the lower right corner of the "AirPort Utility" window.
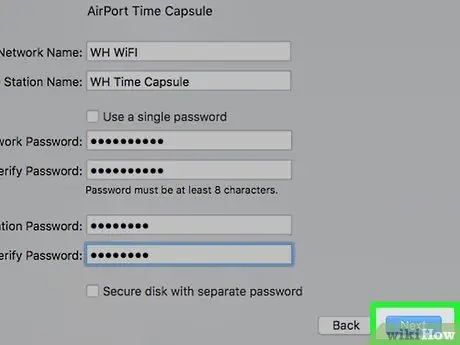
Step 12. Restart the modem
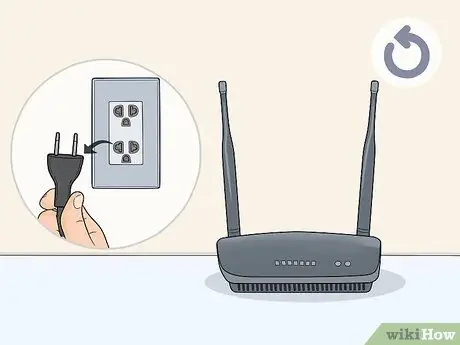
At this point you will be asked to restart the modem. Unplug it from the mains for about a minute, then restart it and wait for it to be fully operational again before continuing.
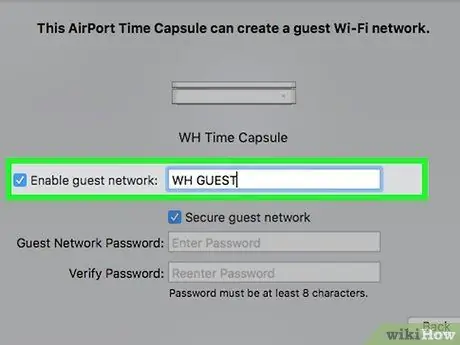
Step 13. Create a guest network (optional)
If you need to create a network for your guests, select the "Enable guest network" checkbox, then name the subnet. In this way, your guests will be able to access the internet without being able to access the computers on your Wi-Fi network. If you do not need to create an isolated subnet for guests, do not select the indicated check button.
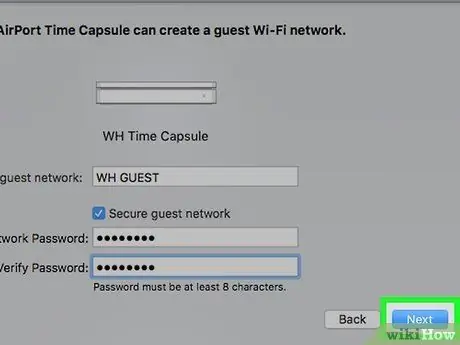
Step 14. Click the Continue button
It is located in the lower right corner of the "AirPort Utility" window.
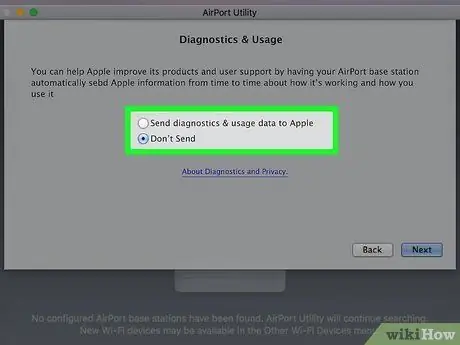
Step 15. Enable the collection and sending of diagnostic data to Apple (optional)
If you would like your Time Capsule unit to collect and send diagnostic data related to network and device usage to Apple, click the radio button "Send diagnostic and usage data to Apple". All collected data will be sent anonymously to Apple. If you do not want the collected data to be sent to Apple, click on the radio button "Do not send".
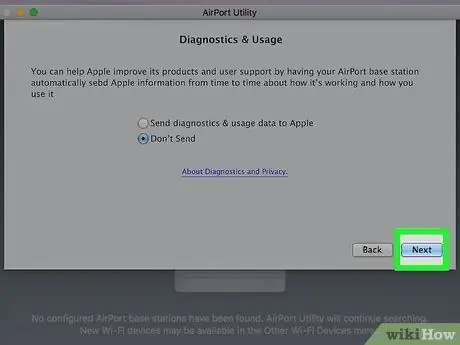
Step 16. Click the Continue button
It is located in the lower right corner of the "AirPort Utility" window. The program will configure the Wi-Fi network and the Time Capsule unit as indicated.
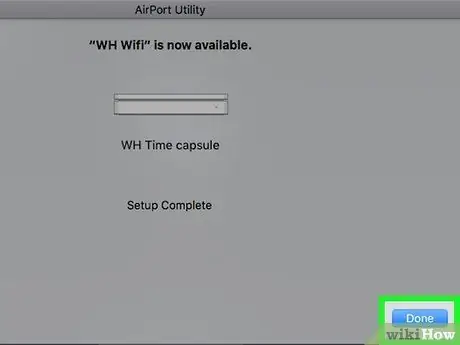
Step 17. Click the Finish button
At this point your Wi-Fi network is ready for use.
Part 3 of 3: Accessing the Time Capsule Unit Data
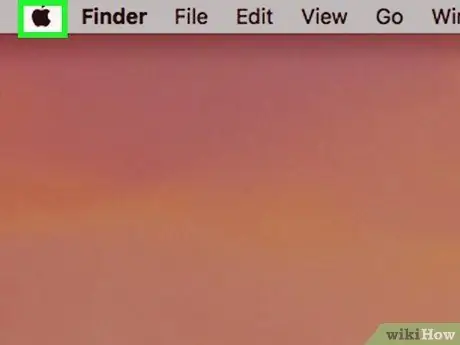
Step 1. Access the "Apple" menu by clicking on the icon
It is displayed in the upper left corner of the Mac screen on the menu bar.
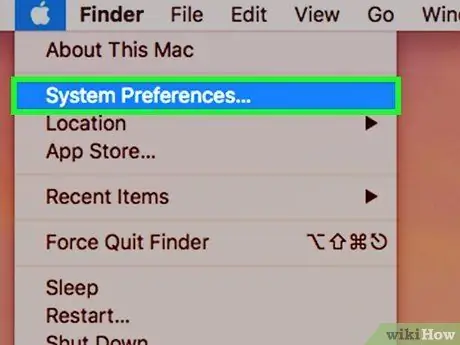
Step 2. Click on the System Preferences… option
This is the system window that allows you to manage and modify application configuration settings.
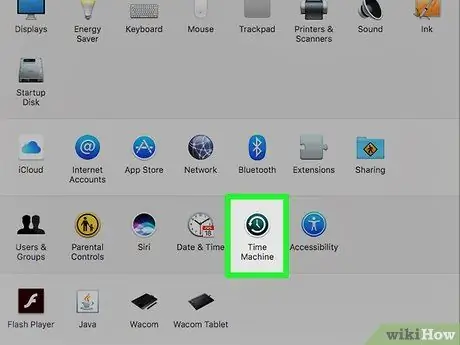
Step 3. Launch the Time Machine app
It features a green analog clock icon.
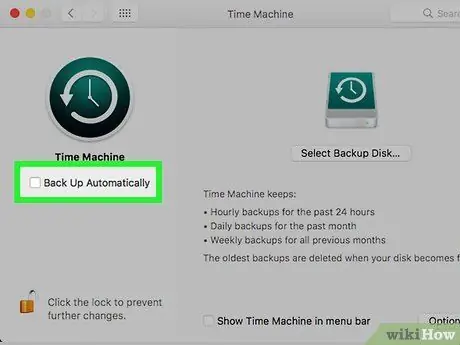
Step 4. Select the "Back up automatically" check button
This way your Mac will automatically back up your data using the Time Capsule drive, freeing you from having to do this manually.
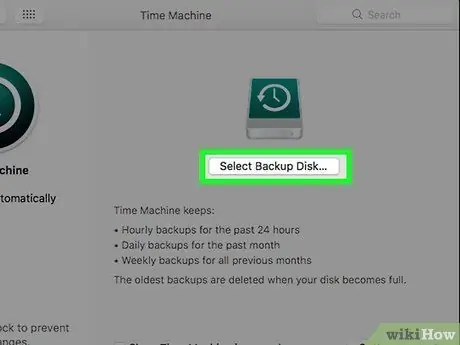
Step 5. Click the Select Disk button
A pop-up window will appear listing all the Time Capsule units on your Wi-Fi network.
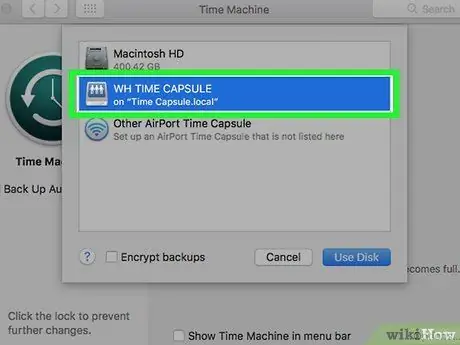
Step 6. Select the Time Capsule drive you want to use for backup
The selected device will be used to store all Time Machine automatic backup data and will allow you to have access to that information at any time.


