This article explains how to connect a MacBook to a TV. Modern MacBooks are different from MacBook Pros in that they only have one video out port. MacBooks manufactured between 2009 and 2015 have a Mini DisplayPort video port. If needed, you can connect a MacBook to an Apple TV using the AirPlay feature.
Steps
Method 1 of 2: Wired Connection
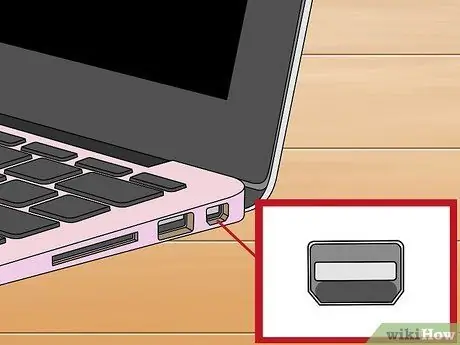
Step 1. Determine the type of video out port on your MacBook
MacBooks produced from 2015 onwards have a USB-C port - also known as Thunderbolt 3 - located along the left side of the computer case.
If your MacBook was manufactured between 2009 and 2015, it should only have one Mini DisplayPort located on the left side of the case. The Mini DisplayPort ports have a square shape with rounded bottom corners and feature a TV screen icon

Step 2. Purchase a connecting cable that doubles as an adapter
If your MacBook was manufactured from 2015 onwards, you will need to purchase a USB-C to HDMI connection cable. If your Mac has a Mini DisplayPort video port, you will need to purchase a Mini DisplayPort to HDMI connection cable.
- You can buy these types of cables directly online, on sites like Amazon or eBay or in electronics stores like MediaWorld.
- When you have to buy this type of cables, you shouldn't spend more than about 15 €. There are also very expensive cables on the market but they do not provide an appreciable improvement in video quality and, therefore, do not justify the purchase price.
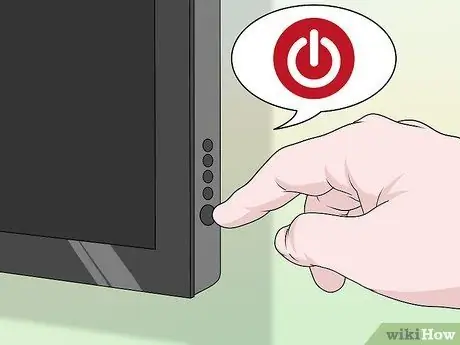
Step 3. Turn off the TV
This way you will avoid accidentally damaging it during the connection phase.
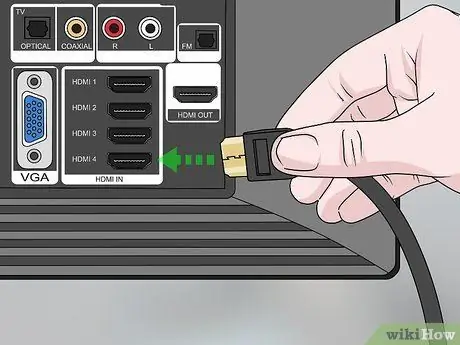
Step 4. Connect the HDMI connector of the cable to the corresponding port on the TV
Your TV should have at least one HDMI input port. It is characterized by a thinned trapezoidal shape. Normally, the HDMI ports are located on the back of the TV or along one of the sides. HDMI ports have a specific sense to connect, so be careful when inserting the connector.
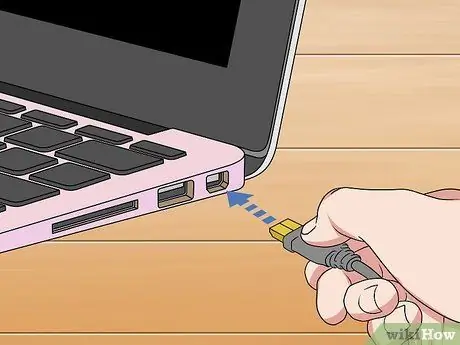
Step 5. Connect the other end of the cable to the video port on the MacBook
For a 2015-later MacBook, you will need to plug the cable into the USB-C port. It has an oval shape and is placed along the left side of the Mac.
- In the case of a MacBook manufactured between 2009 and 2015, you will only have a Mini DisplayPort located along the left side of the Mac and will feature a screen icon.
- If you're using a USB-C cable to connect your Mac to your TV, make sure the battery is fully charged before you begin.
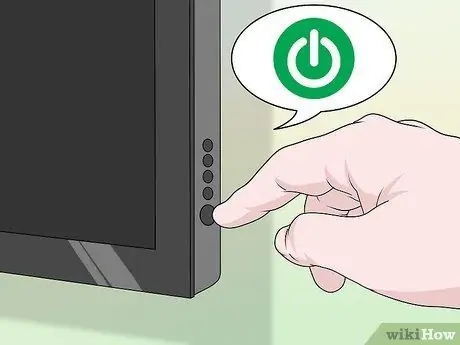
Step 6. Press the power button
to switch on the TV.
You can use the button on the remote control or the one on the TV directly. Normally, it is characterized by a circular icon intersected by a small segment at the top.
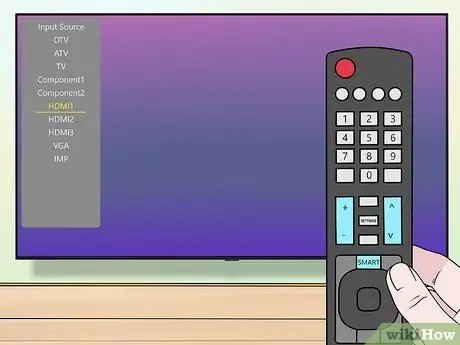
Step 7. Select the HDMI input port on the TV you connected your MacBook to
Press the button Input, Video or Source on your TV or remote control to be able to select the HDMI port you connected your MacBook to.

Step 8. Access the Apple menu by clicking on the icon
of the MacBook.
It features the Apple logo and is located in the upper left corner of the screen. A list of options will be displayed.
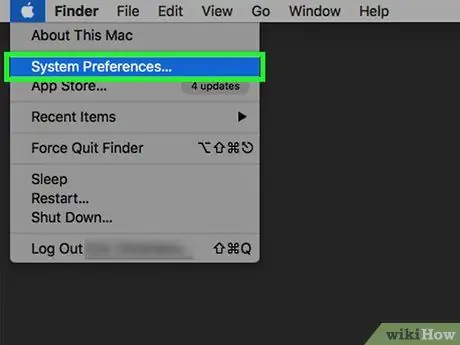
Step 9. Click on System Preferences…
It is located at the top of the appeared menu. The "System Preferences" dialog box will appear.
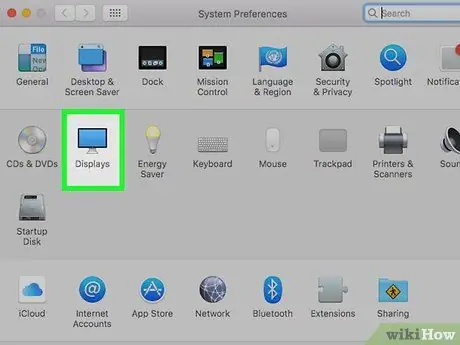
Step 10. Click the Monitor icon
It features a stylized monitor. It is displayed in the center of the "System Preferences" window.
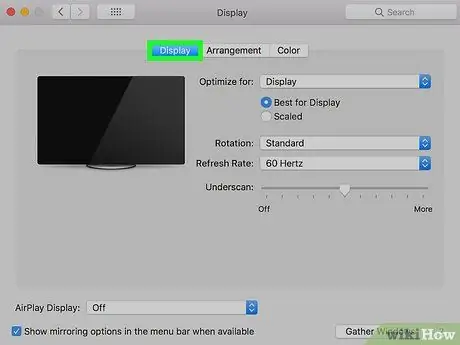
Step 11. Click on the Monitor tab
It is located in the upper left of the window.
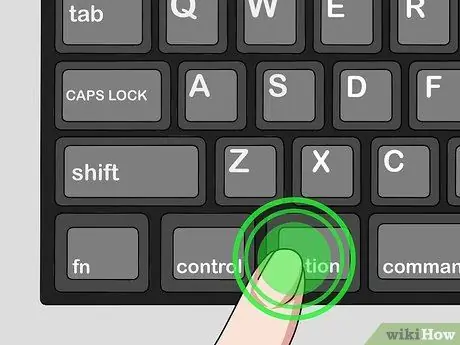
Step 12. Press and hold the Options button as you click the button Detect monitors.
If your MacBook was unable to detect the TV automatically, you can force the detection by performing this step.
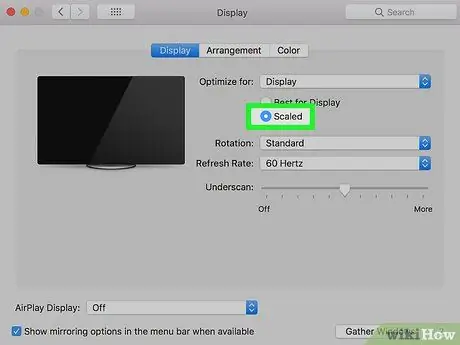
Step 13. Select the "Resized" button
This way, you will have the option to select a specific video resolution for your TV.
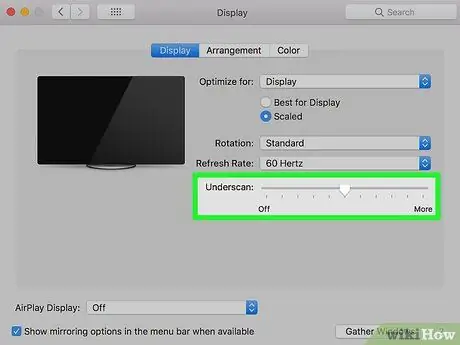
Step 14. Resize the screen area by changing the value of the "Underscan" option
Use the "Underscan" slider located at the bottom of the window, moving it to the right or left respectively, to enlarge or reduce the image displayed on the TV screen. In this way, you will be able to fit the image played by the Mac to the actual size of the TV screen.
- Alternatively, you can choose the resolution you prefer. A normal high definition television should have a resolution of 1920 x 1080 pixels. Modern 4K Ultra HD TVs come in at a resolution of 3840 x 2160 pixels.
- Remember that you cannot set a resolution higher than the native resolution of the TV (for example, you cannot select an Ultra HD 4K resolution if the TV screen supports 1080p maximum resolution).
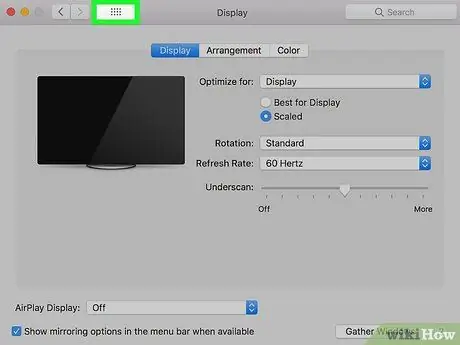
Step 15. Click on the ⋮⋮⋮⋮ button
It is located in the upper left corner of the window. You will be redirected to the main screen of the "System Preferences" window.
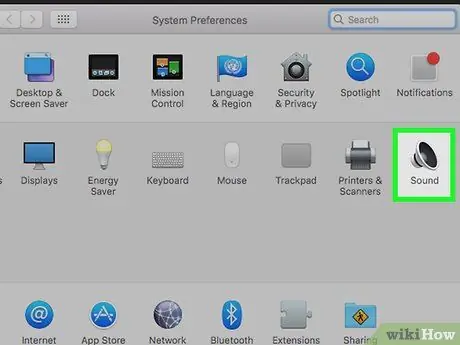
Step 16. Click the Sound icon
It features a loudspeaker.
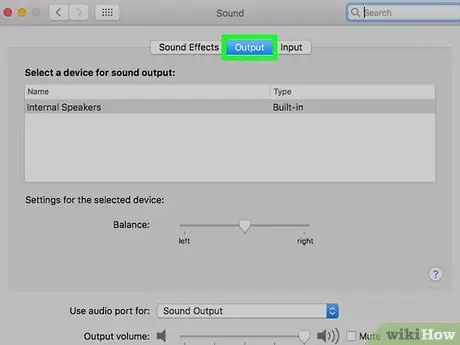
Step 17. Click on the Output tab
It is displayed at the top of the "Sound" window. All audio devices intended for playback that the Mac has access to will be listed. One of the items in the list should match the name of your TV.
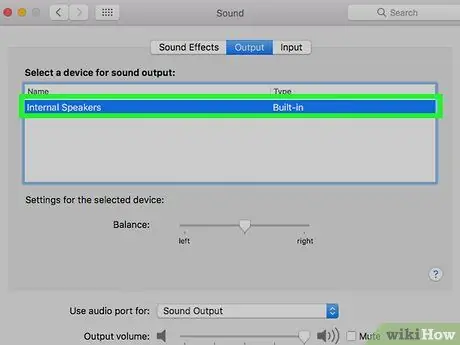
Step 18. Click on the TV name
In this way, you can be sure that the audio signal will be transmitted from the Mac to the TV and reproduced by the speakers of the latter.
- If the TV name is highlighted, your Mac is already set up to use the TV speakers.
- MacBook models manufactured before 2009 use the Mini DisplayPort port to transmit the video signal only. In this case, you can connect external speakers to your MacBook using the audio jack you normally connect your headphones to.
Method 2 of 2: Using an AppleTV
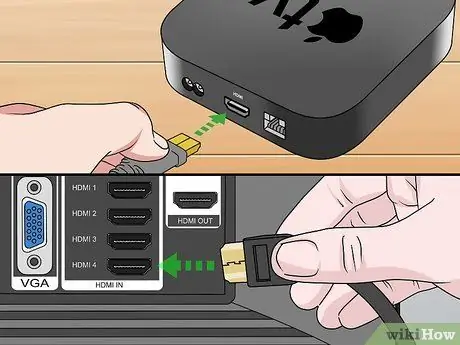
Step 1. Install and configure the Apple TV
In order to take advantage of the AirPlay screen mirroring function, you need to connect the Apple TV to the TV and set it up correctly.
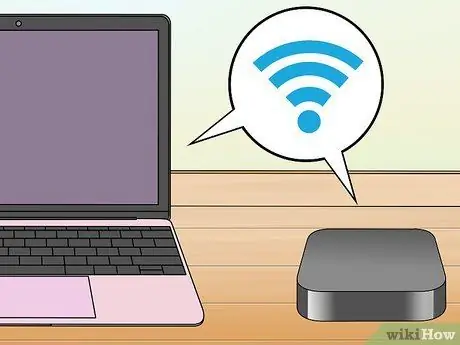
Step 2. Connect the Mac to the same LAN that the Apple TV is connected to
To be able to stream content from your Mac to your TV, your computer and Apple TV must be connected to the same Wi-Fi network. During the Apple TV setup process, you will be able to select the network to connect to.
You can find out the SSID (the wireless network identifier) of the network to which the Apple TV is connected by accessing the menu Settings of the latter and selecting the item Net. The name of the wireless network that the Apple TV is connected to is listed under "Wi-Fi Network Name".

Step 3. Turn on the Apple TV
Press the Power button
on the TV, then press any button on the Apple TV remote.
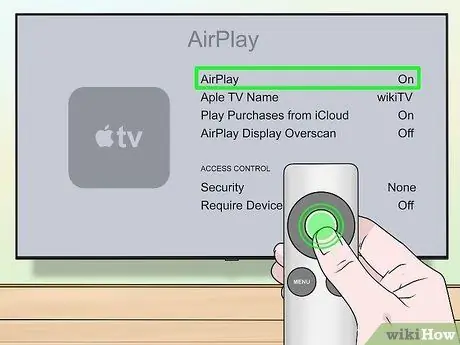
Step 4. Activate the AirPlay feature on the Apple TV
Follow these instructions:
- Access the menu Settings of the Apple TV;
- Select the item AirPlay;
- Select the option AirPlay displayed at the top of the screen;
- Select the item All from the menu that appeared.

Step 5. Access the Mac's Apple menu by clicking on the icon
It features the Apple logo and is located in the upper left corner of the screen. A list of options will be displayed.
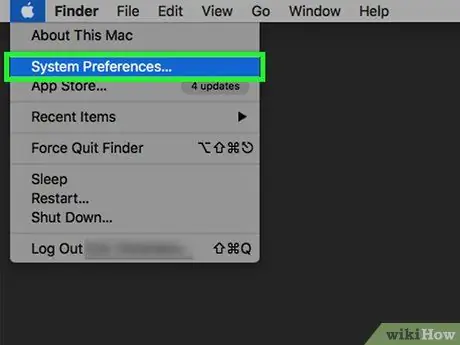
Step 6. Click on System Preferences…
It is listed at the top of the appeared menu. The "System Preferences" dialog box will appear.
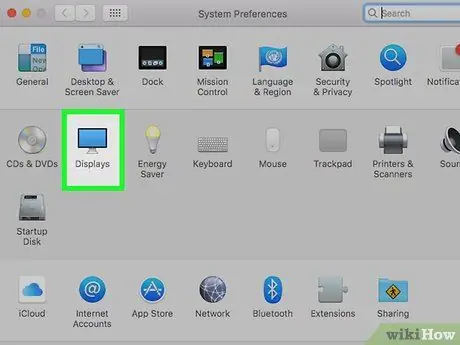
Step 7. Click the Monitor icon
It features a stylized computer monitor and is listed in the center of the "System Preferences" window.
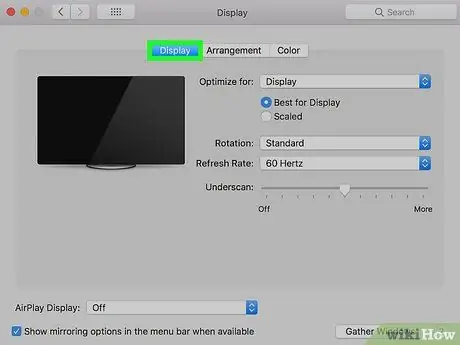
Step 8. Click on the Monitor tab
It is located in the upper left corner of the window.
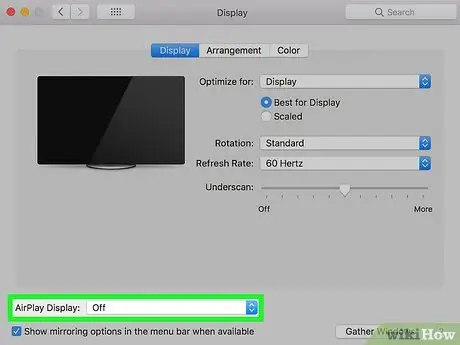
Step 9. Click on the "AirPlay Monitor" drop-down menu
It is located in the lower left corner of the "Monitor" tab of the window. A list of options will be displayed.
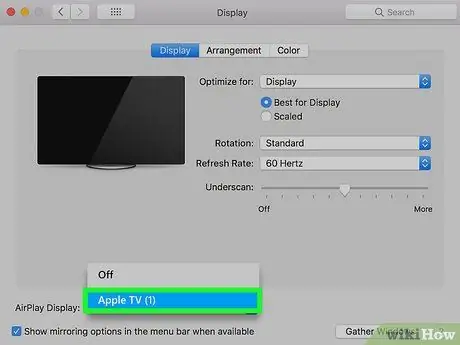
Step 10. Select your Apple TV
Click on the Apple TV name listed in the "AirPlay Monitor" drop-down menu. At this point, the image displayed on the Mac screen should also appear on the TV screen.
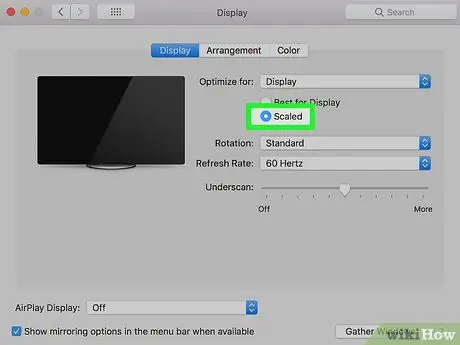
Step 11. Change the video resolution
Select the "Resized" button, then click on the resolution you want to use. This way, if your TV is high definition, you can use the same resolution you set for your Mac screen.
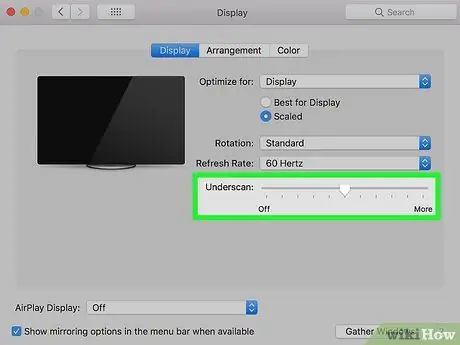
Step 12. Resize the screen area
Use the "Underscan" slider, located at the bottom of the window, by moving it to the right or left respectively to enlarge or reduce the image displayed on the TV screen. In this way, you will be able to fit the image played by the Mac to the actual size of the TV screen, in case some parts are cut off or there are black bands around the edges.
- Alternatively, you can choose the resolution you prefer using the box located under "Resized".
- A normal high definition television should have a resolution of 1920 x 1080 pixels. Modern 4K Ultra HD TVs come in at a resolution of 3840 x 2160 pixels. Select the most suitable resolution for the TV according to your need.
- Remember that you cannot set a resolution higher than the native resolution of the TV (for example, you cannot select an Ultra HD 4K resolution, if the TV screen supports a maximum resolution of 1080p).
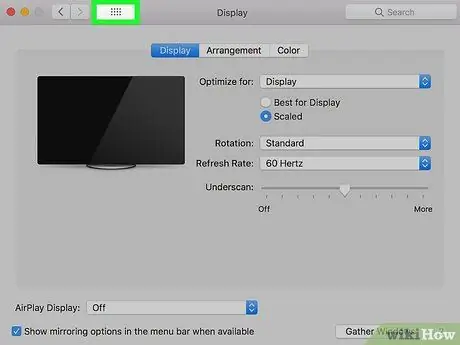
Step 13. Click the button (⋮⋮⋮⋮)
It is located in the upper left corner of the window. You will be redirected to the main screen of the "System Preferences" window.
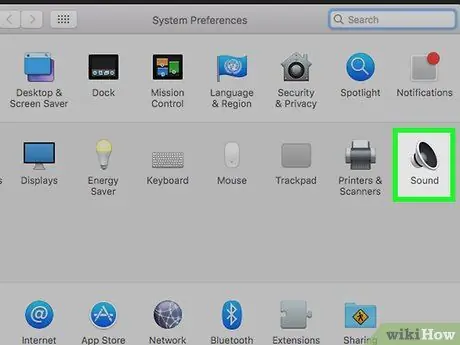
Step 14. Click the Sound icon
It features a loudspeaker.
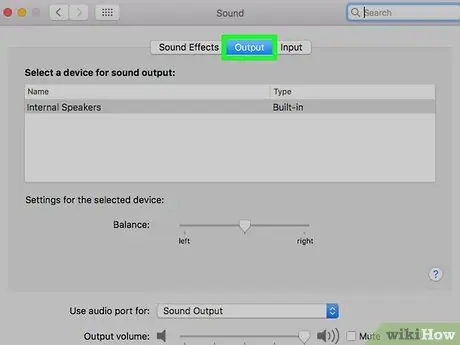
Step 15. Click on the Output tab
It is displayed at the top of the "Sound" window. All audio devices intended for playback that the Mac has access to will be listed. One of the items on the list should be the Apple TV.
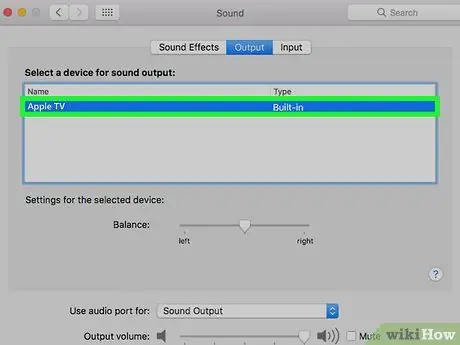
Step 16. Click on the Apple TV option
This way, you can be sure that the audio signal will be transmitted from the Mac to the Apple TV and played through the TV speakers.


