Managing the battery drain on an Android device can be a big hassle. Sometimes, you get the feeling that you had better keep it constantly plugged in, but then you remember that it is a mobile phone and that its main feature is that it is "portable"! Luckily, there are some remedies to get your "immobile" phone back into a "mobile" device.
Steps
Part 1 of 4: Changing the Network Connection Settings
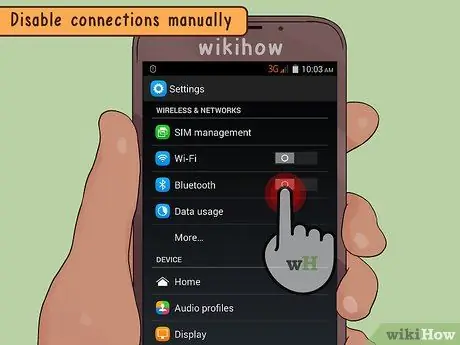
Step 1. Manually disable all connections when you're not using them
Turn off Wi-Fi, Bluetooth, GPS tracking connections and turn them on only when you need to use them because, otherwise, they consume battery power.
To make all connections inactive, start airplane mode. Just press the power button until a menu appears; tap the "Airplane mode" option which turns off all wireless connections on your mobile. To restore the Wi-Fi connection, but not the cellular one while the phone is in airplane mode, tap the "Menu" icon, the "Settings" icon and finally the "Connections" label, to tick the "Wi- Fi"
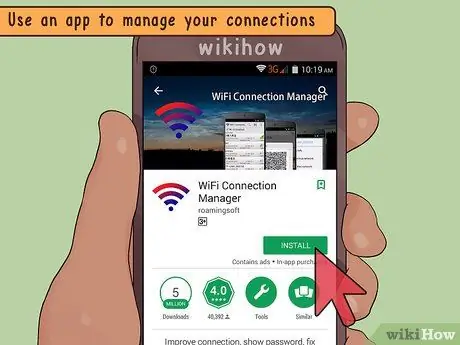
Step 2. Use an application to manage all connections
Install one, such as Net Blocker, which allows you to switch off and on the connection to the data network, instead of keeping the mobile phone constantly connected.
These applications also allow you to customize the connection settings for each app; for each of these, you can choose whether to block the connection via Wi-Fi, cellular network or both
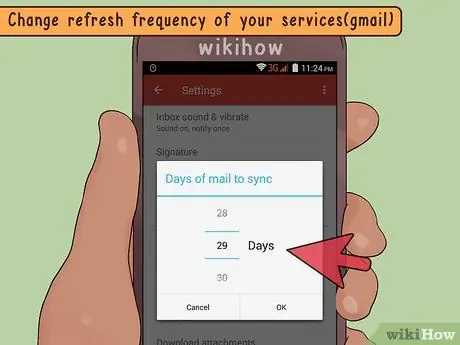
Step 3. Reduce the frequency of polling or reloading services
Set the various instant messaging applications, such as Facebook, email and Twitter, so that the update is not automatic, but manual. In this way, you do not constantly receive updates of the messages that arrive, saving battery and at the same time taking a "break" from perennial availability.
To change the update frequency, log in to your inbox. Tap the "Menu" option, "Settings" and then "Manage Accounts". Choose the account you want to change, select the synchronization settings and tap the "Schedule synchronization" option; you can set the refresh rate within this latter function
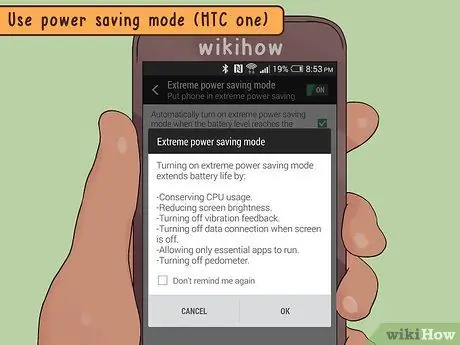
Step 4. Use the power saving mode
Some Android devices, such as the Galaxy S5 and HTC One (M8), even have modes that save battery power to an "ultra" or "extreme" level. By activating them, the functionality of the mobile phone is reduced to a minimum; for example, the sending and receiving of SMS, calls, online browsing and Facebook remain possible.
To activate the power saving mode on an Android 5.0 device, tap the "Settings" icon followed by the "Battery" function, within which you can select the option to reduce consumption; it is also possible to program the mode, so that it activates only when, for example, the residual charge is at 15 or 5%
Part 2 of 4: Eliminate Energy Consuming Options
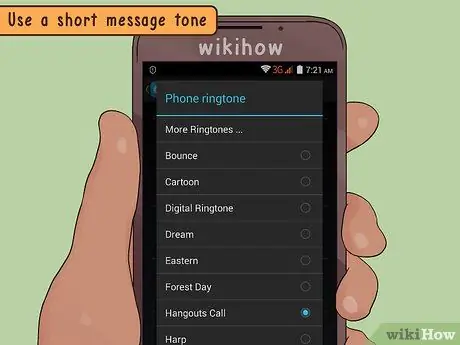
Step 1. Use a short ringtone for messages
A long beep for calls and messages uses a lot of energy. Reduce consumption by setting a short ringtone or deactivating it for incoming messages.
The default or "factory" ringtones vary by device, but can be easily changed. To change the ringing tones, open the application pages, select the "Settings" one, tap the "Device" tab and finally choose the "Sounds and notifications" option. After activating the ringtone of your choice, tap the "Add" button and finally "OK". By following the same path, you can also check for activated tones or ringtones
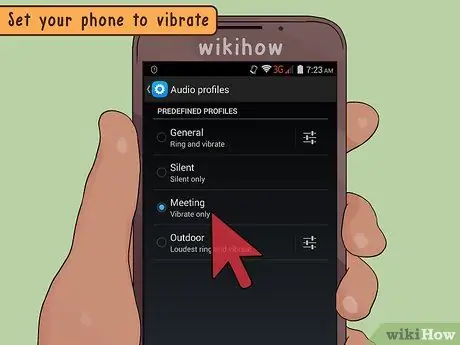
Step 2. Set the vibration mode
Alternatively, you can avoid any type of ringtone and choose to have the phone vibrate. Access the notification settings and tap the "Vibrate" option.
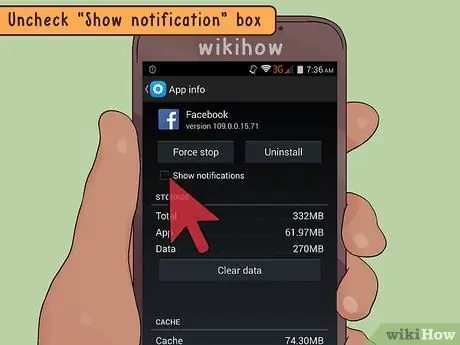
Step 3. Use only really useful internet applications
Avoid subscribing to unnecessary notifications, email updates, newsletters and so on. Also remember to optimize the frequency with which you receive notifications from these applications.

Step 4. Close unused applications
Some programs may be running in the background without you necessarily knowing. You can close them without damaging your mobile; there are three simple ways to proceed:
- Press the "Recent Applications" button located at the bottom of the screen; swipe the application you want to close to the right.
- Press the "Application information" button, select "Forced shutdown" and "OK" to confirm the operation.
- Access the "Settings", select the "Applications" option and access the "Running" menu; choose the application you want to close, press "Stop" or "Force stop".
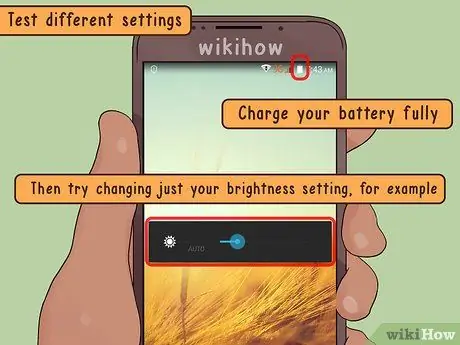
Step 5. Try different configurations
If you're not sure if a particular setting is consuming a lot of energy quickly, try making only one change at a time. Fully charge the battery; later, try changing, for example, the brightness of the screen. Pay attention if this remedy leads to results and if it changes the rate at which the battery drains during the day.
Part 3 of 4: Improving Screen Efficiency
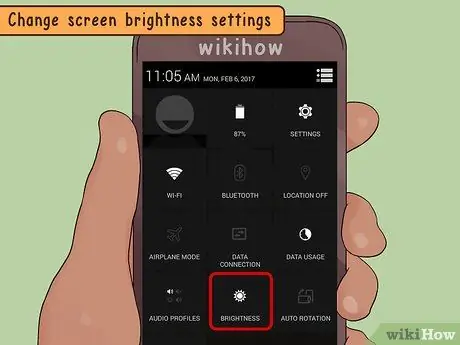
Step 1. Change the screen brightness settings
Once the eyes have adjusted, you shouldn't notice any difference between the current level and the previous one; however, these changes have a major impact on battery life.
- Press the "Menu" key on your Android device.
- Select "System Settings" from the proposed functions.
- Tap the "Display" option in the "Settings" section.
- Select "Brightness" from the list that appears.
- Uncheck the "Auto" option. Now you can change your device's brightness settings and save a lot of bacterial energy with a dimmed backlight.
- Use your finger to move the slider left and right and decrease or increase the brightness.
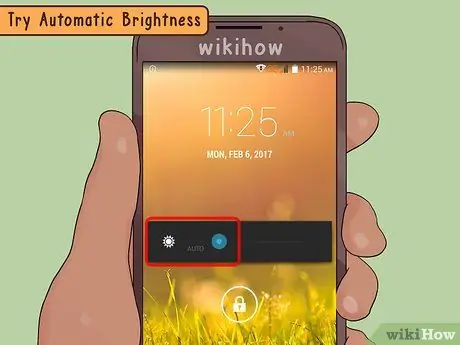
Step 2. Try the auto brightness feature
As an alternative to setting it up manually, you can let the device take care of it automatically. Press the "Automatic brightness" button which allows the mobile to adjust the settings according to the intensity of the ambient light. That way, you don't save as much energy as keeping a low backlight constantly, but it can be a solution, if you usually turn on maximum brightness.
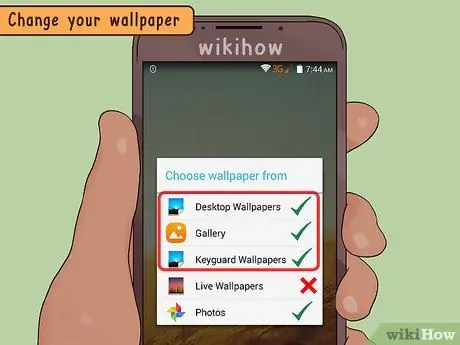
Step 3. Change the wallpaper
Some types, such as animated or interactive ones, use a lot of energy; if you have set a live wallpaper, check that it is optimized and does not consume too much memory and battery.
To change the wallpaper, choose "Menu" and the "Wallpaper" function or, if you are in the application pages, open the gallery. Find the image you want to set and use the box to select the portion you like
Part 4 of 4: Optimizing the Battery
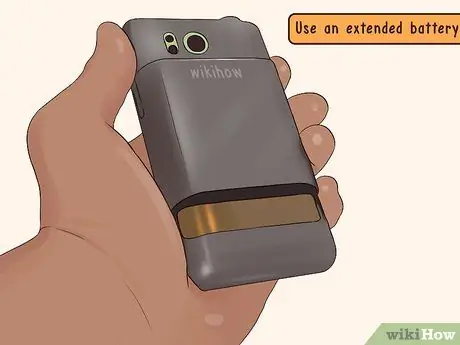
Step 1. Use a long-lasting battery
Consider buying such a battery or a case with a built-in battery. The second performs a protective function and in addition allows to double (or even more) the life of the battery.
Step 2. Check the signal strength
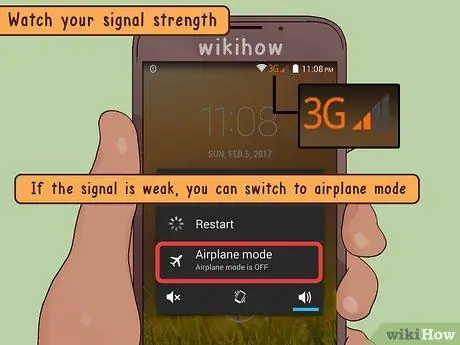
If you are in a location where cellular coverage is weak and its icon shows "a few notches", your phone may use more power to search for the field and perform functions. Try to disable most of the data traffic in areas where there is little signal; in these cases, you can also select "Airplane mode".
To switch to this mode, keep the power key pressed until a menu appears, then select the "Airplane mode" option which turns off all wireless connections on your mobile. To restore the Wi-Fi connection, but not the cellular one while the phone is in airplane mode, tap the "Menu" icon, the "Settings" icon and finally the "Connections" label, and then check the "Wi -Fi"
Step 3. Check the battery
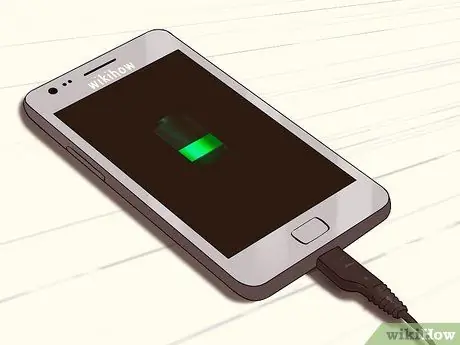
If you can't find a solution, check the battery as it may need to be replaced. If you have a spare or can borrow one from a friend, try using it to see if the problem persists. If you don't have another battery or are having difficulty changing it on your mobile, take it to a retailer or operator; it is worth making sure that the battery is not the source of the malfunction.


