If you have always thought that drawing a bird was a very difficult task, change your mind and follow the steps in detail, you will soon become an expert in this art.
Steps
Method 1 of 2: Part One: Drawing a Bird
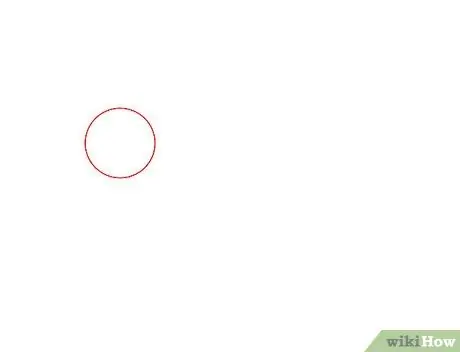
Step 1. Draw a circle to represent the head

Step 2. Draw the eye with a small circle inside the larger circle, place it at the top left
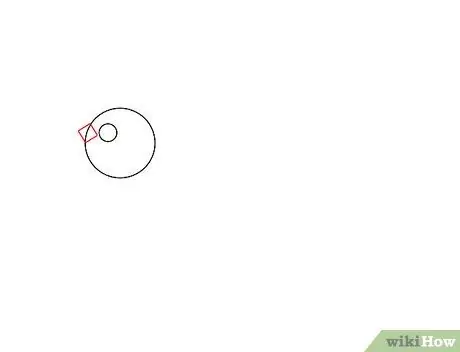
Step 3. Draw a square next to the eye
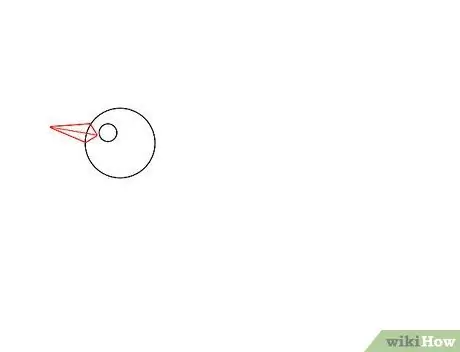
Step 4. Transform and stretch the square to create the beak
Draw a horizontal line to divide the beak in half.
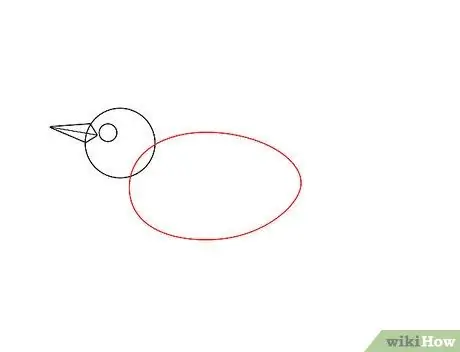
Step 5. Draw an elongated oval under the head
It will be the body of the bird.
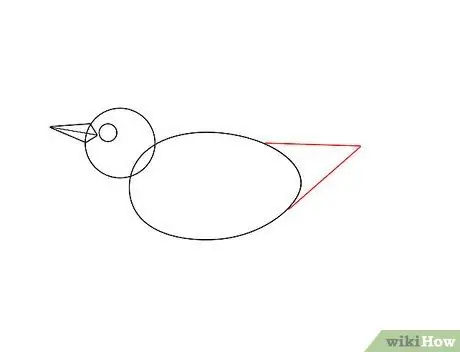
Step 6. Add a cone to the right of the body to give your bird a tail
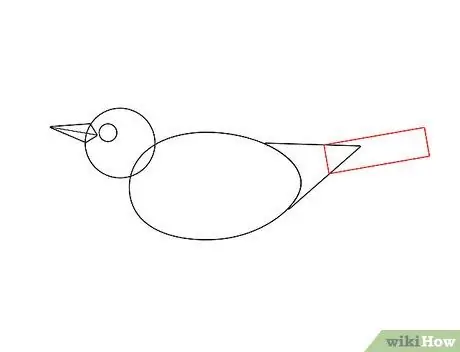
Step 7. Add a long rectangle to the tip of the cone
It will be your guideline in drawing the tail feathers.
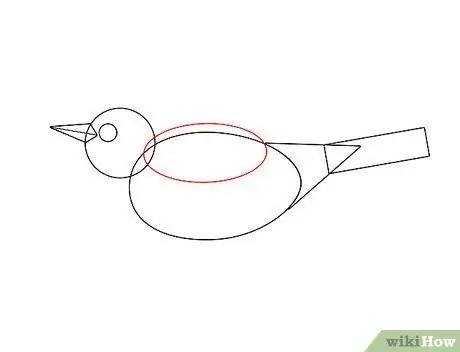
Step 8. Trace a section of the wings with a small oval superimposed on that of the body
Follow the picture.
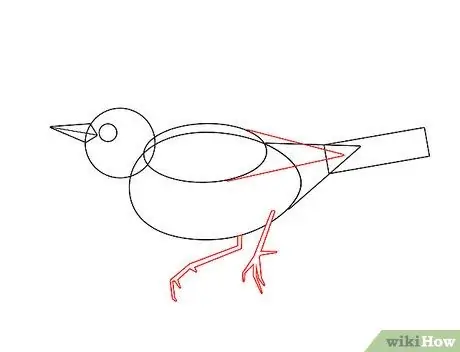
Step 9. Draw an elongated cone at the end of the wing section
Then add the legs.
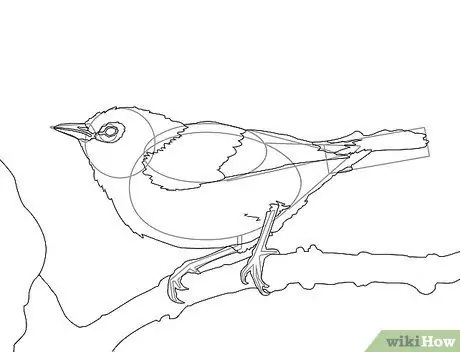
Step 10. Replace the sketchy lines with sharp outlines and add feathers to make the bird look realistic
Draw a branch that it can lean on.
Method 2 of 2: Part two: Add the colors
Step 1. Clear all guidelines
Step 2. Decide how to use your colored pencils:
- Color the drawing and then go over it with a moistened brush to blend the colors.
- Dip the tips of the pencils in the water and use them to color your drawing with bright tones.
- Take a piece of paper, cover it with various colors and then pick them up with a damp brush.
Step 3. After choosing the method you decide which colors to use
- Prefer various shades of brown, green, yellow and red.
- Avoid unrealistic colors like pink or purple unless you are using them to create shades.
Step 4. Start coloring the background
- Paint the branch, leaves and any other detail in the background with light brushstrokes.
- Make sure the background is clear so it doesn't dominate the central design.
- When done, let your design dry for several hours. Then place it under a heavy book for a good amount of time.
Step 5. Start coloring the bird
- Start with a base of brown tones and then create the shades by adding your chosen colors. Continue until you get the desired effect.
- If you make a mistake, moisten some paper towels and carefully remove the excess color.
- When done, let the design dry for several hours. Then place it again under a heavy book for a good amount of time.
Step 6. Add the final details
When you are done add some light lines to emphasize and give depth to some details, such as feathers
Advice
- Trace the design with light pencil lines so that you can easily erase mistakes.
- Make sure you always have well-sharpened pencils.


