Microsoft Publisher is an Office program that allows you to create professional documents, such as newsletters, postcards, flyers, invitations, brochures and others, using predefined templates. Once you have selected one of the templates offered by Publisher, you can add the text and images you want before saving and printing the document.
Steps
Part 1 of 7: Select a Template
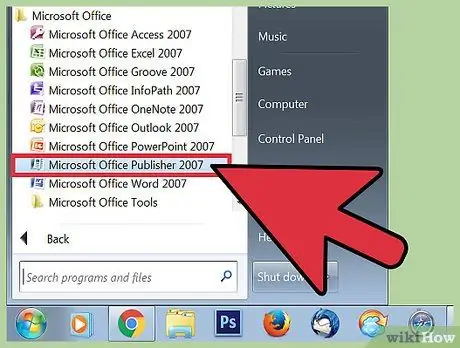
Step 1. Open Microsoft Publisher
After opening the application, the Catalog window will appear on the screen. Inside, you'll find various types of publications and templates that you can use to design your document, including newsletters, brochures, placards, greeting cards, letters, envelopes, banners, advertisements, and more.
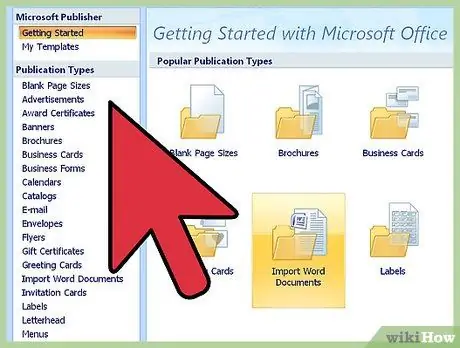
Step 2. Click on the type of publication you want to create in the left column
The various templates for the publication you have chosen will appear in the right panel.
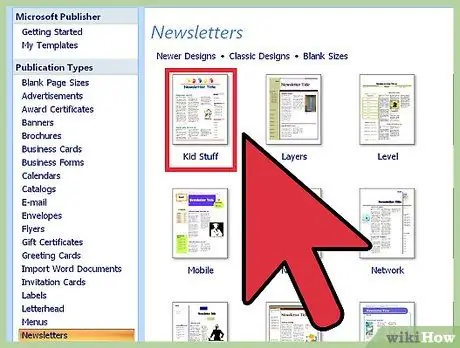
Step 3. Scroll through the templates in the right pane to find the one you want to use
For example, if you have chosen "Newsletter" as your publication type and want to create a child-friendly document, you could use the "Children's Newsletter" template.
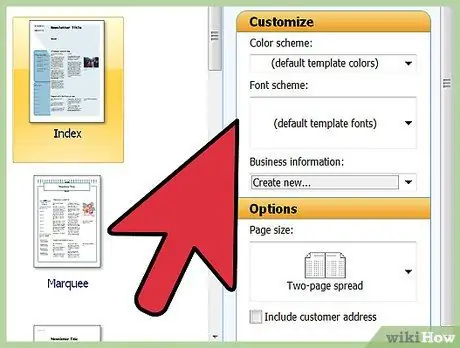
Step 4. Select the template, then click "Start Wizard" in the lower right corner of the Catalog window
The window will disappear and the chosen template will appear on the main Publisher screen.
Part 2 of 7: Creating the Document
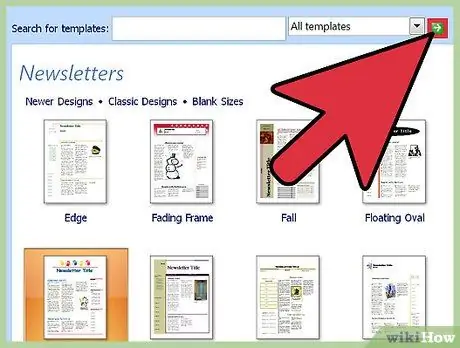
Step 1. Click "Next" in the left pane after starting the wizard for the Publisher template you have chosen
The program will guide you in formatting the document.
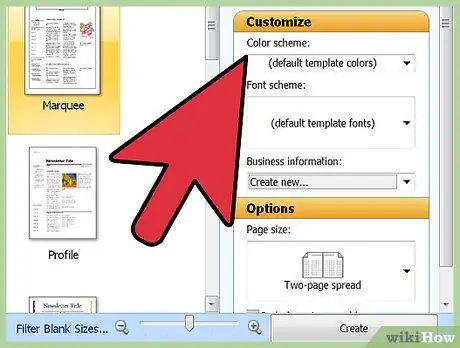
Step 2. Follow the instructions provided by the Publisher wizard to create the document
The steps vary based on the type of publication. For example, if you are creating a newsletter, the program will ask you to choose a color scheme and decide whether to print the recipient's address on the document.
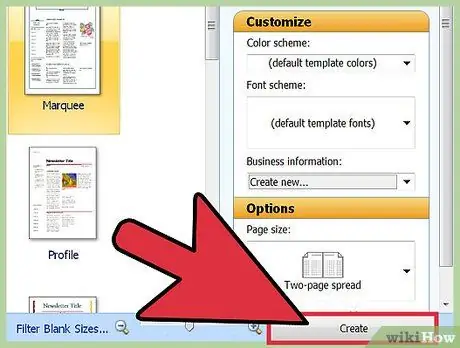
Step 3. Click "Finish" on the last tab of the Publisher wizard
The window will be minimized, so you can start adding text and images to your document.
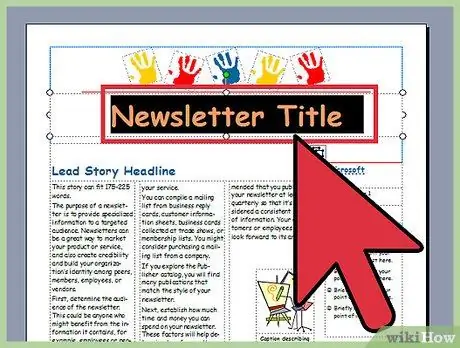
Step 4. Click on the section of the document you want to add content to
In the publication there will be more boxes, inside which you can insert text or images. In most cases, Publisher adds sample text and photos to templates to give you an idea of how to write and format your document. For example, if you are creating an envelope, the program inserts fake addresses into the appropriate sections so that you can replace them with the correct information.
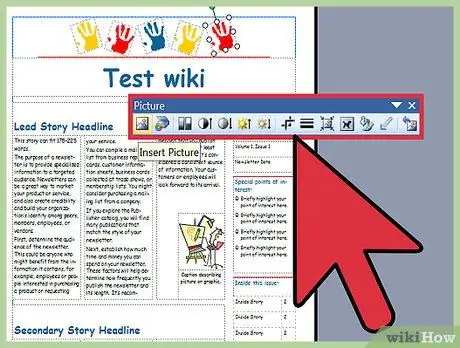
Step 5. Write the text or insert images in the boxes according to your preferences
You can also add other sections in the document if needed.
Part 3 of 7: Inserting Other Sections
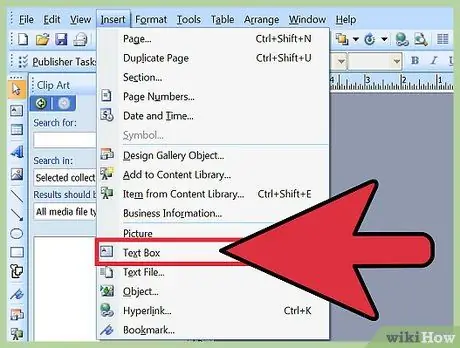
Step 1. Click on the "Insert" tab, then select "Draw Text Field"
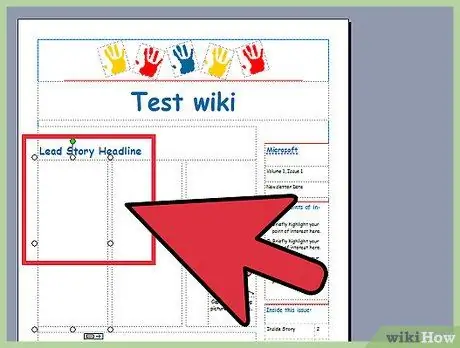
Step 2. Place the cursor at the point that will become the upper left corner of the box
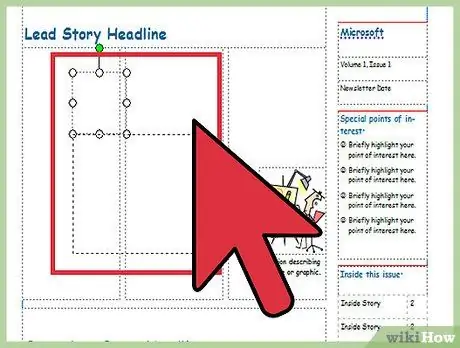
Step 3. Drag the pointer down along the diagonal of the field you want to create until it reaches the desired size
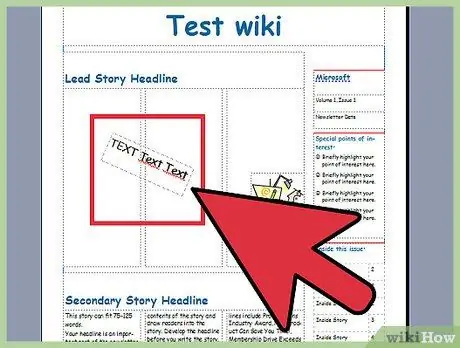
Step 4. Click inside the field and start typing
Part 4 of 7: Inserting an Image
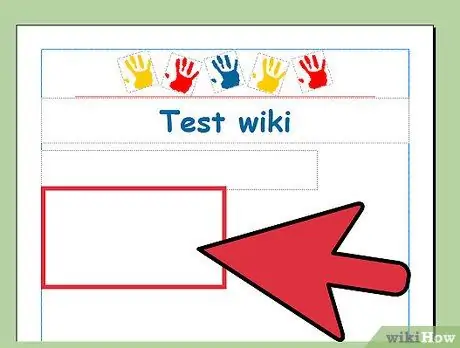
Step 1. Put the cursor in the place in the document where you want to add an image
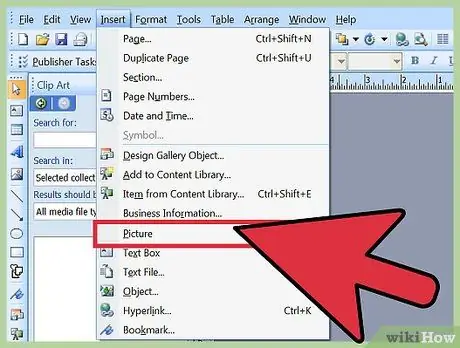
Step 2. Click on the "Insert" tab and select "Image" in the Illustrations section
The "Insert Image" window will open.
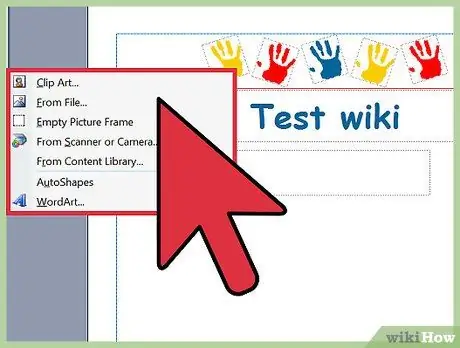
Step 3. Click on the folder in the left pane that contains the image to add to the document
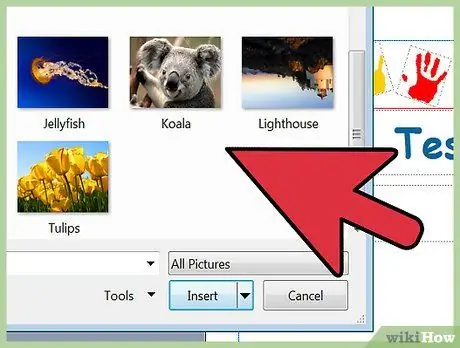
Step 4. Open the same folder in the right pane of the window
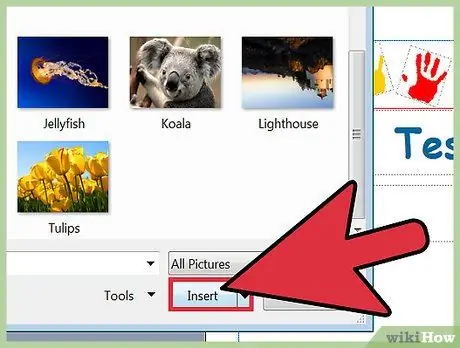
Step 5. Choose the image to add to the document, then click "Insert"
The photo will be inserted into the page.
Part 5 of 7: Cropping an Image
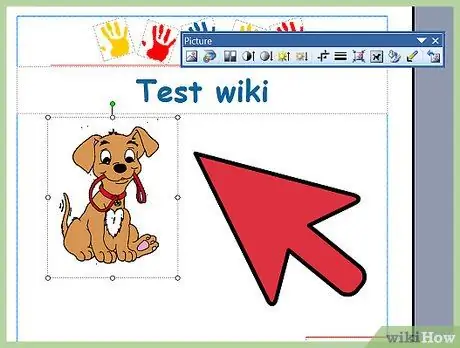
Step 1. Click on the image you want to crop within the document
A box will appear around it.
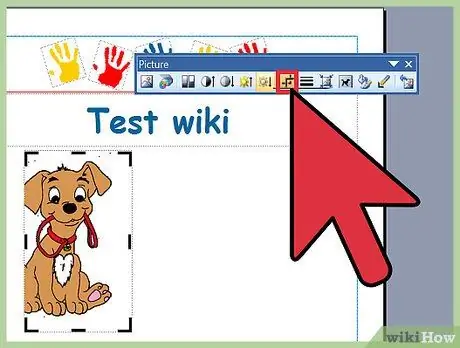
Step 2. Click on the "Format" tab and select "Crop" under Image Tools
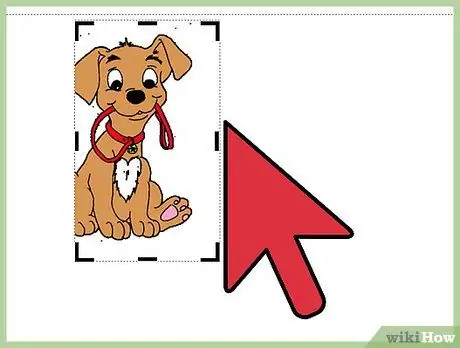
Step 3. Put the markers to crop on the edges or corners of the photo, according to your preferences
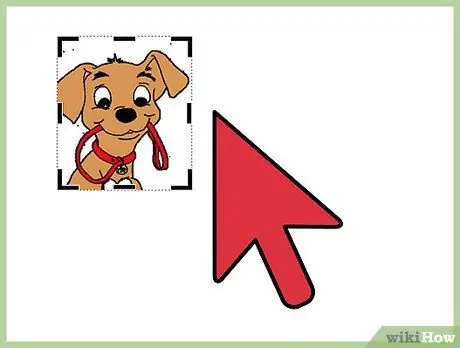
Step 4. Drag the marker to the part of the image you want to crop or remove
- Hold down CTRL while dragging one of the center markers to crop both sides evenly.
- Hold down CTRL + Shift as you drag one of the corner markers to crop all four sides evenly while maintaining the aspect ratio of the image.
Part 6 of 7: Save the Document
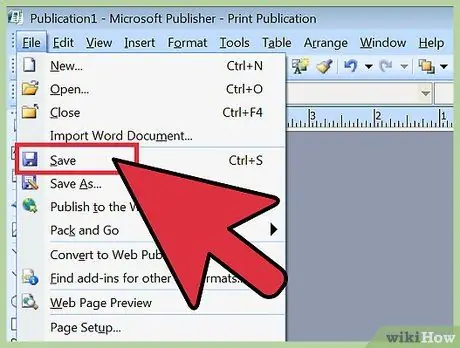
Step 1. Click on "File", then on "Save"
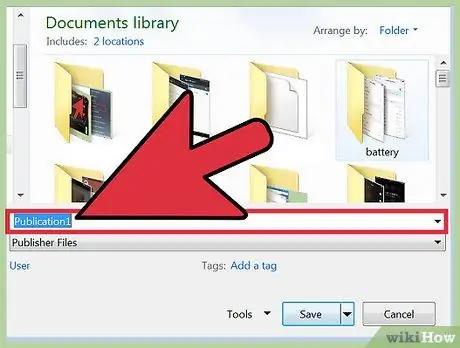
Step 2. Name the document in the "Save As" window
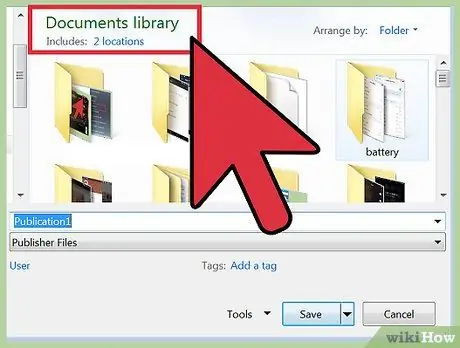
Step 3. Specify the path where you want to save the document
Otherwise, Publisher will save the file in the default location.
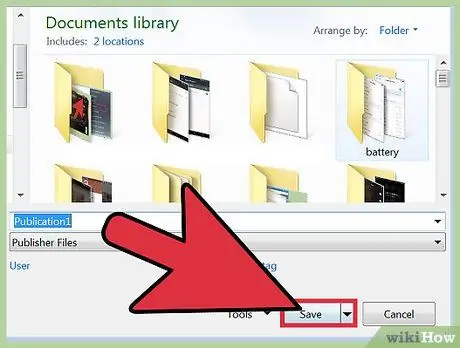
Step 4. Click on "Save"
The document will be saved.
Part 7 of 7: Print the Document
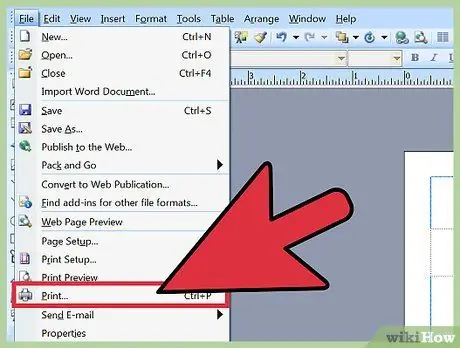
Step 1. Click on "File" and select "Print"
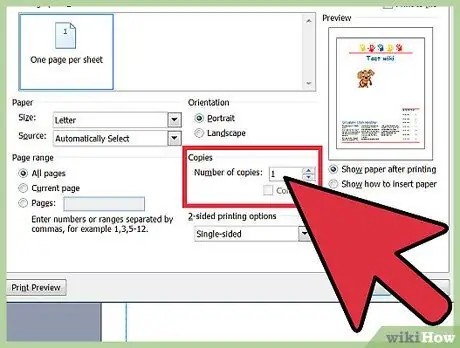
Step 2. Enter the number of copies to print in the "Copies to Print" field
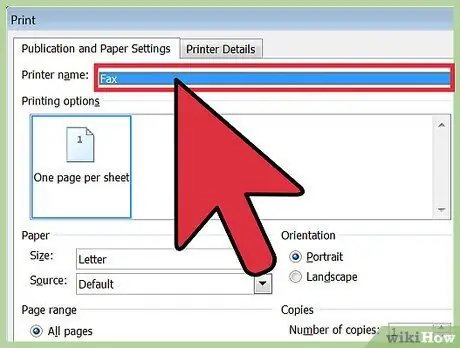
Step 3. Verify that you have chosen the right printer in the "Printer" section
In most cases, your default printer will automatically appear in this field.
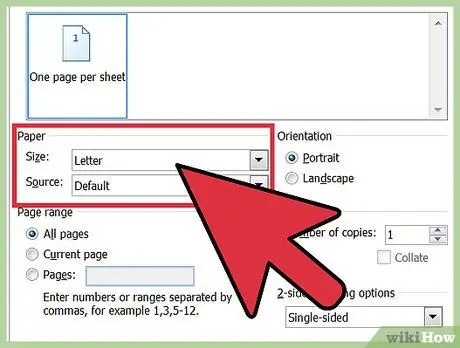
Step 4. Indicate the paper size you will use to print the document under "Settings"
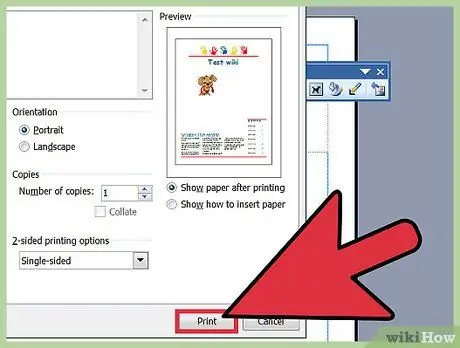
Step 5. Select your print color preferences, then click "Print"
The document will be sent to the printer.


