This guide explains how to connect a GoPro camera to your computer, in order to download and edit the photos and videos you have saved.
Steps
Part 1 of 2: Connect the GoPro to the Computer
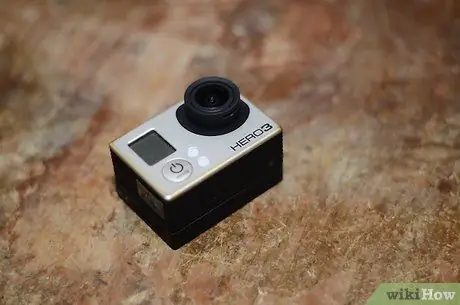
Step 1. Turn off the GoPro
Press the Power / Mode button on the front or top of the camera until it turns off.
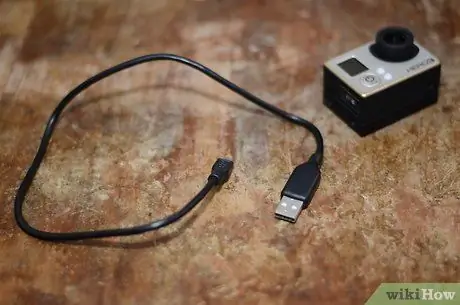
Step 2. Find the USB port
On the side of the GoPro you will see a mini USB port.
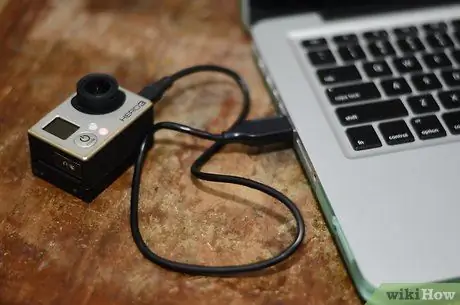
Step 3. Connect the GoPro to the computer
Use the cable supplied with the camera. The mini USB end goes into the camera, the USB end goes into the computer.
- Connect the camera to one of the main USB ports on the computer and not to a hub, keyboard or monitor port.
- Alternatively, you can remove the microSD card from the GoPro and insert it into an external reader connected to your computer.
Part 2 of 2: Accessing Content
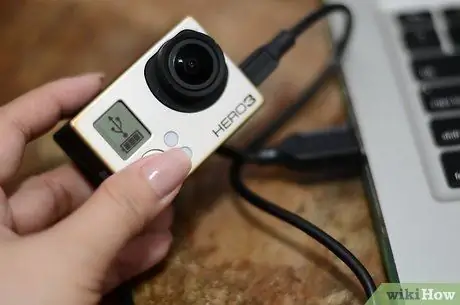
Step 1. Turn on the GoPro
Press the Power / Mode button on the front or top of the camera until a red LED indicator appears. Once the connection is detected, your GoPro should enter USB mode; the USB symbol will appear on the camera screen.
- Press the Power / Mode button again if the camera does not enter USB mode automatically.
- If you are using a HERO3 + or earlier model camera, turn off the Wi-FI before connecting it to your computer.
Step 2. Find the photos and videos
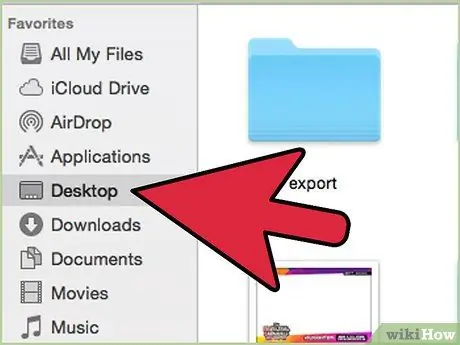
On Mac, the camera icon will appear on the desktop. Double-click to access the photos and videos saved on the device's microSD card.


