Would you like to recreate the modern green screen technique, now so in vogue, but you don't know how to do it? The step-by-step directions contained in this guide will make the dream of aspiring filmmakers come true!
Steps
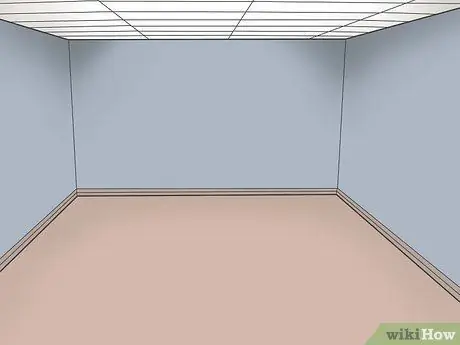
Step 1. Choose a spacious room - the bigger the better
Although for some shots (such as in commercials) a small space may suffice, it is always better to have a large room available in which to arrange the equipment and leave the necessary space for the actors.
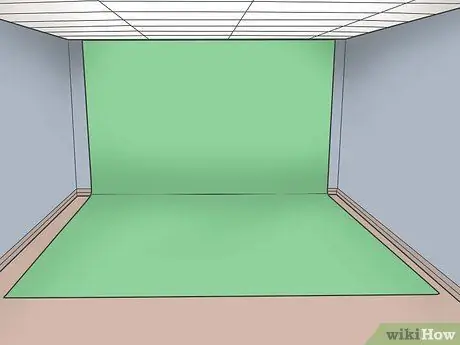
Step 2. Make the green screen
For the "green screen" you could use a green fabric or you could paint the wall directly. In case you choose a fabric, place it on an even surface, such as a wall, and secure it well so that it does not fall out in the middle of the shoot. Make sure you spread it out carefully, keeping it taut, so there are no wrinkles or creases. If you have decided to paint the wall instead, it would be good to sand it and pass a base before applying the green paint. Any unwanted shadows will also be visible in post-production and could ruin the final editing result. Before applying the paint, carefully read the “Tips” section.
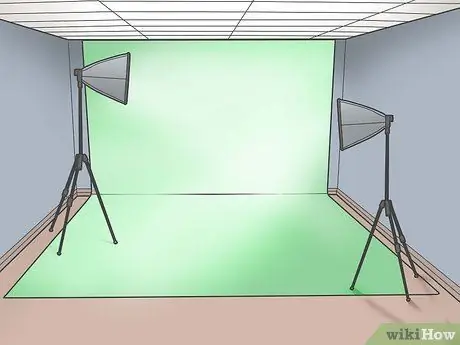
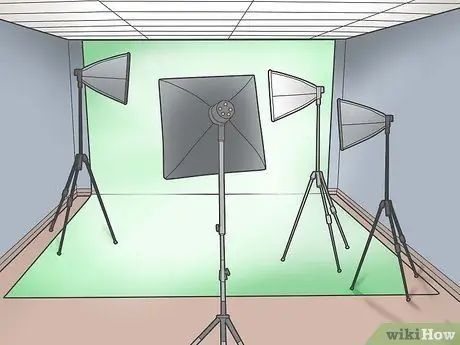
Step 3. Adjust the lights on the set
To light up your set you will need some pretty powerful lights. Choose high-performance lights because they will have to be able to illuminate a very large area. Place them on both sides of the green screen and behind the actors. Make sure the screen is evenly lit and check for any shadow areas.
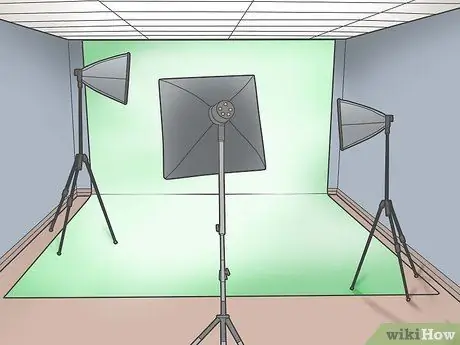
Step 4. Set up the lighting of the subject
Arrange these lights like you would in any other movie studio - you'll need to illuminate both the left and right sides and place a fill light to avoid shadows. Put one of the actors in your set in a pose and check that you have arranged the lights well, check that there are no shadows - if there are, change the position of the lights and use a white card to reflect the light on the scene.
Step 5. Adjust the background lights
Place a light above your green screen, in the stage area. This light will separate the actors' profile from the green background and will be of enormous help during the post-production stages.
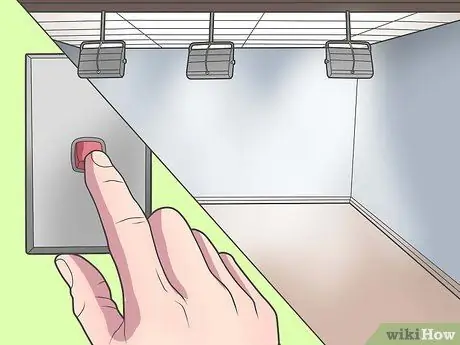
Step 6. Check the lights once more
Make sure you have perfectly lit the scene. Try turning on the lights in the room as well and see if they can help you or not.
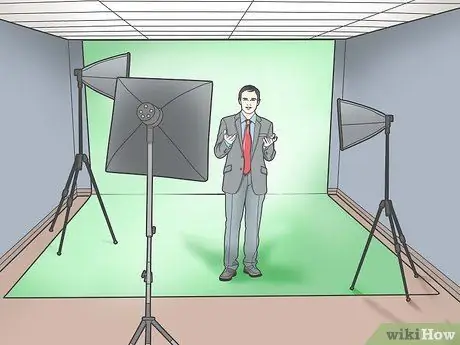
Step 7. Bring the actor into the scene
Ask the actor to position himself correctly in the set to control the lighting. Make sure it's not too close to the green screen, or its shadow will project into the background.
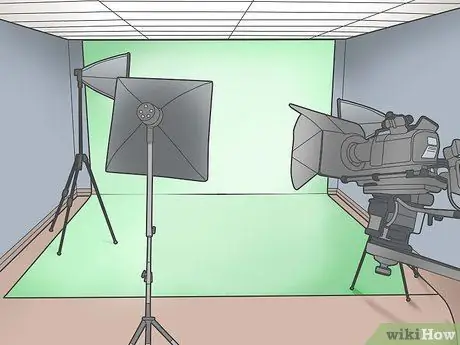
Step 8. Place the camera
Place your camera (or multiple cameras, if you have the possibility) in the angle from which you want to shoot. If you are filming for a commercial you will only need one camera. If you have decided to film from different angles, you will have to constantly check the position of the lights and make sure that the other camera is not in the way. Look through the viewfinder to find the right position. It is always advisable to use a tripod. Check that the actor has the necessary space to act and move up, down, back and forth. Having more space will make your shots better: if you have chosen a small room to set up the set, the actor will have a very limited action surface, but if you are occupying a spacious area the final result will be more satisfying.
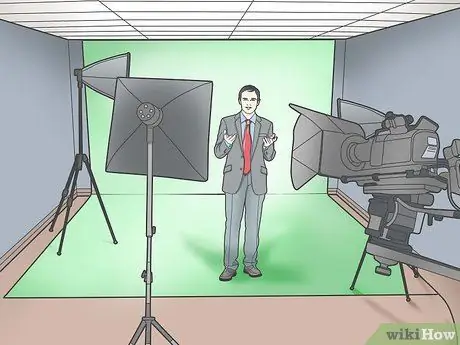
Step 9. Shoot a test scene
Film a scene on your set to make sure you have everything set up right. If you are not satisfied, review the arrangement!
Advice
- Always make sure that there are no shadows cast on the green screen - they will be visible in the final result and will make it look like an amateur job.
- First make sure you can set up the green screen! Imagine how embarrassing it can be if the crew arrives at the designated location and only then you realize you don't have the right equipment.
- You can use any smooth green colored material to create the background. If you plan to paint the wall, the recommended paints are: Home Depot Behr Premium Plus n.1300 (1b55-6), interior base, interior paint / acrylic paint, color: Capistrano (1b55-6), interior base (1300), OZ 4896 dye, AX Perm Yellow 4 20 0, D Thalo Green 4 8 0, KX White 3 0 0, L Raw Umber 0 12 0.
- Make sure the green surface color is uniform - spots and blurs may be visible in the footage.
- Mark the correct position of the set-up by applying adhesive tape to the floor. Mark the contours of the supporting lights, indicate with an arrow the direction in which they will have to face and mark an "X" on the place where the tripod will go. Write over the tape with an indelible pen specifying which equipment corresponds to that position (for example “Backlights” or “Tripod”). This way, if you have to move cleaning tools, or if a careless crew member moves something by mistake, you can easily find the correct location.
- In Photoshop, the right shade of green corresponds to # 00A651. Print out an entire sheet of this color and take it to your interior paint dealer: they can scan it and determine the right formula to mix the pigments and get the shade you want. You can also compare your model with the swatches to see if it matches.
Warnings
- Do not use lead paints. They fade quickly.
- Before painting the wall make sure you have permission.


