This article shows you how to reduce the file size of a document created with Microsoft Word. If the Word file you created is too large, very often the cause of the problem is the images it contains that have been inserted into the document in an inappropriate way or that have not been compressed sufficiently. You can reduce the size of a Word document on disk by inserting images correctly (and not using the "copy and paste" method), compressing them, deleting automatic recovery-related versions of the file, disabling previews, and removing fonts included in the file.
Steps
Part 1 of 5: Inserting Images Correctly
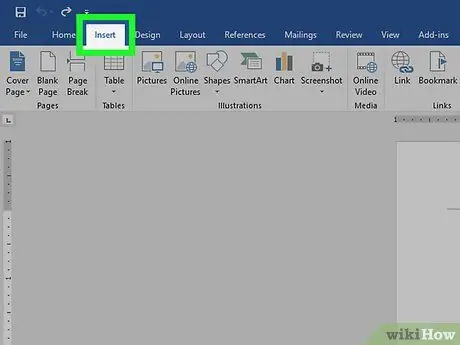
Step 1. Go to the Insert tab
It is located at the top of the Word ribbon at the top of the window. A new range of options will appear.
To insert an image into a Word document, use the "Insert" menu and not the classic "Copy and Paste" method. Copying and pasting an image into Word loses data compression, the image format changes, and other information is automatically added to help increase the file size
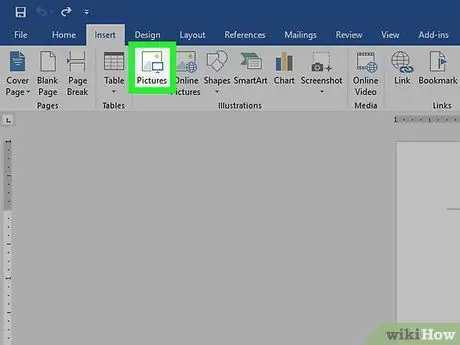
Step 2. Press the "Image" button with the icon
The latter depicts a stylized image with a small computer monitor placed in the lower right corner. It is located within the "Illustrations" group of the "Insert" tab, to the right of the "Table" button. The "File Explorer" (on Windows) or "Finder" (on Mac) window will be displayed with which you can select the image to insert.
If you are using a Mac, a small drop-down menu will appear from which you will have to choose the item Image from File ….
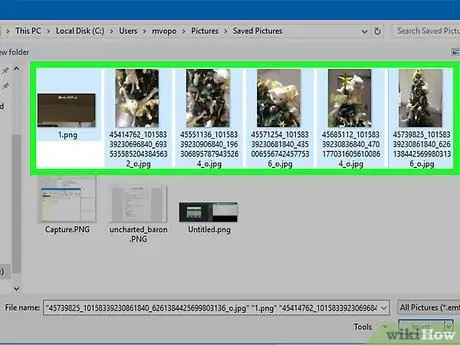
Step 3. Choose the photo to insert into the document
Use the window that appears to access the folder where the photo you want to use is stored, then select the relevant file.
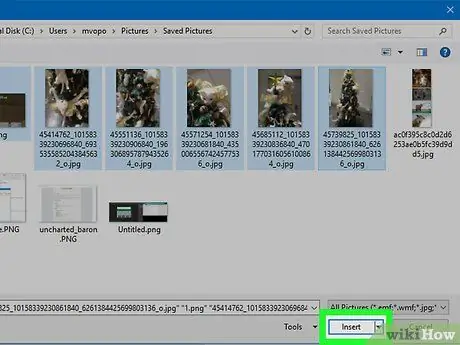
Step 4. Press the Insert button
It is located in the lower right corner of the appeared window. The image you choose will be inserted into your document using the optimal format, without adding unnecessary information.
Part 2 of 5: Compressing the Images
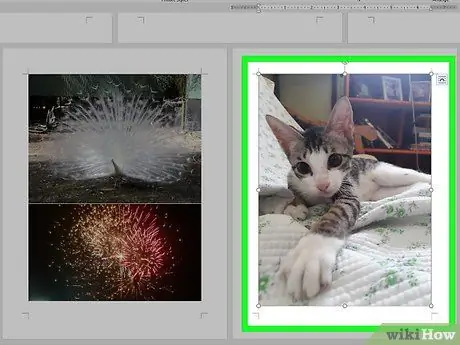
Step 1. Select one of the images present in the Word document in question
Click any of the photos in the document to select it. This will display the "Format" tab within the ribbon at the top of the page.
If you are using a Mac the card indicated is called "Image Format"
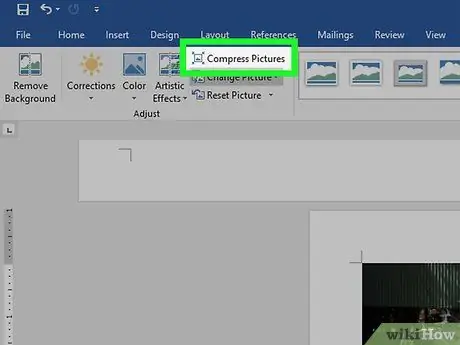
Step 2. Press the "Compress images" button with the icon
The latter features a stylized photograph with a small blue arrow at each corner. It is located within the "Rule" group of the "Format" tab.
If you are using an older version of Word, you will need to access the menu Format, located at the top of the program window, and choose the option Compress images.
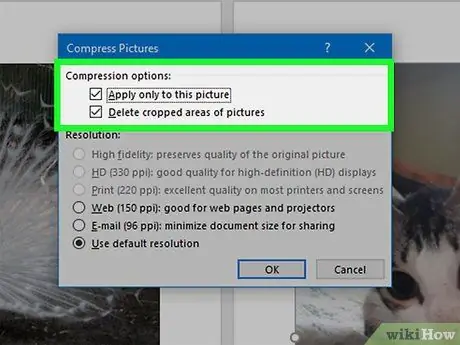
Step 3. Select the images to compress
If you want all photos in the document to be compressed automatically, deselect the "Apply to this image only" checkbox. If you want only the chosen image to be compressed, select the "Apply to this image only" checkbox.
If you have cropped an image using Word tools, also select the "Remove cropped areas of images" checkbox. In this way, the data stored in the file relating to the areas that have been removed from the image will be permanently deleted. The file size will be reduced, but this way you will no longer be able to restore the original version of the images
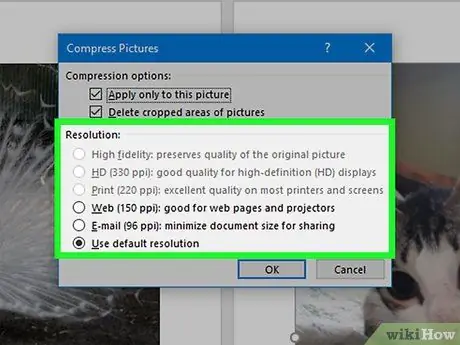
Step 4. Choose the graphic resolution
Select the radio button for the compression level you want. The options available range from "High Fidelity" (which preserves the original image quality), to "HD" (330 PPI) and up to "Email" (96 PPI). The smaller the PPI (pixels per inch) value, the smaller the Word file size will be. However, the visual quality of the image will also decrease as well.
- Some compression options may not be available if the image inserted into the document is already compressed.
- Resolutions with a low PPI number are intended for use on computer monitors. Once printed, images may be unclear.
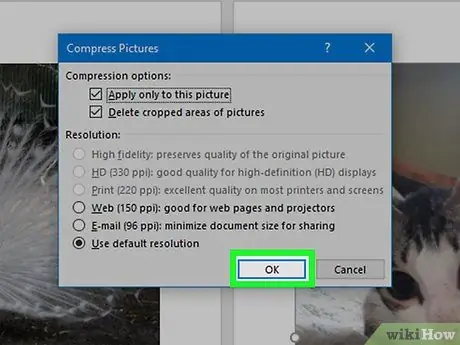
Step 5. Press the Ok button
It is located at the bottom of the window. This will compress the images and reduce the size of the file on disk.
Part 3 of 5: Deleting Versions of the Document
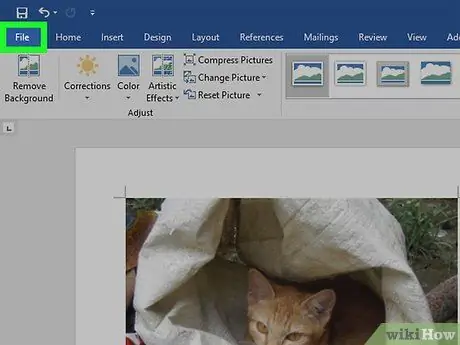
Step 1. Go to Word's File menu
It is located in the upper left of the program ribbon.
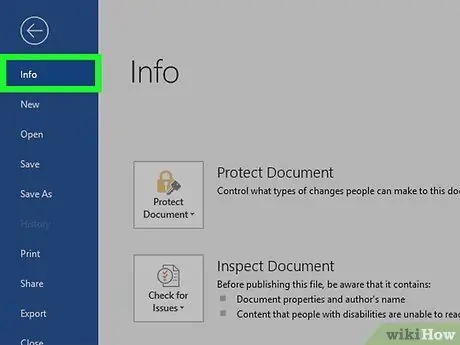
Step 2. Choose the Information option
It is the first menu option that appears on the left of the Word window.
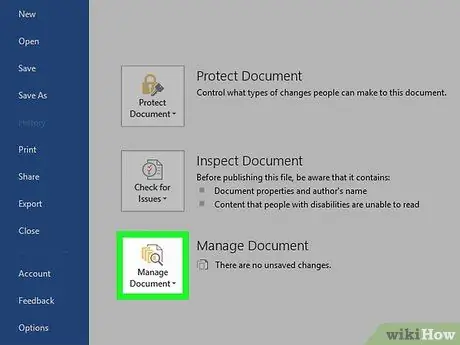
Step 3. Press the "Manage versions" button with the icon
The latter features several yellow pages and a magnifying glass. A small drop-down menu will appear.
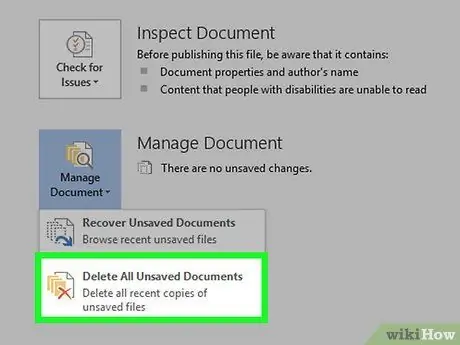
Step 4. Choose the option "Delete all unsaved documents"
It is the last option on the menu and is characterized by an icon representing three yellow pages and a red "X". Any recent unsaved versions of the document will be deleted.
Part 4 of 5: Disabling Previews
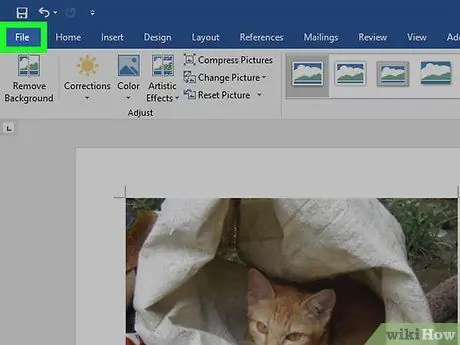
Step 1. Go to Word's File menu
It is located in the upper left of the program ribbon.
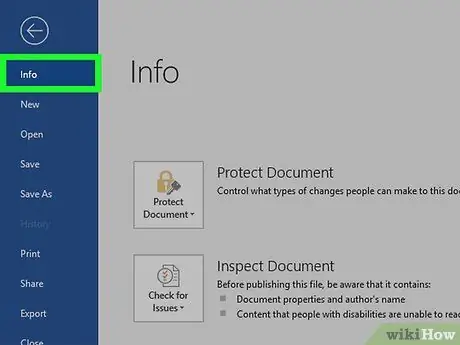
Step 2. Choose the Information option
It is the first menu option that appears on the left of the Word window.
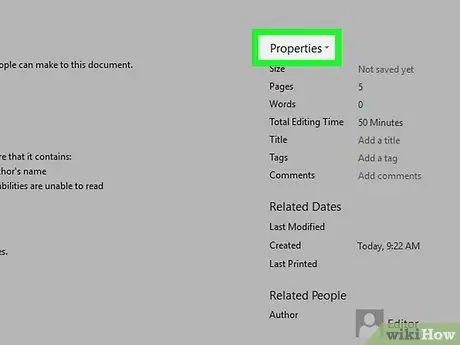
Step 3. Choose the "Properties" option
It is located at the top right of the page. A small drop-down menu consisting of a single option will appear.
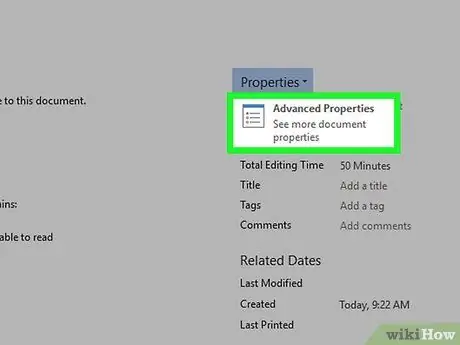
Step 4. Choose "Advanced Properties"
| techicon | x30px]. It is the only option on the menu that has a bulleted list icon. The "Properties" dialog box of the document in question will be displayed.
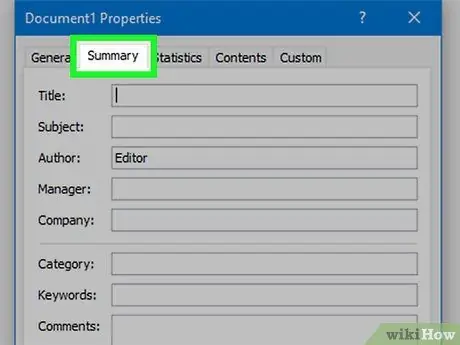
Step 5. Go to the Summary tab
It is the second tab at the top of the window starting from the left.
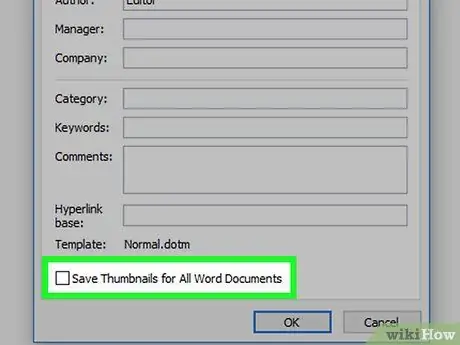
Step 6. Uncheck the check button
Save previews for all Word documents ".
It is located at the bottom of the "Summary" tab. If the document in question contains a large number of images, disabling this program feature will reduce the file size on disk.
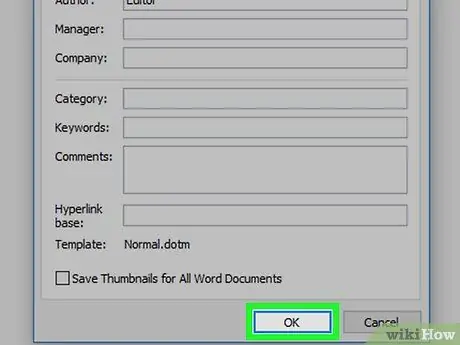
Step 7. Press the OK button
Changes to the document will be saved and applied.
Part 5 of 5: Disabling Character Embedding
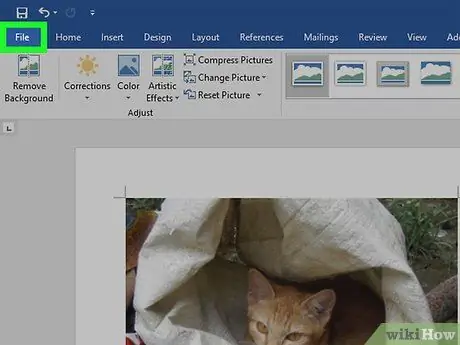
Step 1. Go to Word's File menu
It is located in the upper left of the program ribbon.
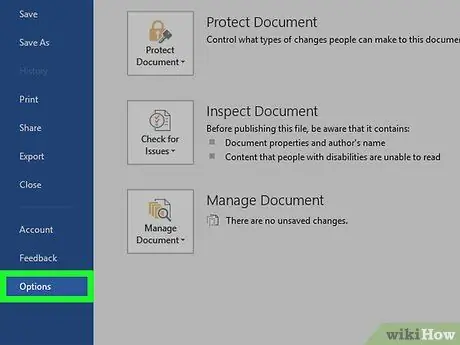
Step 2. Choose the Options item
It is the last item on the "File" menu that appeared on the left side of the Word window. This will display the program configuration settings page.
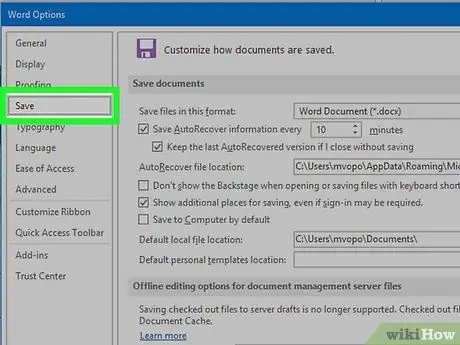
Step 3. Go to the Save tab
It is placed inside the left pane of the window that appeared. Within the right pane of the window you will see the settings for saving Word documents.
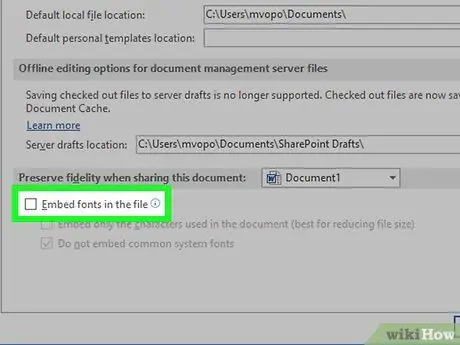
Step 4. Uncheck the check button
Embed fonts in the file ".
By disabling this feature, the computer fonts used to create the Word document will not be included in the file when it is saved. In this way, the size of the file on disk will be reduced if you have used a type of font other than the most known and used ones.
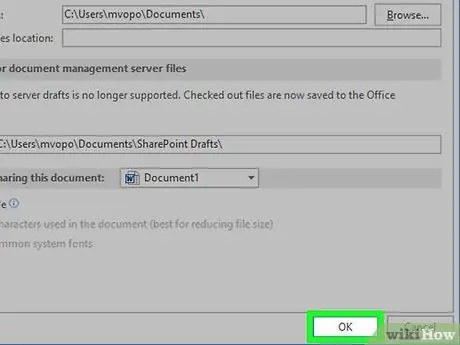
Step 5. Press the Ok button
It is located in the lower right part of the dialog box. The new Word settings will be saved and applied.


