Thanks to the localization services of iOS devices, applications are able to access your current geographical position; in this way the programs are able to provide you with accurate information based on your current location. If Location Services are not turned on, you can enable their use directly from the Settings app. If this type of service is not available, it means that you need to change the settings in the "Restrictions" menu.
Steps
Part 1 of 2: Enable Location Services
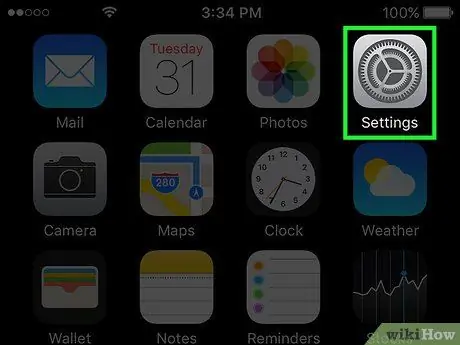
Step 1. Launch the Settings app
You can find it within one of the home screen pages. The Settings app icon is characterized by a series of gears. Depending on the version of iOS you are using, it may be located inside the "Utilities" folder.
If you can't find the Settings app, slide your finger across the screen from top to bottom while viewing the home screen. This will bring up the "Spotlight" search field where you can type in the keyword "Settings"
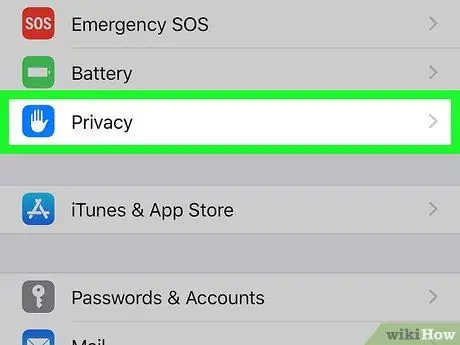
Step 2. Choose the "Privacy" item
It is located at the bottom of the third group of options.
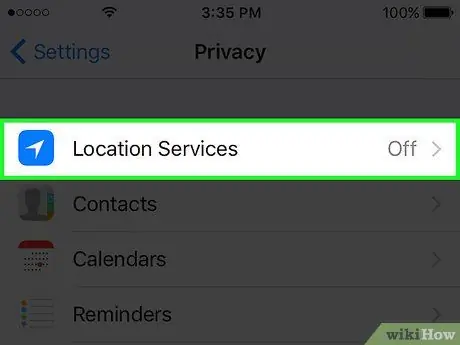
Step 3. Tap the "Location" option
This will display the "Location" menu.
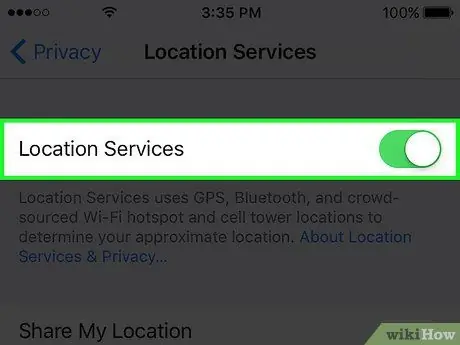
Step 4. Turn on the "Location" switch
Tap the slider next to "Location" to activate the related services. The activation process may take a few moments. Once Location Services are active, you will see a list of applications appear at the bottom of the screen.
If the cursor under "Localization" is not selectable, it is likely that the use of this feature has been disabled through the "Restrictions" menu. In this case, refer to the next section of the article for more details
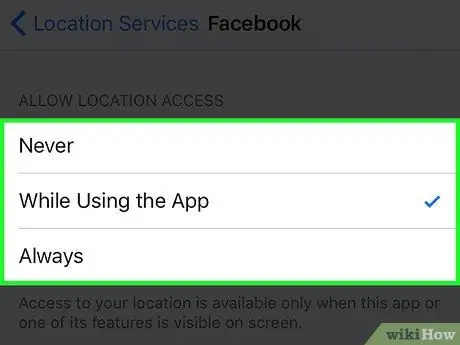
Step 5. Select one of the apps to allow it to use Location Services
By touching the icon of one of the applications in the list, you will see the related options available.
- Choose the "Never" option to prevent this application from using Location Services.
- Choose "While using the app" to restrict access to location services only when you are using the app.
- Choose the "Always" option to allow the use of location services at all times. This feature is only available for applications that run in the background, such as the "Weather" app.
Part 2 of 2: Troubleshooting
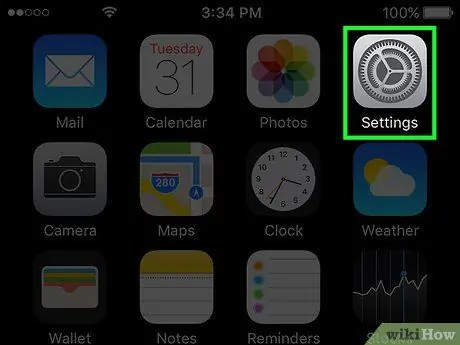
Step 1. Launch the Settings app
If you do not have the option to enable Location Services, it is most likely that they have been disabled via the "Restrictions" menu. To change active restrictions, you need to use the Settings app.
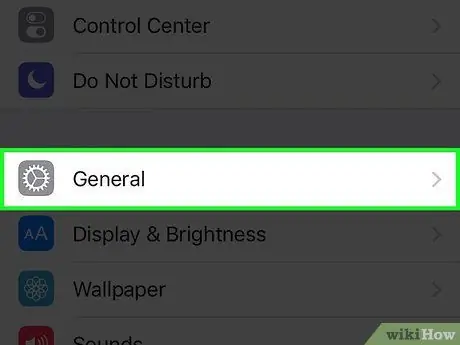
Step 2. Choose the "General" item
This will display the "General" settings menu.
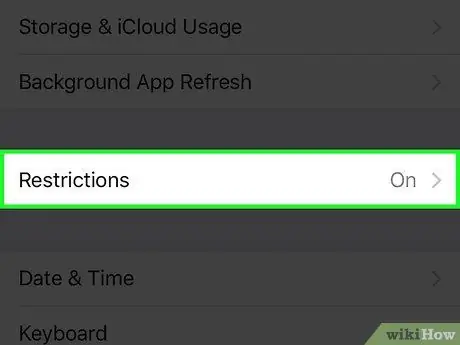
Step 3. Select the "Restrictions" option, then provide your personal access code
When the restrictions are activated, the first thing that is done is the request to enter the access code. In order to proceed further, you need to know this code.
- If you don't remember the access code to the "Restrictions" menu, try one of the most frequently used ones: 1111, 0000, 1234.
- If you absolutely don't remember the code you set to access the "Restrictions" menu, you can fix the problem by restoring your iOS device through iTunes. See this article for more details on this. Before proceeding with the reset, be sure to back up all your most important personal data.
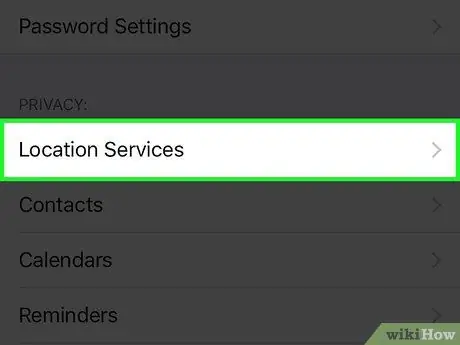
Step 4. Select the "Location" item located in the "Privacy" section
To see this option, you will need to scroll down the list.
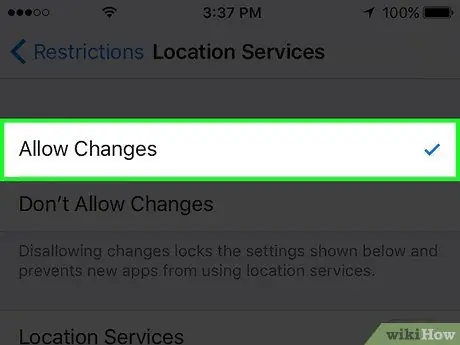
Step 5. Select the "Allow changes" checkbox
In this way you will have the possibility to activate the location services.
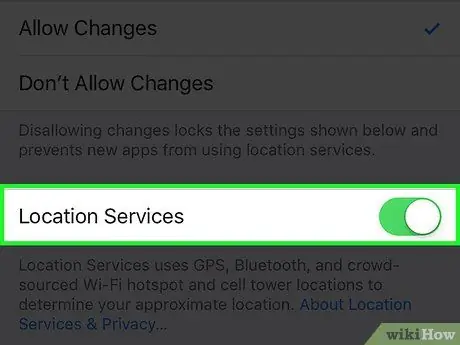
Step 6. Activate the "Localization" slider located within the same menu
After enabling the ability to make changes, you will notice that the "Localization" slider, located within the same menu, can be activated and deactivated. Tap it to turn on Location Services.


