This article explains how to draw on a photo using an Android mobile or tablet. To start with, you need to install an application such as PicsArt Color Paint or You Doodle, both of which are available in the Play Store.
Steps
Method 1 of 2: Using PicsArt Color Paint
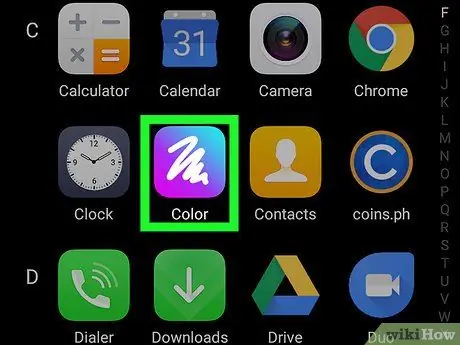
Step 1. Open PicsArt Color Paint
The icon has a white scribble on a fuchsia and blue background.
-
If you haven't installed it on your Android device yet, you can download it for free from the Play Store
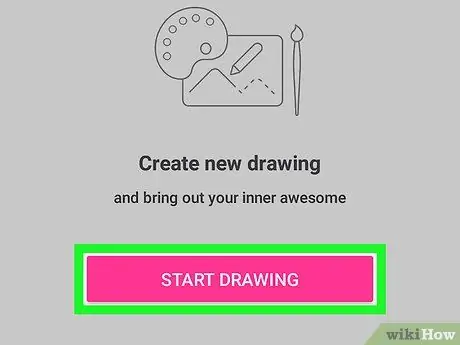
Step 2. Click on Start drawing
It's a fuchsia button at the bottom of the screen.
If you don't see this button, tap the left panel with the "+" in the center to start drawing
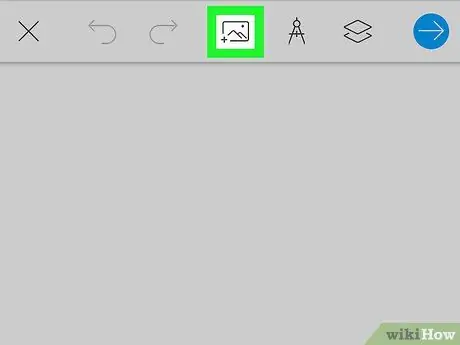
Step 3. Tap the photo icon
It depicts an image of mountains with the "+" sign in the lower left corner. It is located at the top of the screen.
If prompted, tap "Allow" to authorize PicsArt to access your images
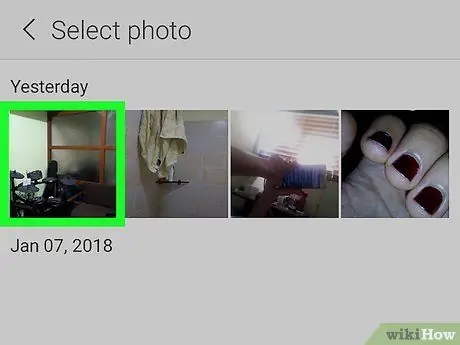
Step 4. Scroll down and select an image to draw on
This way, you can start editing it.
You can also tap the camera icon and take a new photo
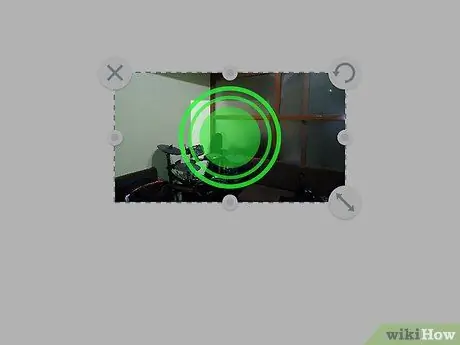
Step 5. Arrange the photo
Touch and hold it in the center to drag it to a new location. You can also edit and arrange the photo by tapping and dragging the icons located on the corners of the image:
-
Ⓧ:
serves to delete the image;
-
⤡:
serves to change the size of the image;
-
⟲:
is used to rotate the image.
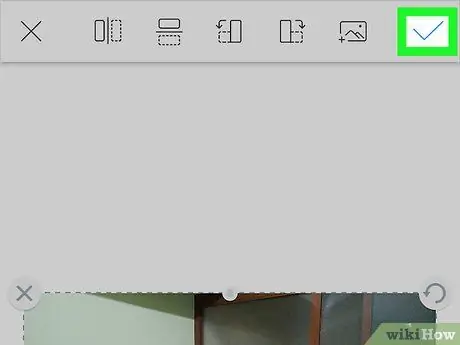
Step 6. Click on the button
It is located at the top right and allows you to apply the new properties to the photograph.
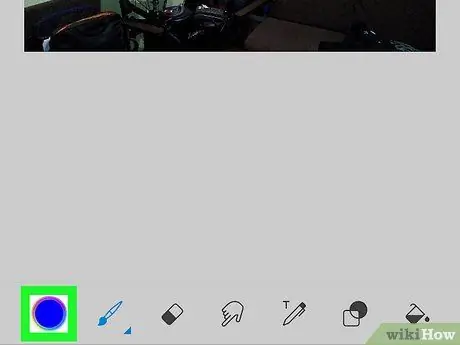
Step 7. Tap the blue color wheel icon
It is located in the toolbar, at the bottom left, and opens the color picker.
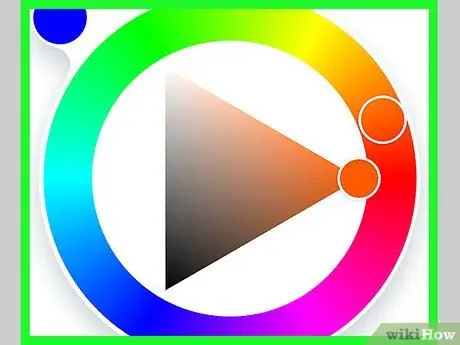
Step 8. Select a color and click on
You can touch a point on the wheel to select a color and then touch a point on the triangle to change the brightness of the color.
You can also tap on one of the suggested colors at the bottom of the screen
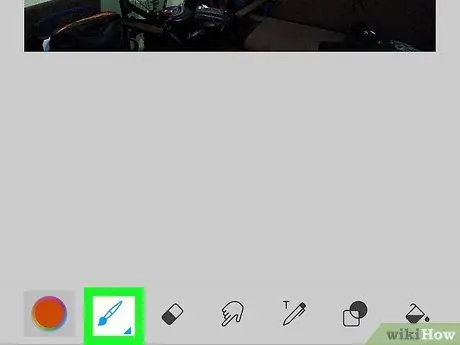
Step 9. Press the brush icon
It is located in the toolbar at the bottom of the screen, next to the color wheel icon. Allows you to select the brush stroke.
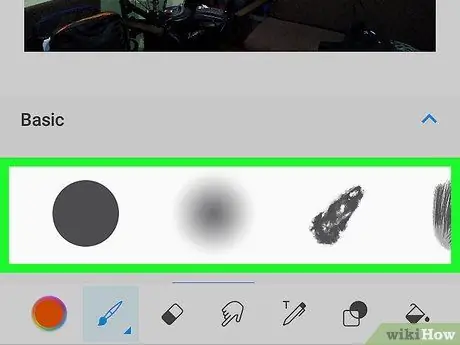
Step 10. Select the brush stroke
Examine the various types, until you find one you like. You can also modify the sliders associated with each brush to change the size or opacity of this tool.
- In the window that allows you to select the brush, touch the icon ^ at the top right to view all its features in full screen.
- Swipe down to hide the brush window.
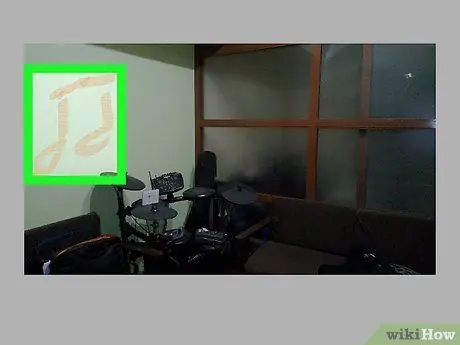
Step 11. Draw on the image using your finger
You can change the color and the brush anytime you want. You can also use other tools to refine the drawing.
- Touch ↩ to correct any errors.
- Tap the eraser icon to erase specific points.
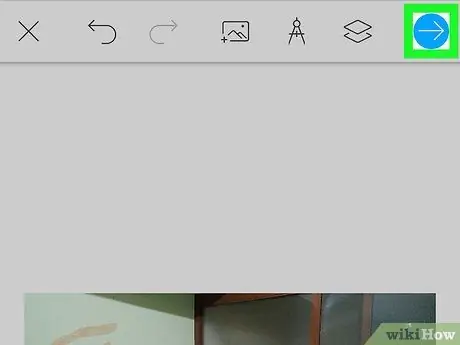
Step 12. Press the → button
It is located at the top right and opens the page that allows you to save and share the image.
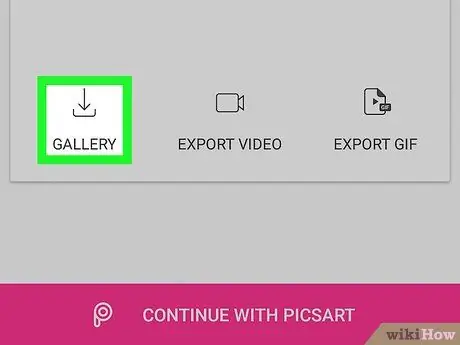
Step 13. Press the Gallery button
In this way you will be able to save the image in the gallery of the device.
Method 2 of 2: Using You Doodle
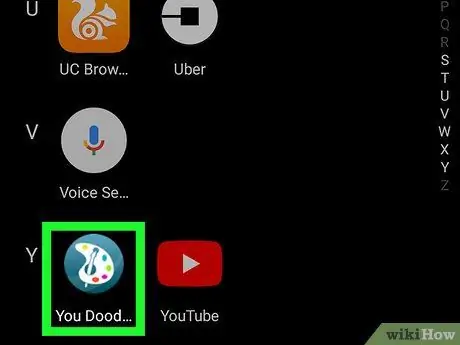
Step 1. Open You Doodle on your Android device
The icon depicts a color palette.
-
If you haven't installed You Doodle on your Android device, download the application from the Play Store
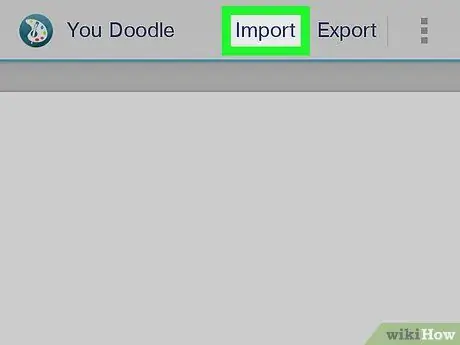
Step 2. Click on Import
It is located at the top of the screen.
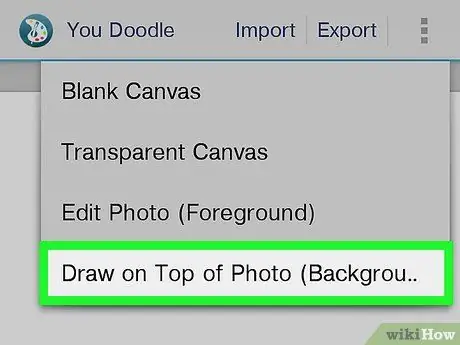
Step 3. Tap Draw on Top of Photo
It is the last option on the menu. A list of sources from which to select a photo will appear at the bottom of the screen.
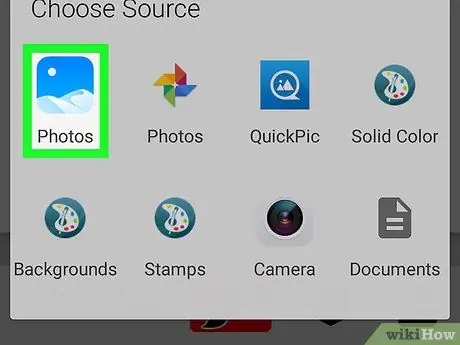
Step 4. Tap the gallery icon
If you use Google Photos, tap "Photos", otherwise search for "Gallery" or "Photo Gallery".
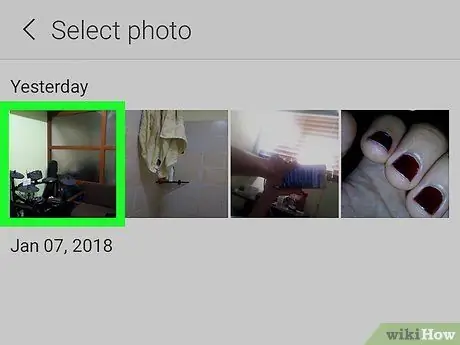
Step 5. Tap the photo you want to draw on
This way, it will appear in a box that will allow you to crop it.
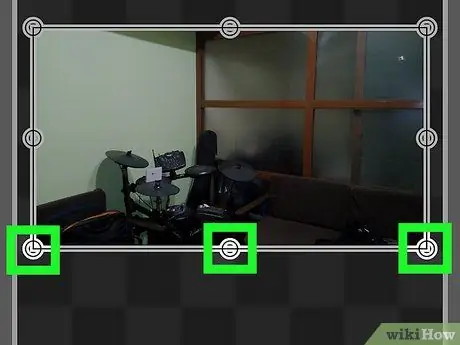
Step 6. Trim it to the desired size
Drag the corners or edges of the rectangle to surround the part of the photo you want to use, then hit "Crop" at the top of the screen.
- To select the entire photo, tap the first icon (a square with two arrows) at the bottom left.
- If you want to rotate it, click on the curved arrow at the bottom of the screen.
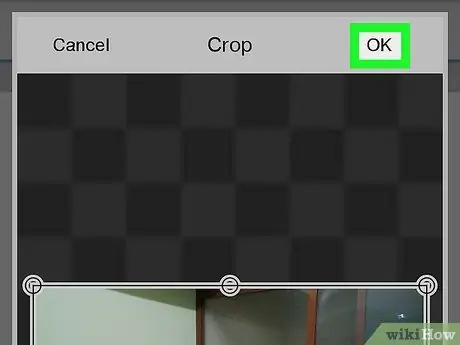
Step 7. Tap OK
It is located at the top right. This way you will be able to draw on the photo and edit it.
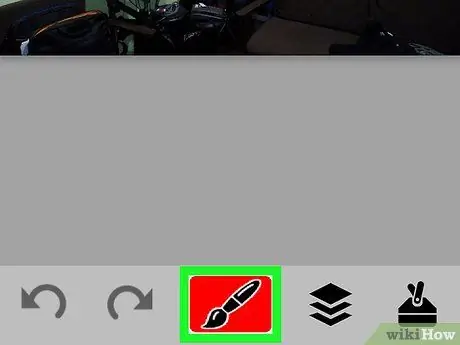
Step 8. Tap the brush icon
It is located at the bottom of the screen. A list of options will appear.
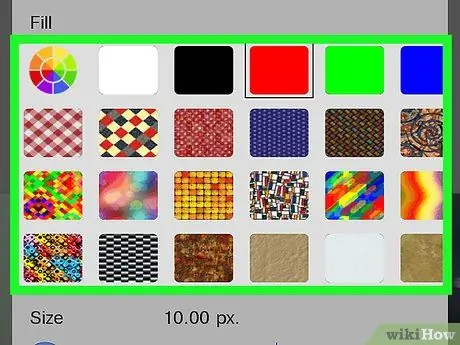
Step 9. Customize the brush and click OK
Select a color or a pattern to draw, then change the size and the degree of opacity with the appropriate sliders.
- Click on "Fill" to select a single color from the palette or choose one of the patterns at the top of the screen.
- Drag the "Size" slider to the right to increase the brush size or to the left to decrease it.
- Drag the "Opacity" slider to the left to make the color or pattern more transparent or to the right to make it more defined / opaque.
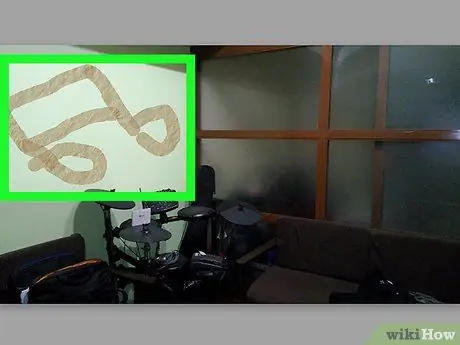
Step 10. Draw on the image with your finger
If you make a mistake, tap the curved arrow at the bottom left to undo the last action.
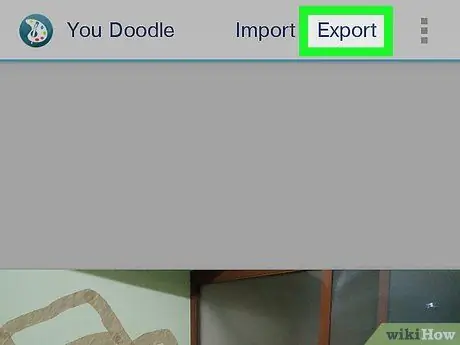
Step 11. Click on Export
At this point you will have the option to save or share the edited photo.
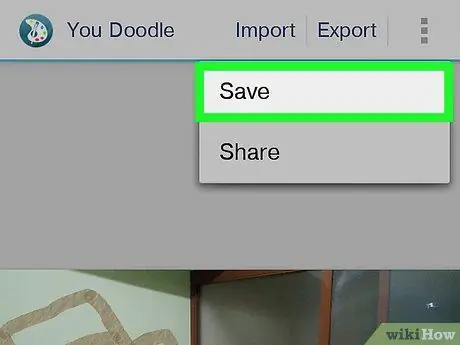
Step 12. Tap the Save button
A list with various file types will appear.
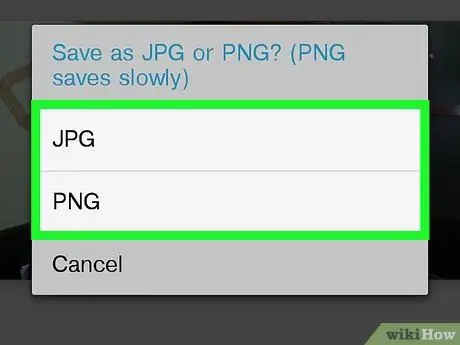
Step 13. Select the format you prefer
Choose "PNG" or "JPG". The quality is similar, but saving a file in-p.webp
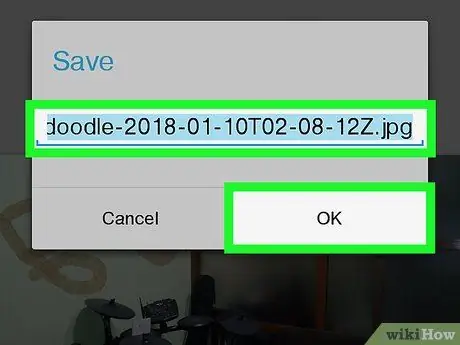
Step 14. Type the title of the photo and click OK
It will then be saved in your device's gallery.


