This article explains how to back up your data on Mac using an external hard drive or the iCloud platform, the clouding service offered by Apple.
Steps
Method 1 of 2: Using Time Machine
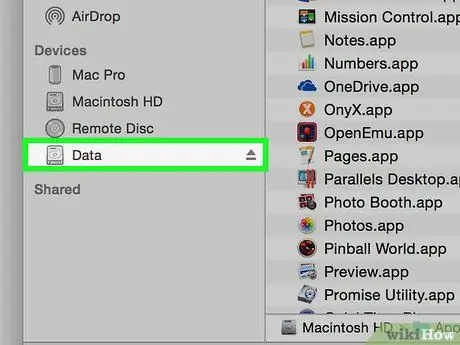
Step 1. Connect your Mac to a formatted hard drive
Use the connection cable supplied with the device at the time of purchase (normally this is a USB, Lightning or eSATA data cable).
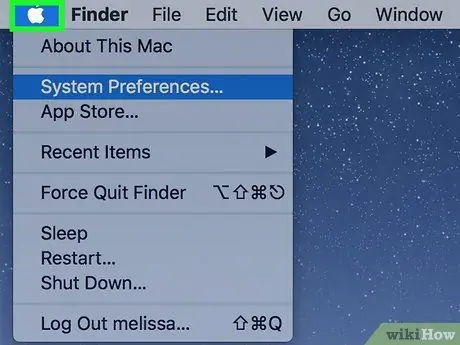
Step 2. Enter the "Apple" menu by clicking the icon
It features the Apple logo and is located in the upper left corner of the screen. A drop-down menu will appear.
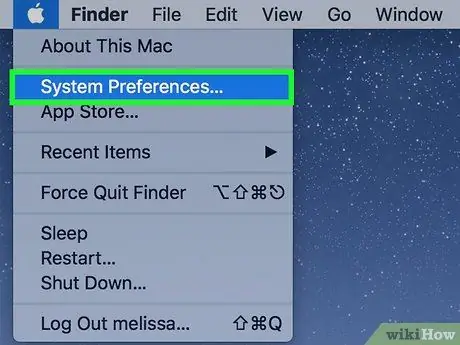
Step 3. Choose the System Preferences… item
It is one of the options present in the drop-down menu that appeared. The "System Preferences" dialog box will appear.
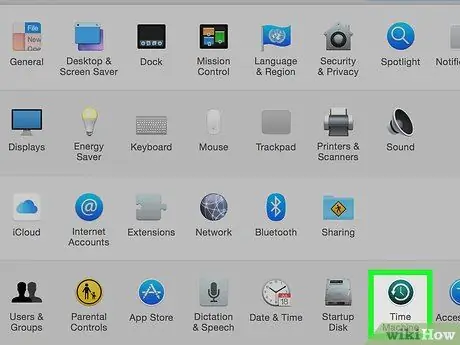
Step 4. Click the Time Machine icon
It is located in the lower central part of the appeared window.
If you are using an older version of the OS X or MacOS operating system, make sure the "Time Machine" feature is enabled by setting the switch to the "Active" position
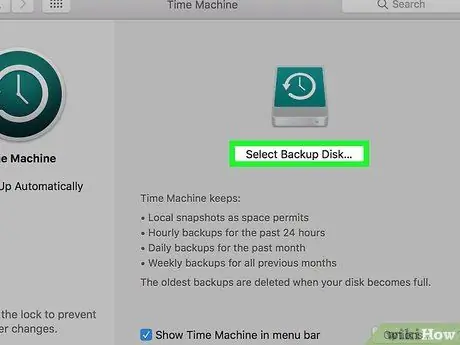
Step 5. Press the Select Backup Disk… button
It is located within the right pane of the "Time Machine" dialog.
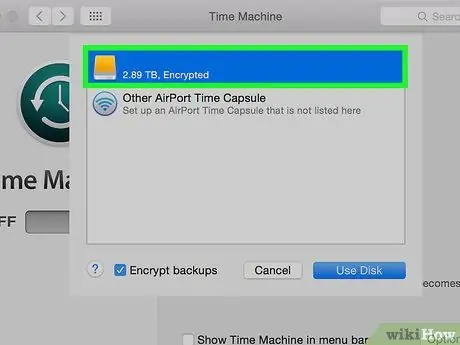
Step 6. Select the hard drive to use for backup
Click the icon of the USB drive you connected to the Mac.
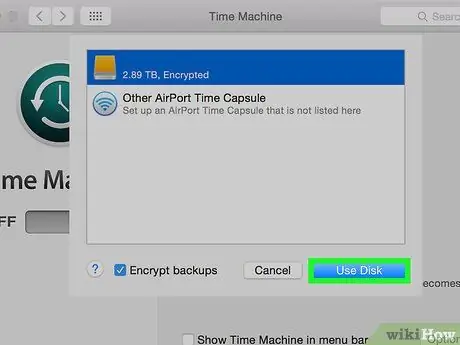
Step 7. Press the Use Disk button
It is located in the lower right corner of the pop-up window that appears.
- If you want the backup to run on a regular basis, select the "Back up automatically" checkbox located at the bottom of the left side pane of the "Time Machine" window.
- Select the "Show Time Machine in menu bar" checkbox to create a shortcut to the application directly on the Mac menu bar.
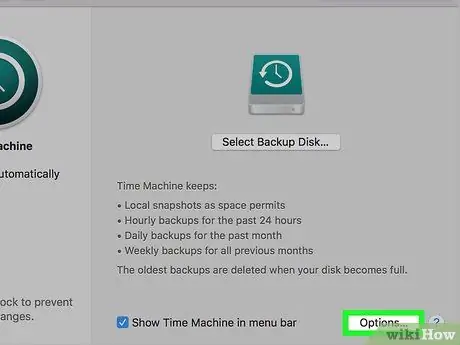
Step 8. Press the Options… button
It is located in the lower right corner of the window.
- Select the "Back up when battery is in use" checkbox to allow Time Machine to back up even when your Mac is not connected to the mains.
- Select the "Warn after deleting past backups" checkbox if you need to know when Time Machine will need to delete old backups in order to run the new one.
Method 2 of 2: Using iCloud
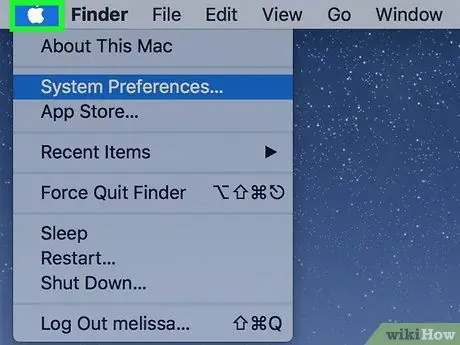
Step 1. Enter the "Apple" menu by clicking the icon
It features the Apple logo and is located in the upper left corner of the screen. A drop-down menu will appear.
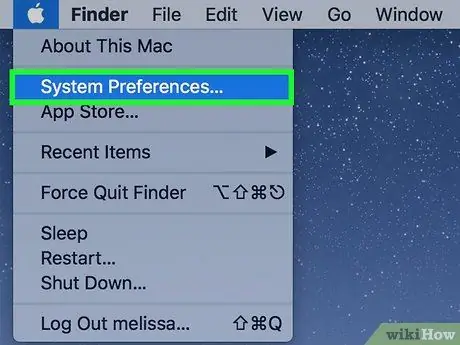
Step 2. Choose the System Preferences… item
It is one of the options present in the drop-down menu that appeared. The "System Preferences" dialog box will appear.
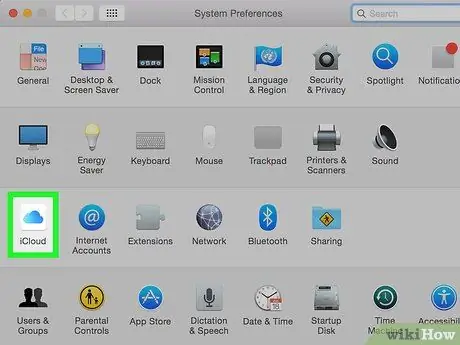
Step 3. Click the iCloud iCloud icon
It is located on the left of the "System Preferences" window.
- If you are not signed in with your account, you will need to provide your Apple ID and security password.
- To find out how much space is included in your iCloud account or to buy more, press the button Manage … located in the lower right corner of the window that appeared, then choose the option Change storage plan … located in the upper right corner of the window.
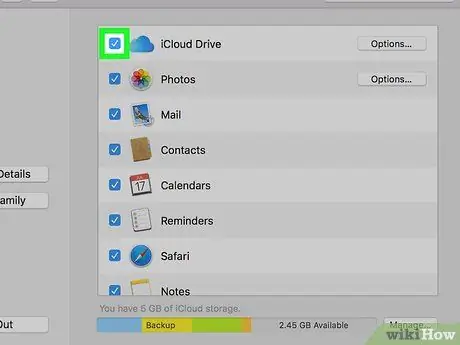
Step 4. Select the "iCloud Drive" checkbox
It is displayed at the top of the window in the right pane. You are now able to store files and documents directly on iCloud.
- To transfer a file or document to iCloud, choose the "iCloud Drive" option located in the "Save" dialog box, or drag the file icon to the item iCloud Drive listed inside the left sidebar of the Finder window.
- Select the applications that will be allowed to access iCloud Drive by pressing the button Options … located on the right of the "iCloud Drive" item in the "iCloud" window.
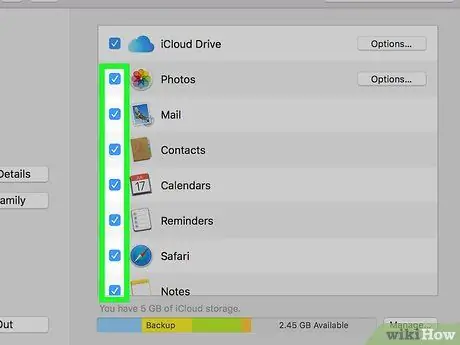
Step 5. Choose the type of data that can be stored on iCloud
Select the check button of the categories listed under "iCloud Drive":
- Select the "Photos" option if you want your photos to be backed up and accessible from iCloud.
- Select the "Mail" checkbox to sync email messages to iCloud.
- Select the "Contacts" checkbox to keep a copy of the contacts address book on iCloud.
- Select the "Calendars" checkbox to keep a copy of your iCloud calendars.
- Select the "Reminders" checkbox to sync reminders to iCloud.
- Select the "Safari" check button to copy Safari data, such as browsing history and bookmarks to iCloud.
- Select the "Notes" checkbox to transfer a copy of your notes to iCloud.
- Select the "Keychain" checkbox to share a copy of your encrypted password and payment information with all Apple devices that are synced with your Apple ID.
- In order to view all the items listed, you may need to scroll down the page.
Advice
- Be proactive and regularly check the functionality and integrity of the storage device on which you store your backups, make sure that your data is always up to date and that the tool you are backing up with is still current and has not been replaced by new technologies.
- Prioritize the data to be backed up to make sure your most important and crucial files are always recoverable.
- Keep a copy of the backup files even somewhere outside the computer, for example the iCloud platform or a USB hard drive, so that, if your Mac is destroyed or lost, you will still be able to recover all your data.
- Your iCloud account may not have enough space to accommodate the backup file, especially if it is already occupied by your music, photo and video files. In this case, consider using another clouding service, such as Google Drive or Microsoft OneDrive.
- Make multiple backups of your data and keep it in different places. It uses both external hard drives and clouding services (for example iCloud), to make sure you can always restore a copy in case a backup file is corrupted.
- Store data on CD, DVD or USB drive for extra backup in case of an emergency.


