Microsoft Word, as well as other Microsoft Office products, offers the ability to customize the user interface to help you organize the tools you use most often based on the configuration that is most convenient for you. Microsoft Word 2003, the latest version of Word whose interface features menus and toolbars, allows you to customize toolbars and create new ones to suit your needs, while Word 2007 and Word 2010 allow you to customize the toolbar Quick Access, which integrates the ribbon menu interface. The following steps explain how to add toolbars in Microsoft Word 2003, how to customize toolbars and toolbar buttons in this version of Word, and how to customize the Quick Access Toolbar in Word 2007 and Word 2010.
Steps
Method 1 of 7: Add Default Toolbars in Word 2003
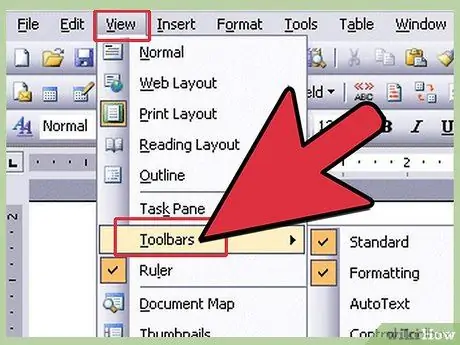
Step 1. Select "Toolbars" from the "View" menu
A list of available toolbars is displayed, with check marks next to the currently displayed toolbars.
- The default toolbars that appear when you install Word 2003 are the "Standard" toolbar (which includes buttons for frequently used commands, such as "Open", "Save", "Copy" and "Paste"), and the "Formatting" toolbar (which has text formatting commands such as "Bold", "Italic", "Underline" and the ability to add bulleted and numbered lists).
- The "Quick Access" toolbar in Word 2007 and Word 2010 takes the place of the "Standard" toolbar in Word 2003, while the buttons on the Word 2003 Formatting toolbar appear in the "Font" and "Paragraph" sections of the "Home" menu in the Word 2007 and Word 2010 ribbon.
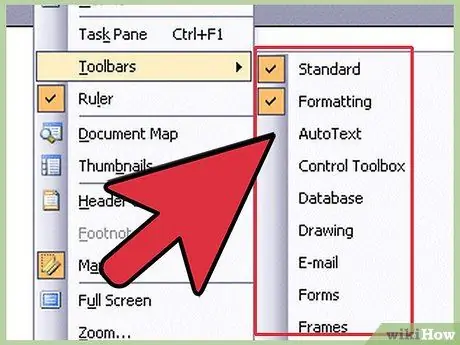
Step 2. Select the toolbar you want from the "Toolbars" submenu
Method 2 of 7: Add a Custom Toolbar in Word 2003
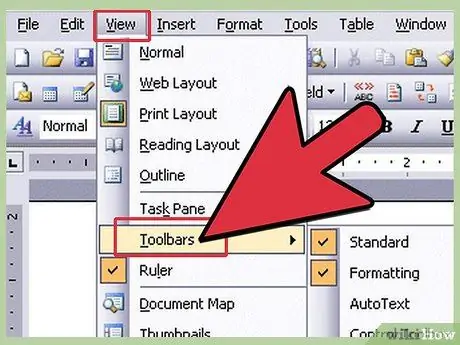
Step 1. Select "Toolbars" from the "View" menu
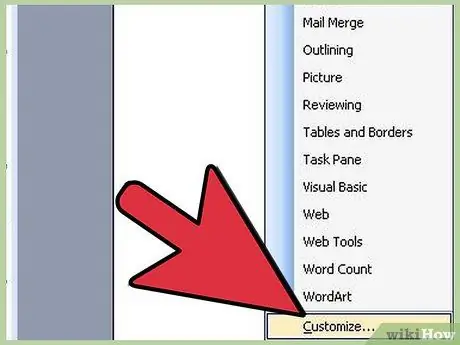
Step 2. Select "Customize" from the "Toolbars" submenu
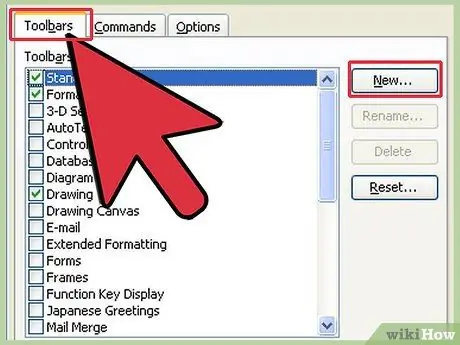
Step 3. Click on the "Toolbars" tab, then click on "New"
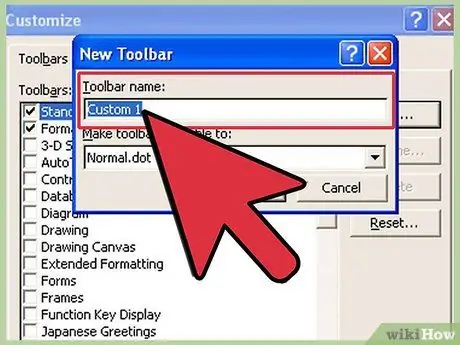
Step 4. Type a name for the new toolbar in the "New Toolbar" box
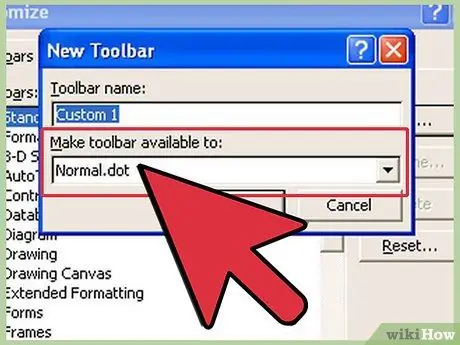
Step 5. Select where to store the toolbar in the "Make the toolbar available in" box
You can store the new toolbar as a template or in an open document. Click on "OK" after making your selection.
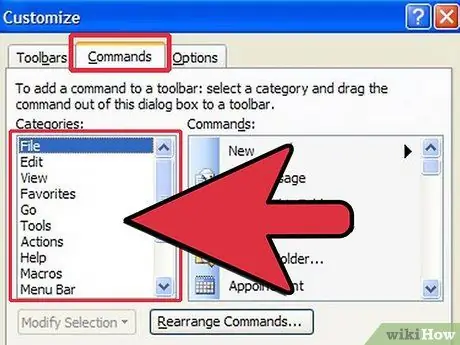
Step 6. Select the buttons you want to insert into the new toolbar
Click on the "Commands" tab, then select the category of buttons you want. Drag the button to the new toolbar.
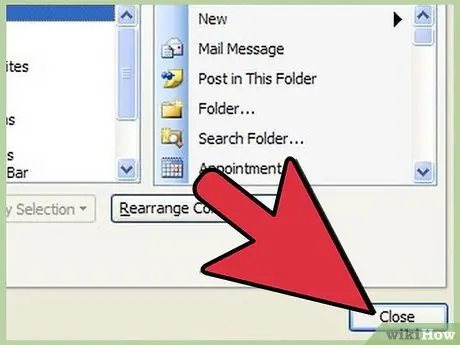
Step 7. Click "Close"
Method 3 of 7: Add Buttons to Word 2003 Toolbars
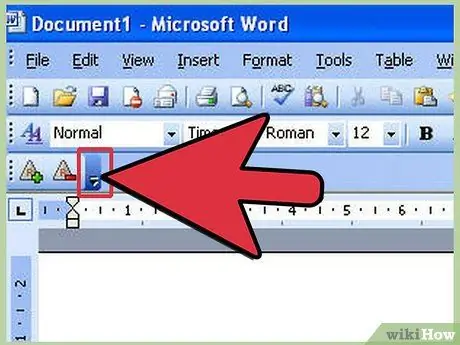
Step 1. Click on the "More Buttons" button at the right end of the toolbar
This button is a down arrow similar to the down arrow to the right of fields in a drop-down list. It appears only when the toolbar is docked.
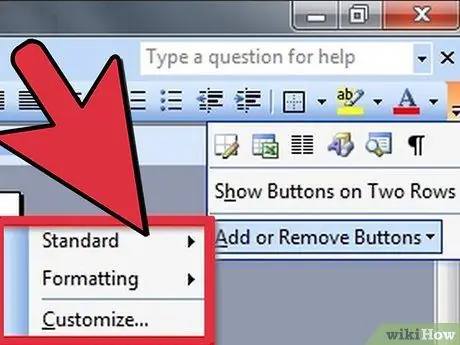
Step 2. Select the checkbox next to the button to add from the submenu that appears
Method 4 of 7: Change the Buttons on a Toolbar in Word 2003
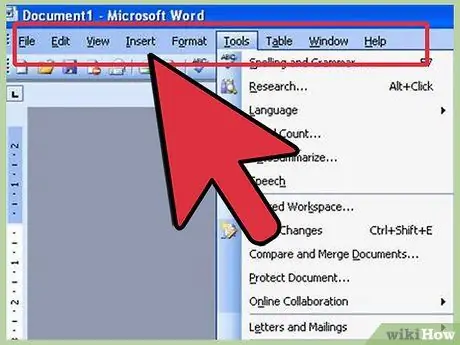
Step 1. Display the toolbar you want to change if it is not already visible
If you want to make a change that affects more than 1 toolbar, you need to see all the toolbars to be changed.
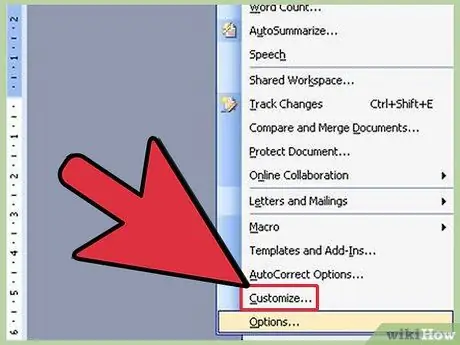
Step 2. Select "Customize" from the "Tools" menu
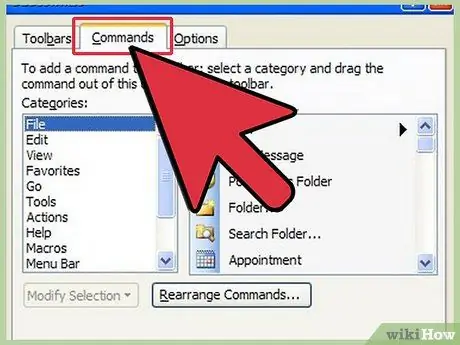
Step 3. Follow the procedure for the modification you want to make
- To move a button, drag it to a new location on the same toolbar or another.
- To copy a button, hold down the "Ctrl" key on your keyboard and drag the button to its new location on the same or another toolbar.
- To remove a button, select the button you want to remove and drag it out of the toolbar.
- To restore a deleted button, follow the steps mentioned in the "Adding Buttons to Word 2003 Toolbars" section.
- To change a button icon, right-click it, select "Edit Button Icon", then make the desired changes in the "Button Editor" dialog and click "OK". This procedure does not work for a button that displays a list or menu when clicked.
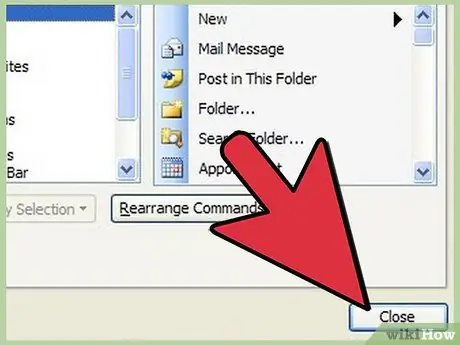
Step 4. Click "Close"
Method 5 of 7: Add Commands to the Quick Access Toolbar in Word 2007 and in Word 2010
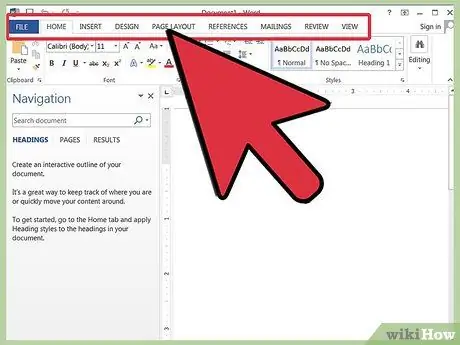
Step 1. Choose the appropriate ribbon tab to display the menu toolbar with the command you want to add to the "Quick Access" bar
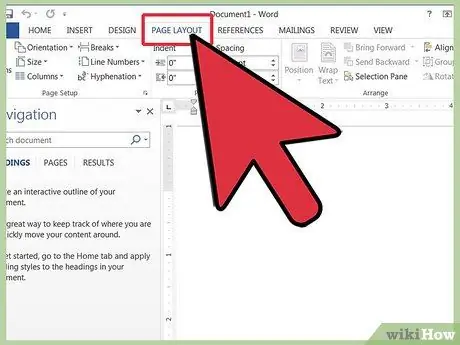
Step 2. Right-click the command you want to add to the toolbar
A pop-up menu will appear.
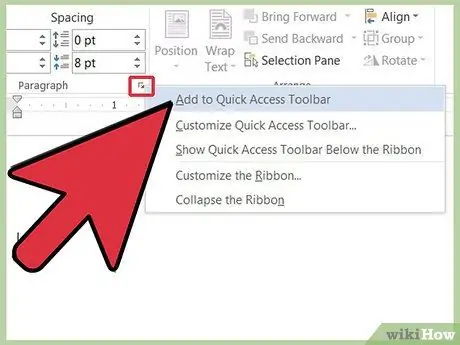
Step 3. Select "Add to Quick Access Toolbar" on the pop-up menu
Word 2007 also allows you to add the options in the "File" menu to the "Quick Access" toolbar with the right mouse button. Word 2010, on the other hand, does not allow adding menu items on the left side of the "File" tab to the "Quick Access" bar
Method 6 of 7: Add or Delete Buttons on the Quick Access Toolbar in Word 2007 and in Word 2010
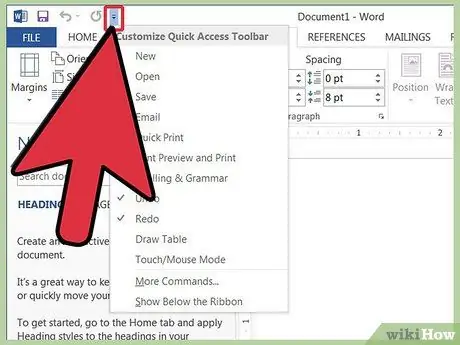
Step 1. Click on the "Customize Quick Access Toolbar" button on the right of the toolbar
This button has a down arrow similar to the down arrow to the right of drop-down lists and to the right of docked toolbars in Word 2003. The "Customize Quick Access Toolbar" drop-down menu appears.
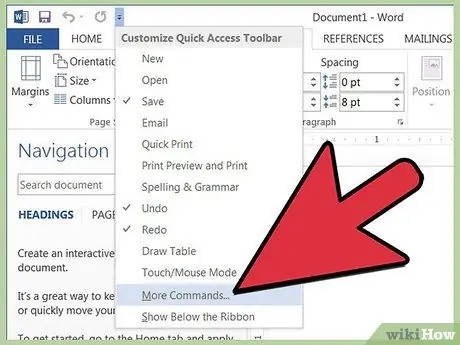
Step 2. Select "More Commands"
The "Word Options" dialog box will appear and the "Customize" option will be selected. The middle pane displays 2 columns: the left column shows a list of available buttons and the right column shows the buttons currently displayed.
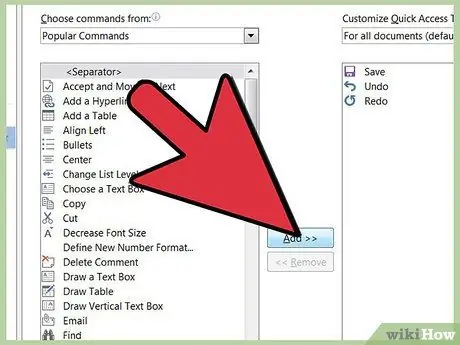
Step 3. Add, move or remove buttons or separators as you wish
- To add a button or separator to the "Quick Access" toolbar, select it from the list on the left and click "Add".
- To remove a button or separator from the "Quick Access" toolbar, select it from the list on the right and click "Remove".
- To reposition a button on the "Quick Access" toolbar, select it from the list on the right and click on the up arrow to move it to the top of the list (and to the left of the toolbar) or down arrow to move it down list (and to the right of the toolbar).
- To reset the toolbar to its default settings, click "Reset" in Word 2007, or click the "Defaults" drop-down button and select "Reset Quick Access Toolbar Only" in Word 2010.
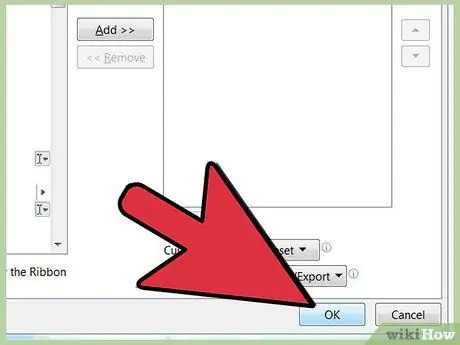
Step 4. Click "OK" to close the dialog box
Method 7 of 7: Move the Quick Access Toolbar in Word 2007 and in Word 2010
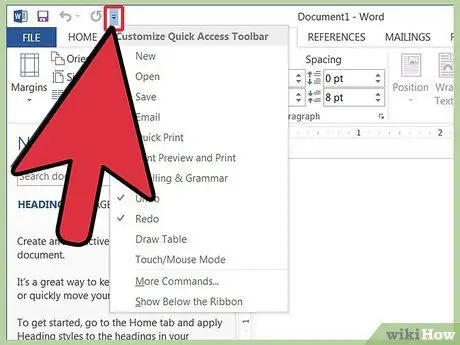
Step 1. Click on the "Customize Quick Access Toolbar" button on the right of the toolbar
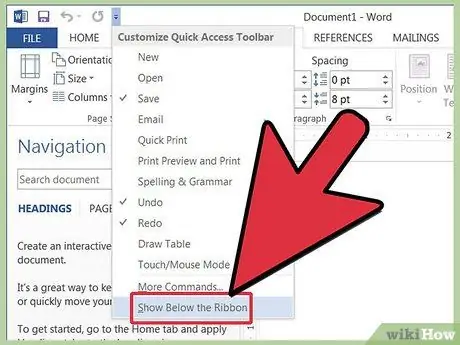
Step 2. Select "View Under Ribbon"
This will reposition the "Quick Access Toolbar" under the Ribbon menu.


