Are you having difficulty connecting your Linksys WRT160N router to the internet? Here are some steps that will help you set it up.
Steps

Step 1. Connect your computer to the router. Use an ethernet cable to connect the computer to the router. Then, turn on the router and connect to it through a browser, such as Internet Explorer or Firefox. To do this you have to type the IP address of the router in the address bar of the browser. Linksys uses https://192.168.1.1/ as the default address
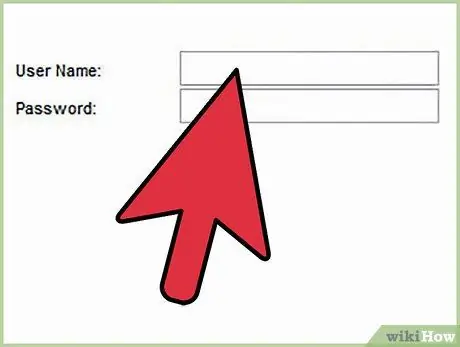
Step 2. Enter your connection details
If this is your first time setting it up, you will be asked for your credentials. Leave the username field blank, and type "admin" for the password.
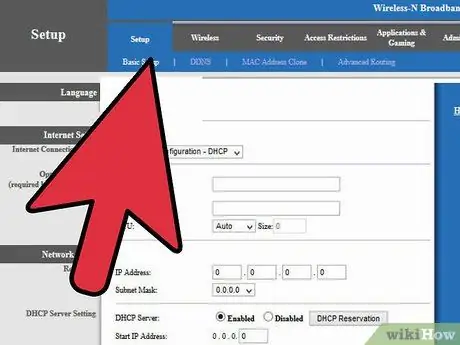
Step 3. Basic setup
At this point you will have entered the "Basic Setup" section of the router. You can decide to change the IP address of the router later on. If you are unsure, leave 192.168.1.1. You could also set the time zone for your area.
You may also need to clone the MAC address if you are using cable broadband (pay TV cable broadband). To do this, go to "Mac address clone", then "Enable," then "clone my computers Mac"
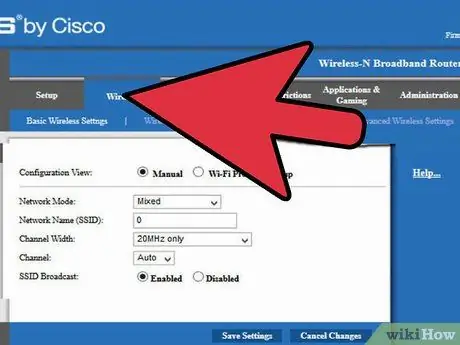
Step 4. Continue with the Wireless Network tab
Note that the setup has two options: Manual or Wi-Fi Protected Setup. Select the Manual option. From here you can choose a name, or SSID (Service Set Identifier), for your network. This is the name people will see when they try to connect to your router. Make sure you do NOT use a name that can identify you or your family.
Set the Channel Width to 20 MHz only and disable the option Broadcast SSID, unless you want to take your public network for some reason. Select "Save Settings".
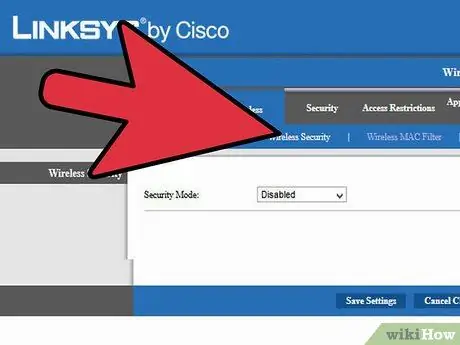
Step 5. Select the Wireless Security link
From here you can choose the security settings for the wireless part of your network. You should choose the strongest encryption method available on your device. WPA2 Personal is the best. With this type of encryption, you can choose a phrase that will only be used by the wireless devices you allow access to your network. This is not information you should be spreading. The choice of a 22 character sentence is recommended.
The "advanced security" link can be ignored unless you have distance, signal or transmission problems. On this page, there is a "Help" link. You should read and understand all the information before making any changes from the factory settings
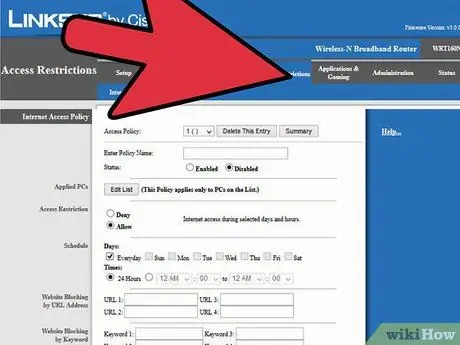
Step 6. Select "Access Restrictions"
You should use this feature if you want to add additional security levels to protect children or other network users. On this page you will find many options that allow you to limit access based on the day of the week, time or personal computer. You have to add the computers to which you want to apply the restrictions by choosing "Edit List" and adding the computers based on their IP address, then select the day and time in the appropriate boxes. More experienced users may also block specific applications, such as Telnet and POP3 (e-mail).
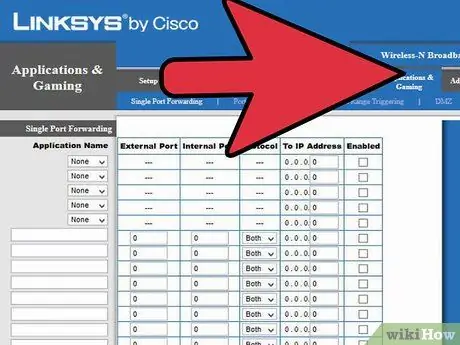
Step 7. Use the Applications and Gaming tab
You should change these options if you will be using the internet for applications that require port forwarding such as video games or file sharing programs. To transfer data using a specific port, you need to enter it in External Port and Internal Port and associate the IP address of the specific computer that needs the ports. You can also transfer data using a port range using the Port Range Forwarding sub-table. Remember to save after each change.
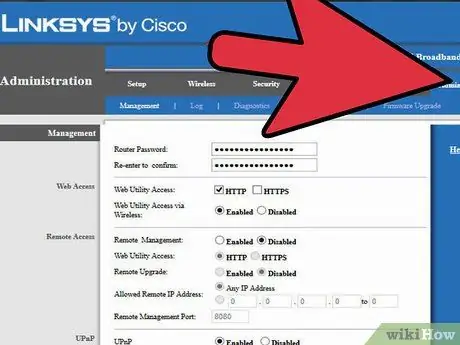
Step 8. Set a password for the router on the Administration tab
This password will be entered to allow configuration changes. Enter the desired password in both "Router password" boxes. Make sure you have disabled the Web Utility Access through the "wireless feature" button. You don't want to be able to configure the router over the wireless link.
Select "Disable" for the Remote Management option as you don't want the router to be configured from the internet. Disable UPnP as this feature has vulnerabilities. Press "Save Settings"
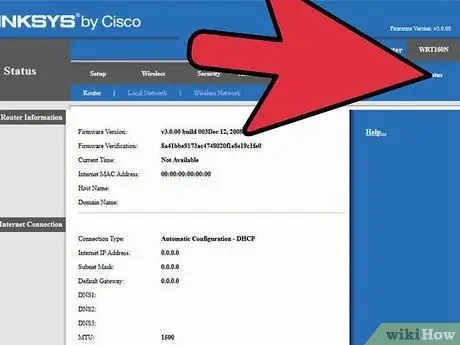
Step 9. Click the Status tab to check the status of the router and connectivity
This page contains information about your Internet Service Provider (ISP), such as DNS address and domain name. You could also press the Local Network button to check the DHCP table, which contains the list of all users connected to the router, either through the wireless link or through a cable. This tab can be consulted to check if someone is connected to your router without authorization.
Advice
- Remember to save your changes after each change.
- You may need to reset your router to factory settings by pressing a button located in a small hole in the back of the router (while it is powered on).
- When setting up a router for the first time, refer to the manual and use the vendor's installation CD.


