This article explains how to prevent your laptop from being damaged by liquids. Remember that although the procedure described below is the best way to deal with these kinds of accidents at home, there is no guarantee that the laptop will work again; consulting a professional is by far the best solution.
Steps
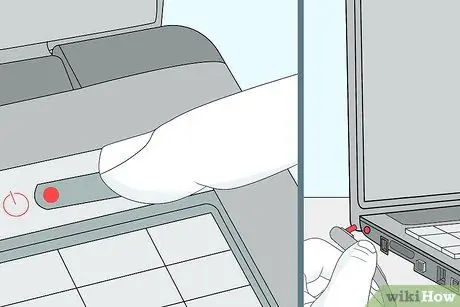
Step 1. Immediately turn off the device and disconnect it from the electrical system
To do this, simply press and hold the on / off button. If liquid reaches the circuits while the computer is running, it could cause a short circuit, so a timely reaction is extremely important.
To disconnect the power source, simply remove the charging cable, which is usually found on the right or left side of the case
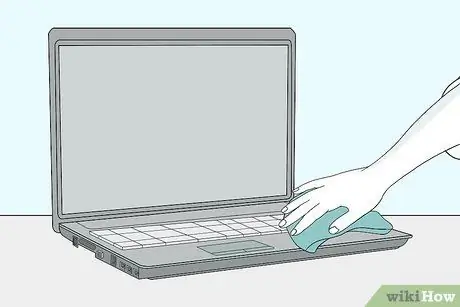
Step 2. Lift the laptop from the residual liquid
This way, you minimize exposure to moisture and reduce the risk of electric shock.
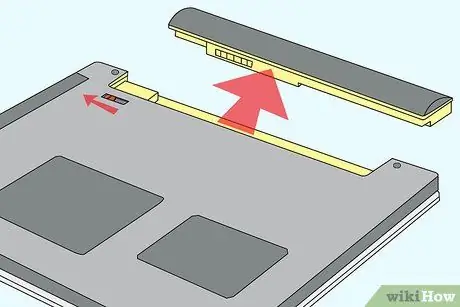
Step 3. Turn it over and remove the battery if possible
Usually, it is sufficient to turn the device over, slide the panel on the base and gently pull the battery.
This step is not possible on MacBooks without first removing the screws that are located on the base of the computer and that secure it to the rest of the chassis
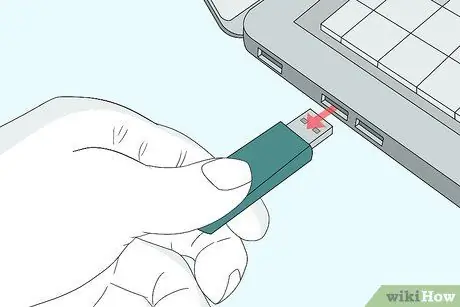
Step 4. Disconnect any external hardware devices
These include:
- USB devices (pendrive, wireless adapters, chargers and so on);
- Memory cards;
- Commands (such as the mouse);
- Battery charger.

Step 5. Place a towel on a flat surface
This is where you will leave your computer for the next two days, so choose a room that is warm, dry, and uncrowded.
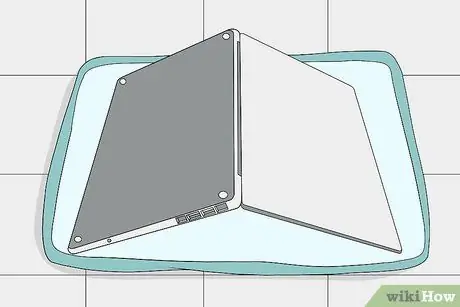
Step 6. Open the computer as far as it will go and lay it upside down on the towel
Depending on the opening width of the hinges, you could get a tent or completely flat structure.
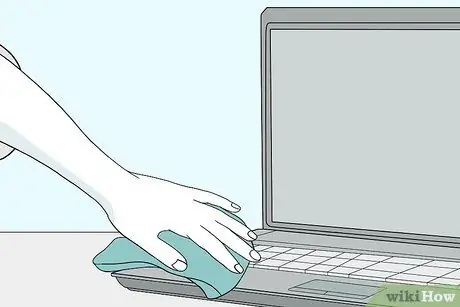
Step 7. Wipe away any obvious traces of moisture
Scrub the front and back of the screen, the case and the keyboard.
Make sure the laptop is partially facing down as you go so that excess liquid can drip
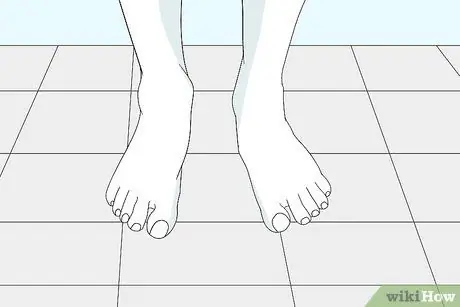
Step 8. Discharge static electricity before touching internal components
In this way, the body and clothes no longer retain electrostatic charges that could destroy the parts of the laptop; it is imperative to perform this step before touching the RAM cards or hard drive.
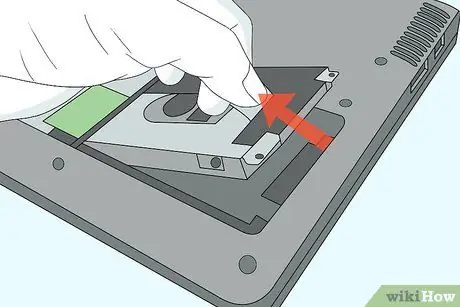
Step 9. Remove as much hardware as possible
If you don't feel like it or don't know how to detach the RAM, hard drive, or other removable internal components, take the device to a service center.
- Typically, you can find manuals online that explain the location of the various computer parts and how to disassemble them. Do a simple search by typing in your model name and code, followed by the words "RAM removal" (or whatever other component you need to extract).
- If you have a MacBook, you must first unscrew each of the ten screws that secure the base to the chassis.
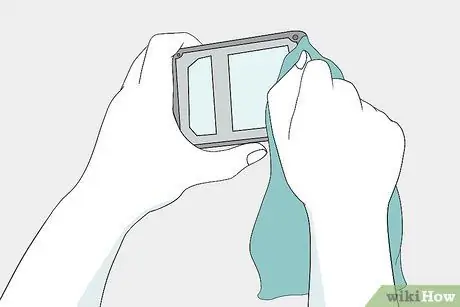
Step 10. Blot the internal parts dry
To do this, you need a microfiber cloth or other lint-free fabric.
- If there is a lot of water inside the computer, you should drain it first.
- Proceed with extreme delicacy.
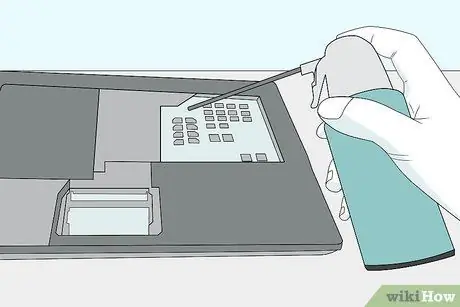
Step 11. Remove dry residue
Again, use a lint-free cloth, wipe off stains that aren't water, or blow away dust, dirt, and any dry debris with a can of compressed air.
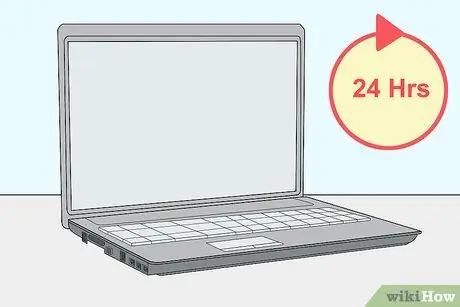
Step 12. Wait for the laptop to dry
Leave it undisturbed for at least a day.
- Consider storing it in a warm, dry place; the presence of a dehumidifier can speed up the process.
- Never use a hair dryer, because it concentrates a very intense heat that can damage the internal parts of the laptop.
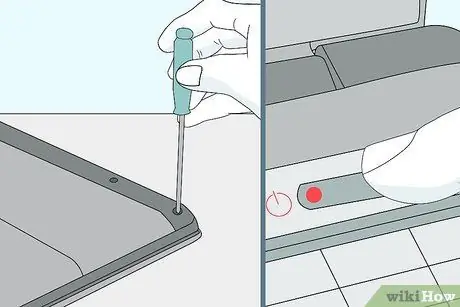
Step 13. Assemble the device again and turn it on
If it does not start, you notice any distortion in the sound or images, you must take your computer to a professional repair center.
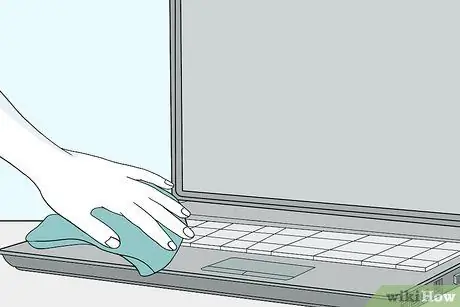
Step 14. Remove any residue if necessary
Even if the computer starts up and runs, there may be traces of sticky or greasy material left. Wipe them off with a damp microfiber cloth similar to the one you used to dry your laptop earlier.
Advice
- It is not certain that the problem has been solved just because the computer works after having dried it; you should definitely make a backup copy of your data and take the device to a service center for a thorough check.
- On YouTube you can find many complete and detailed video tutorials that explain how to disassemble a broken laptop into its smallest parts.
- Some companies include warranty clauses regarding liquid spills; Read the rules before opening the computer case, as some handcrafted repairs can void the warranty.
- If possible, try to record a video as you take the laptop apart so you won't have any problems when you need to reassemble it.
- Some companies sell keyboard covers or protective membranes. Although they change the way keys respond to finger pressure, these devices protect the computer from contact with liquids.
- If you need to use liquids around your laptop frequently, consider purchasing an "accidental splash" guarantee. It might cost as much as $ 200, but that's a lot less than what you'd have to shell out for a new laptop.
- You could also expose your computer to the airflow from a fan for a few hours, so that any residual liquid between the keys can evaporate.
Warnings
- Water and electricity don't mix! Make sure all outlets and other electrical contact points are completely dry before plugging the laptop back into the power source.
- Do not turn on the laptop while you are drying it.


