The idea of starting to paint on glass might scare you, but don't worry: using a pattern to trace you will discover how simple and fun this activity can be! In this article you will find all the instructions you need to start your journey in this art.
Steps
Part 1 of 3: Getting Started
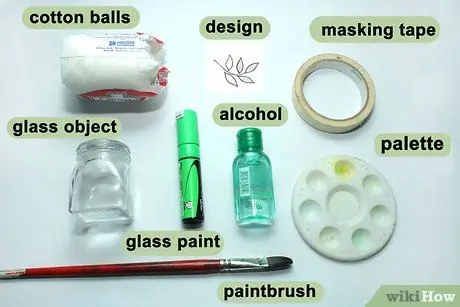
Step 1. Prepare the items you will need
To paint on the glass you will need a few more tools in addition to paint and brushes: you will have to prepare the surface properly, so as to make the colors adhere to the glass; in addition, some types of paint will need to be dried in an oven. Here is a list of the basic items to get you started:
- A glass object to paint on
- Cotton balls
- Denatured alcohol
- The model of your choice, printed on paper
- Paper scotch
- Glass paint
- Brushes
- A plate or a palette
- A suitable oven (optional)
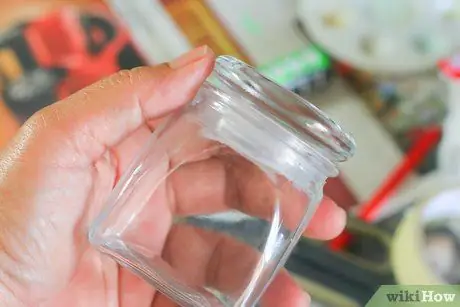
Step 2. Find a glass object to paint
You can decorate carafes, mugs or wine glasses, in addition to the classic glass plates. The best way to get one of the latter is to disassemble a photo frame, inside which you can expose your work at the end of the work. However, make sure that the surface is actually glass, as plastic sheets are sometimes used.
You can decide whether to remove the back of the frame or to leave it in its place; in the latter case it would be better to cover it with a sheet of white paper: most of the colors for glass are transparent, so they can be best admired on a white background
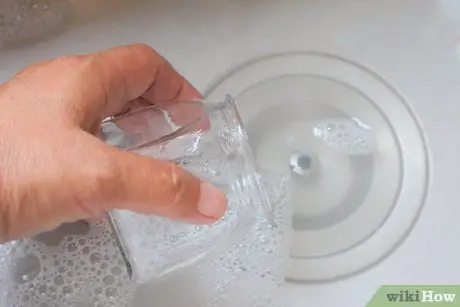
Step 3. Clean the surface of the chosen object with soap and water
You will need to do this even if it looks clean, as a minimum of grease, dust or dirt will be enough to prevent the paint from adhering to the glass.
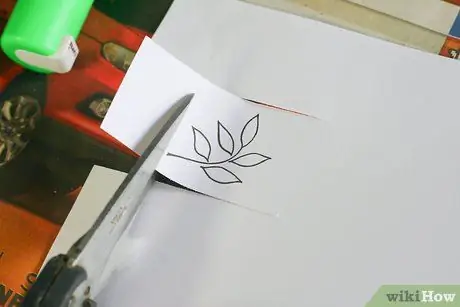
Step 4. Prepare your model or sketch
Print it on paper, and if you want to decorate something like a cup or jug, you'll need to cut out the paper so you can fit it inside.
The most comfortable models to trace are of the type of coloring book pages, i.e. figures drawn only with outlines, without fills
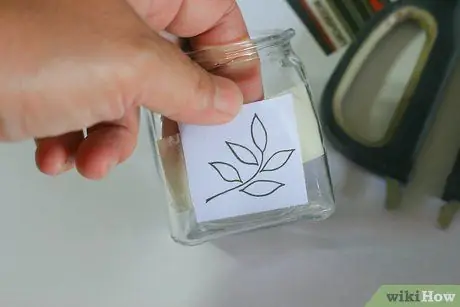
Step 5. Place the template to be copied in the location of your choice
If you have chosen an object from which you will have to eat or drink, identify an area that will not be touched by food, drink or your mouth: even if the colors are declared "non-toxic", they may not be suitable for contact with food.
- If you have decided to paint a flat plate, place the model face down, tape it down, and then flip the glass over.
- If, on the other hand, you are dedicating yourself to decorating a glass or other hollow object, slide the design inside, moving it until you get the best position. Then hold the sheet firmly and secure it with the tape.
- Remember how much space you will have to leave for the border: if you intend to display your work with a frame, be careful that this does not cover a part of your work.
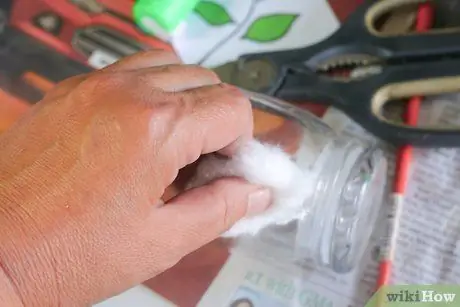
Step 6. Clean the glass surface with denatured alcohol
Wet a ball of cotton wool with alcohol, then rub it all over the object of your choice; this is a necessary measure to make sure there is no oil or grease residue that would prevent the paint from adhering.
Avoid touching the area you want to paint from now on
Part 2 of 3: Painting the Objects
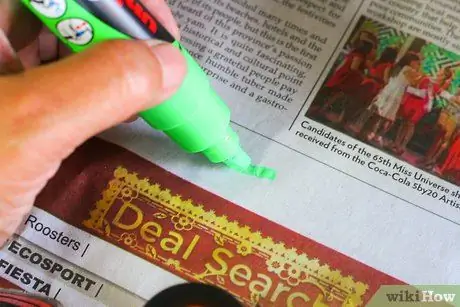
Step 1. Take a tube of faux lead for glass and pour some color out onto a sheet of paper
This is essential, because at the beginning the color tends to come out too quickly, in very large drops; should this happen, it is better to avoid immediately ruining the design on the glass.
- You can also find these tubes by asking for a "liner" or a "contour liner".
- In most cases, the faux lead is black in color, but you can also find other colors, such as silver and gold.
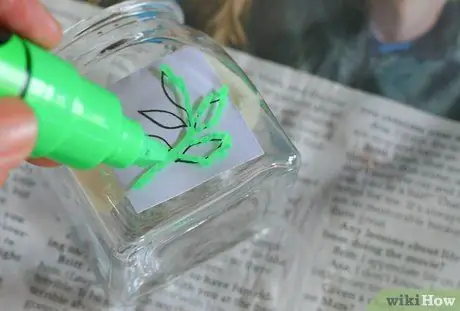
Step 2. Use the mock lead to trace the contours of the model
Hold the tip of the tube just above the surface of the glass and start following the lines. Always draw long and continuous marks, otherwise you will get flickering and discontinuous traces; it also avoids forcing the tip too much on the glass.
For left-handers it is better to start drawing from the right side, otherwise you have to start from the left; by doing this you will avoid smudging the lines just drawn by accidentally touching them with your hand
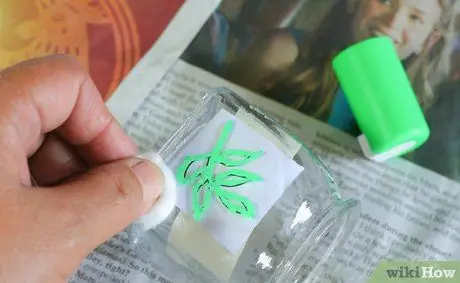
Step 3. Make adjustments after the sweep is complete, if necessary
Once you have finished drawing the outlines, analyze the drawing well: if you see smudges or lumps of color, you can remove them with a cotton swab wet with a little alcohol; otherwise, if the paint is already dry, you can scrape it off with the blade of a utility knife.
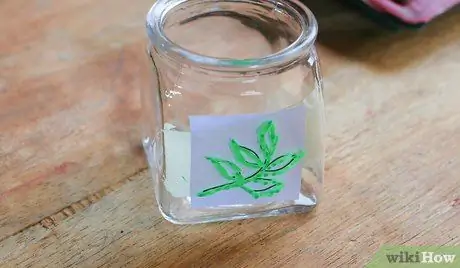
Step 4. Let the color dry completely
Most faux lead paints will take six to eight hours to dry, but it would be best to check the specific information on your product label (each brand may have different indications).
If you're in a hurry and can't wait, you could point a fan or hair dryer at the design to get it to dry sooner. If you use a hair dryer, make sure you use the function for cold air or the lowest possible temperature
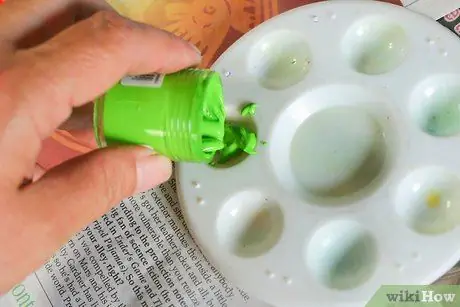
Step 5. Squeeze some glass paint onto a plate or palette
Squeeze out a small amount of paint and apply it to the glass surface with a brush, for the best possible control; alternatively, if your paint container had a fine tip, you could color the glass using the bottle directly.
You can use brushes with synthetic or natural bristles. Synthetic brushes are cheaper, but shed more easily than bristles; those with softer natural bristles may be more expensive, but they allow you to get the best possible results
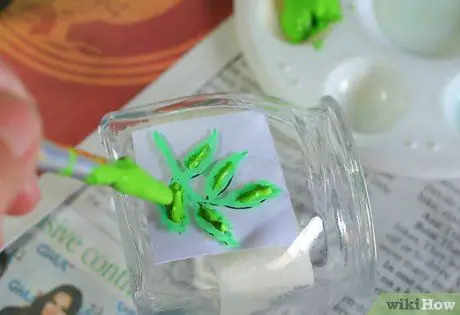
Step 6. Fill in the empty areas with colors
Do not press too hard when using the brush, otherwise you risk removing the paint already applied; rather let the tool run across the surface, without forcing or using too much pressure. If the color is too faded, wait for it to dry completely (the non-dry color could be removed by the action of the brush) and then apply a second coat of paint.
- The colors for the glass shrink a bit during drying, so it colors all the spaces up to the dark edges. If there were any tight and problematic areas, you could use a toothpick to fill in any gaps.
- The thicker the layer of paint you apply, the more it will level off at the end of the pass; in this way you will not see the signs of the brush strokes.
- If you want to create a variegated effect, like marbling, pour a few drops of different colors into the space of your choice, then mix them lightly with a toothpick. Don't overdo it though, otherwise you'll ruin the effect and get a homogeneous color.
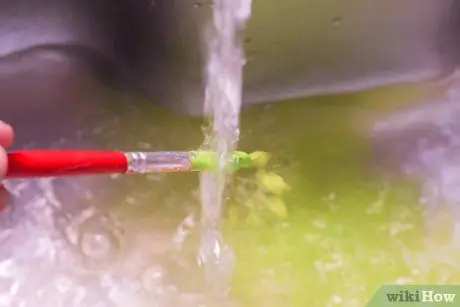
Step 7. Make sure to rinse and dry the brush before using a different color
If you want to apply a different paint, you have to dip the tip of the brush in water and twist a little, in order to remove the excess paint; then dry the bristles by tapping lightly on absorbent paper; if you no longer see color, keep tapping until all the water from the bristles is absorbed by the paper. If water contaminates the paint, unsightly bubbles could be created.
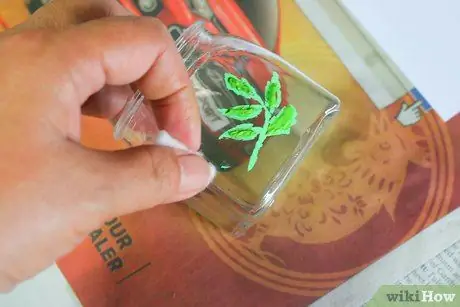
Step 8. Touch up the decoration further if necessary
Carefully analyze your work and check if there are any areas to fix - it will be much easier to fix mistakes when the paint is still fresh. Use cotton swabs, brushes, and toothpicks wet with a little alcohol to remove excess color (particularly if you smudged outside the edges of the image).
Use a thumbtack or nail to puncture any bubbles in the paint. make sure you have them all sorted before the paint dries and hardens
Part 3 of 3: Allow to Dry and Use the Decorated Item
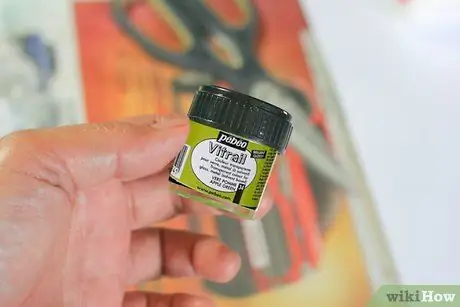
Step 1. Read the instructions on the paint pack
Some types of paint need several days of drying before the object can be used, while others need to rest for up to a month; in some cases it is necessary to use the oven to complete the job. Always check the directions on the label of the paint you used.
Always look for specific indications, remembering that (except in cases where we speak specifically of treatments at high temperatures in the oven) drying is carried out by letting the object rest without using it
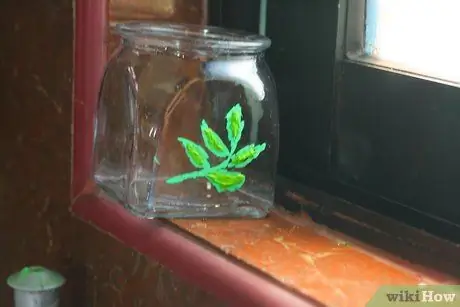
Step 2. Let the paint dry for at least 48 hours
After this time the color should be dry to the touch and, at that point, you will be able to handle the object gently. Depending on the case, however, the paint may not have completed its drying yet; if it still feels sticky or otherwise mushy, you will have to wait longer.
In most cases, three weeks of waiting will allow the color to dry completely
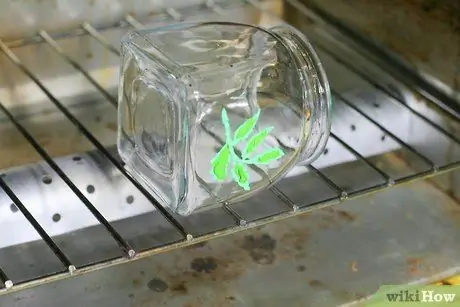
Step 3. Consider whether to pass the object through the oven for longer life
Including this step allows you to better fix the color, thus giving you the option to wash the item using the dishwasher as well. Place the painted glass on a plate covered with parchment paper, then bake everything in the cold oven. Set the temperature to 175 ° C (or to different values, always following the manufacturer's instructions); leave the oven on for half an hour, then turn it off without removing the object: it is important that it cool completely before handling it, otherwise you risk creating cracks.
- Most glitter colors cannot be treated in the oven. You will need to follow the directions on the label, but generally air-drying them for 21 days will suffice.
- If you want to use paints from different brands, remember that they may take different temperatures and times for drying. To avoid burning the decoration, limit yourself to lower temperatures and times.
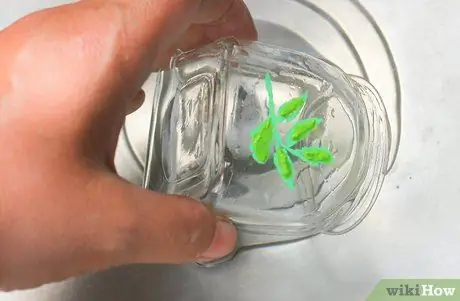
Step 4. Learn how to properly wash decorated glass
Many colors are still delicate even after the drying process, so you will have to wash the items by hand, using a soft sponge; if, on the other hand, you have opted for the oven treatment, you may have the option of using the dishwasher (on the upper shelf). Never leave such a painted object in water, even if you have dried the colors in the oven - the water could cause the paint to flake. Also avoid abrasive sponges, you risk scratching off the decoration.
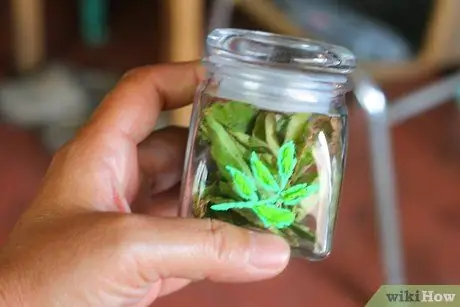
Step 5. Finished
Advice
- When the color is completely dry, you can use cyanoacrylate to glue beads, rhinestones and other decorative objects.
- If you use the paint directly from the tube and not the brush, be sure to clean the tip well with absorbent paper after each application: by doing this you will prevent the paint from drying inside, obstructing the tube.
- Try to keep the fake lead upside down: in this way the paint will accumulate inside the tip of the tube and, at the time of the next use, you will not have to squeeze the package too much, avoiding the formation of bubbles or other imperfections.
- Most paints, including those for glass, tend to take on a slightly lighter color at the end of drying; some colors will also be more transparent. Keep this in mind when designing your decoration, as you may need to apply a few more coats of paint.
Warnings
- Never wash air-dried colors in the dishwasher, as they will flake off. Only items that have passed through the oven can be washed on the top shelf of the dishwasher.
- Never use abrasive sponges on decorated objects; use only a soft cloth or sponge.
- Do not paint parts that could end up in contact with food, drink or mouth: even if the paint is labeled as "non-toxic", it does not necessarily mean that it is suitable for contact with food.
- Do not leave the decorated parts wet or soaked in water, even if you have dried them in the oven: the water would seep under the paint, detaching it from the glass.


