How many times, looking at an abstract painting, have you heard someone say "I could have done it too!"? Although abstract painting seems simple to some, it can, in fact, be more challenging than traditional or classical painting. This is because abstract art does not respect rules and conventions: it is the artist who has to break the rules, be expressive and decide “what art is”. First, get ready to paint. Then, decide whether to make a geometric random abstract painting (in the style of Paul Yanko or Thornton Willis), a minimalist geometric abstract that portrays bold geometric shapes (in the style of Piet Mondrian or Paul Klee), or if you prefer to focus more on the painting process (in the style of Jackson Pollock or Mark Rothko).
Steps
Method 1 of 5: Preparation
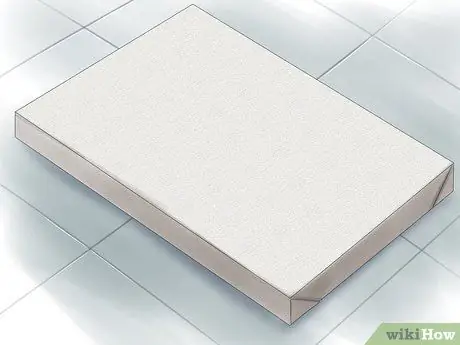
Step 1. Find a canvas
You can purchase a ready-made one of any size at an art store. It will be ready for use; however, there are no rules that force you to use a traditional canvas. Indeed, abstract artists often use unstretched and unprepared canvases.
If you prefer a colorful background, purchase acrylic chalk to emboss the canvas and give it a pop of color. The colors should dry quickly
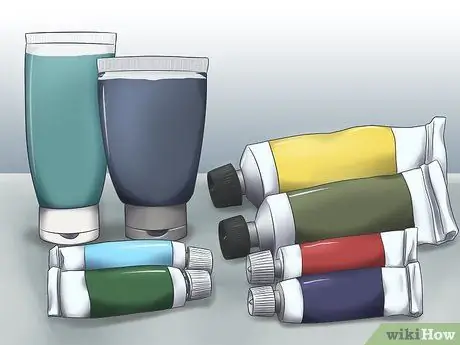
Step 2. Choose your type of paint
Decide whether to use acrylic or oil paints. Acrylics are odorless and easier to use because they dry faster and you can go over them again if you make a mistake. Oil paints, on the other hand, are exactly the opposite and are usually not chosen precisely because they have a strong smell, take a long time to dry and do not admit mistakes.
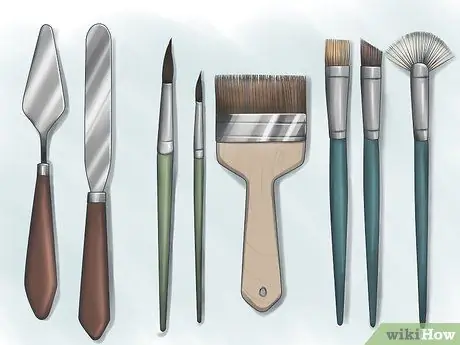
Step 3. Get brushes and other tools
Choose the brushes you want to use with the colors you have chosen. You might also consider using a metal putty knife to apply the paint, and give it a more textured look. Although some artists like to use easels, many abstract painters choose to lay their canvases directly on the floor to be closer to their work.
If you're not sure which colors match best, you can get a color wheel. This will help you understand complementary colors
Step 4. Wear clothes suitable for painting
Depending on your painting style, it may be wise to wear an old shirt or smock. Wear something you don't mind getting dirty, to just focus on the creative process.
You could spread newspaper on the ground to avoid stains or dripping, especially if you want to paint by throwing the paint or with the canvas on the ground
Method 2 of 5: Learning the Theory of Colors
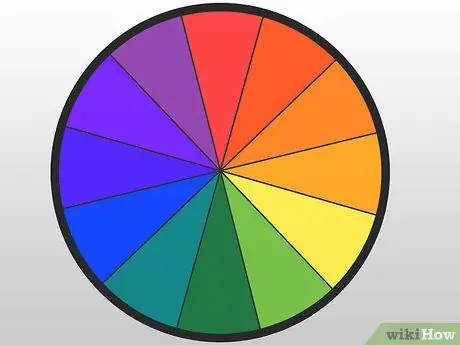
Step 1. Get a color wheel
Put simply, a color wheel is a circular tool that reports different colors. It is useful for showing the relationships between colors - those that match well, those that contrast, and so on.
You can find a color wheel at an art or DIY store
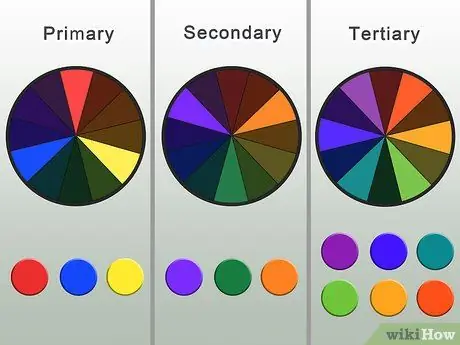
Step 2. Learn about primary, secondary and tertiary colors
In its simplest forms, a color wheel is divided into three parts: the primary colors (red, blue and yellow). Secondary colors are created by mixing the primary ones (green, orange, purple). Tertiary colors can be created by combining primary and secondary colors (yellow-orange, red-orange, red-violet, blue-violet, blue-green and yellow-green).
To get familiar with color creation, try making a color wheel yourself
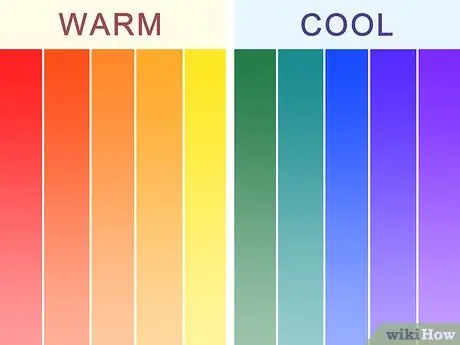
Step 3. Learn about cold and warm colors
Warm colors, such as red, yellow, and orange, have a tendency to create a sense of movement and advancement in space. Cold colors, such as blues, greens, and purples, recede or show little movement; they are soothing colors.
Black, white and gray are considered neutral colors
Step 4. Work with color harmonies
There are many formulas for choosing colors that match well. Trial:
-
Analogous Colors: Choose two or three adjacent colors on the color wheel. One of the colors will likely stand out, but all three will look good together.

Create an Abstract Painting Step 8Bullet1 -
Complementary Colors: Choose two colors at the exact opposite of the wheel. These colors can stand out a lot.

Create an Abstract Painting Step 8Bullet2 -
Triadic Colors: Choose three colors at the same distance on the wheel. If you drew a line connecting the chosen colors, you would form a triangle. These colors will stand out a lot.

Create an Abstract Painting Step 8Bullet3
Method 3 of 5: Painting Random and Geometric Abstract Art
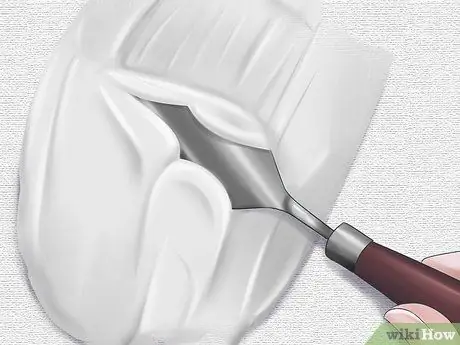
Step 1. Create a rough background
The easiest way to do this is to apply artist chalk, a primer as thick as a gel. Apply it as if it were paint, or spread it with a metal spatula if it is thick enough. This will allow you to control the style of the background.
You can also leave the canvas smooth and empty. Remember that there are no rules in abstract art. Many artists use canvases without preparation
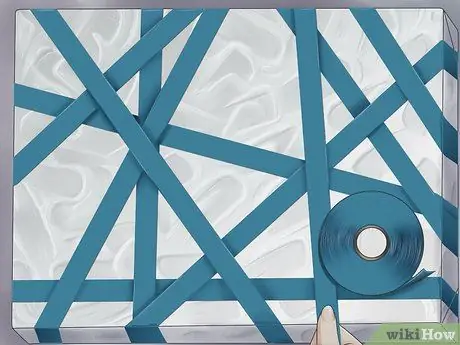
Step 2. Make lines that intersect with tape
Use blue painter's tape and place lots of lines, creating geometric shapes, such as triangles, squares, and rectangles. Your goal will be to create images that do not represent reality. The lines of tape will help you paint, and if you use painter's tape, the shapes and lines will be crisp and defined.
You can use lines drawn with pencil and ruler instead of tape. If you don't want to have to cover the gaps left by the tape when you remove it, try scoring the canvas with a pencil and ruler. Again, use the ruler to create many lines that build geometric shapes
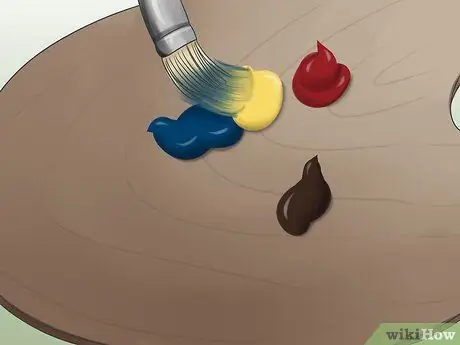
Step 3. Mix the colors
Decide what colors you will use to complete the painting. Mix them on the palette or on a plate. You can also mix colors directly on the canvas, but you won't have as much control over the final look of the artwork.
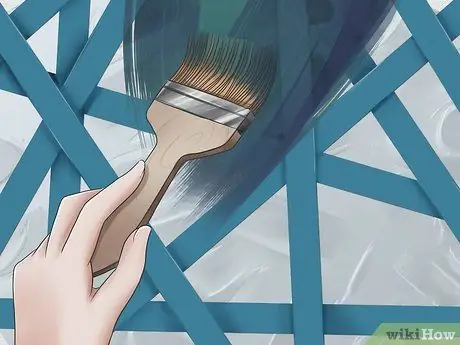
Step 4. Paint the space between the ribbons
Don't worry if you smudge the color on the tape. Also, don't think you need to fill the entire canvas, or all shapes, with color.
Some abstract artists outline the colors of each shape before starting to paint. Others simply start painting and decide what colors to use during the work
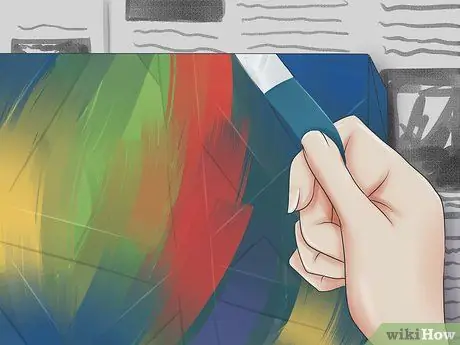
Step 5. Remove the tape when you decide the painting is complete
If you want to keep the edges sharp and defined, remove the tape while the paint is still fresh. If you remove it from a dry painting, you will likely tear off some paint, creating less sharp edges.
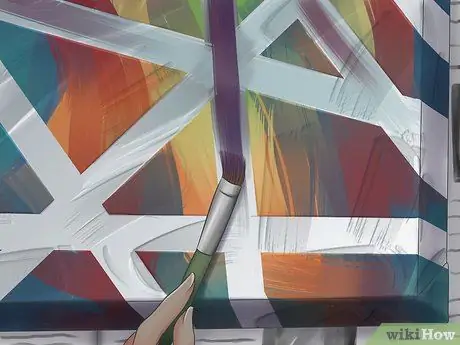
Step 6. Fill in the gaps left by the tape if you wish
Once the tape is removed, you will notice white lines where it covered the canvas. You can decide to leave them or to color them.
Method 4 of 5: Painting Geometric Minimalist Abstract Art
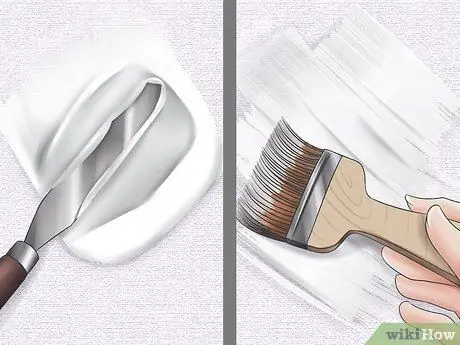
Step 1. Create a rough background
The easiest way is to apply artist's chalk, a primer as thick as a gel. Apply it as if it were paint, or spread it with a metal spatula if it is thick enough. This will allow you to control the style of the background.
You could also use a billboard or heavy paper. If you choose this type of canvas, you will not have to prepare the surface
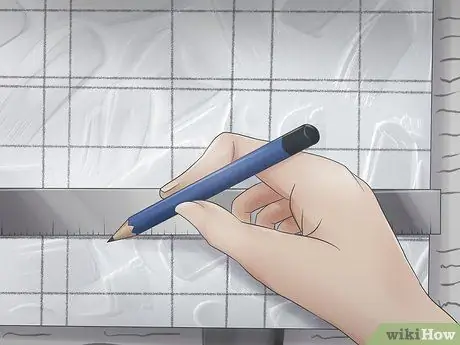
Step 2. Use pencil and ruler to create lines
You should practice many horizontal and vertical lines, with varying spaces between them. Mark as many as you like, but consider that fewer lines will lead to larger squares and rectangles.
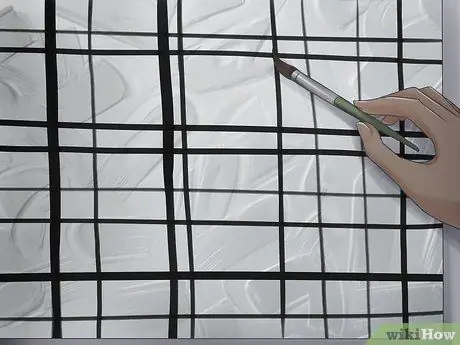
Step 3. Paint the lines
Use black paint to create eye-catching lines. You can draw thick lines and other thinner ones. Your painting will now look like a grid of black lines.
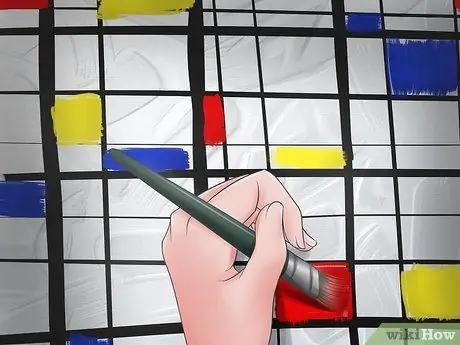
Step 4. Paint just a few squares and rectangles
Use the primary colors (red, blue and yellow) to fill in different shapes of the painting. Even if you could fill in every shape, the painting would be confusing and too loaded. Instead, choose just a few shapes to color. They will stand out more.
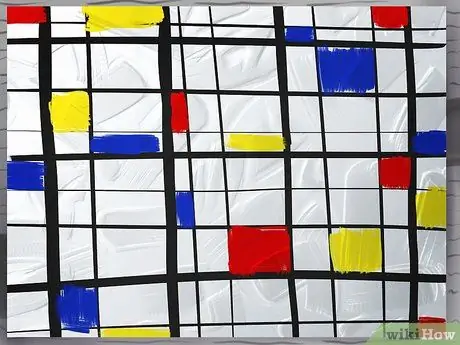
Step 5. Leave blank spaces
White space will make the colored squares stand out.
Method 5 of 5: Painting Abstract Gestural Art
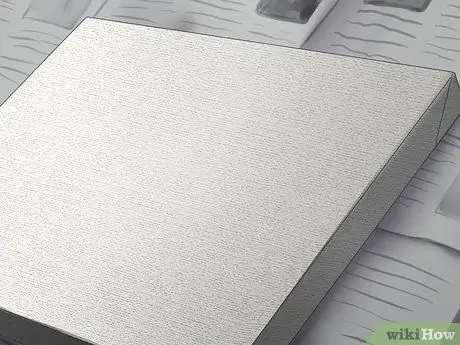
Step 1. Move the canvas to the floor
Many abstract artists say this allows them to be closer to their work. Also, if you are creating an action abstract painting, it will be easier to apply the paint in different ways.
Don't think you can't move the canvas while composing. In fact, you can create unique designs by starting on the ground and then moving the canvas to an easel when the paint is still fresh
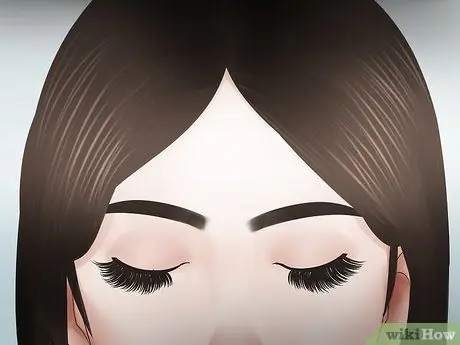
Step 2. Free your mind
With gestural abstract art, you don't try to represent an image. Instead, focus on the paint application process. Try different methods to find the one you prefer.
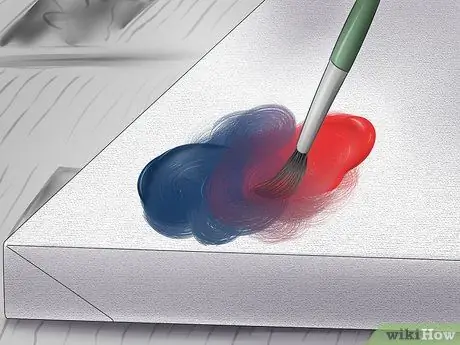
Step 3. Mix the paints directly onto the canvas
As this style places more emphasis on the painting process, don't worry about creating a specific color palette to work with before starting. Instead, work on the colors as you paint.
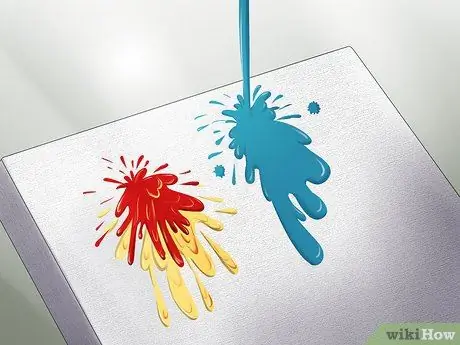
Step 4. Pour the paint on the canvas if you wish
It is one of the ways to create a completely unique and unpredictable image. Pour in the amount you prefer.
You can also vary the distance from which you pour the paint. Pouring from a higher height will produce more splashes, while from a shorter distance you will have more precision and control
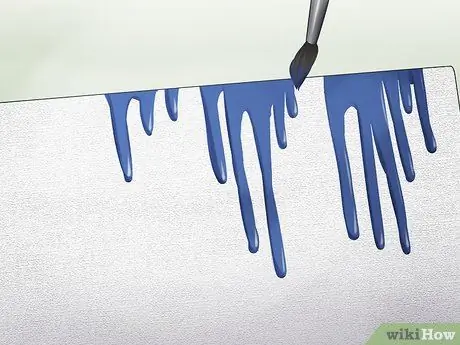
Step 5. Drip or splash the paint onto the canvas as desired
Use the tool of your choice and dip it in the paint. Then, use the tool to splash the paint onto the canvas, or hover it over it, to drain it.
You can use brushes, spray bottles, straws, or old toothpicks to splash or drip the paint
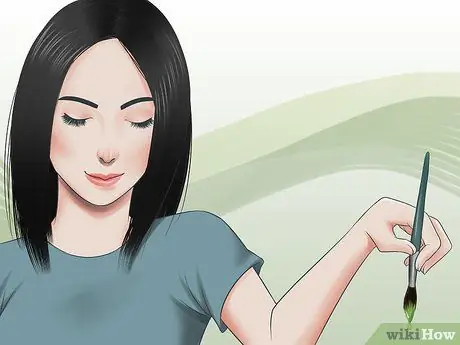
Step 6. Try closing your eyes and painting
If there is one thing that abstract artists agree on, it is that abstract painting is not supposed to represent reality. One of the best ways to avoid accidentally painting a recognizable shape is to paint with your eyes closed.
Let the brush and paint move across the canvas without worrying about the image you are creating. In this type of painting, experience is more important than the result
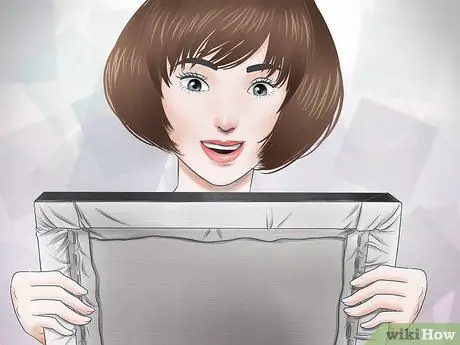
Step 7. Stop when the painting looks complete
Don't retouch it to improve it. Don't work too hard on your paintings and instead learn to stop the work when it feels finished.
Advice
- Start painting with an object or scene in mind. Do not think about the precise forms, but only about the thought or substance of the subject. Your imagination and your feelings will recreate that figure on the canvas. Remember, you are interpreting, not drawing.
- Study the principles of composition and try to make an abstract painting based on those principles, rather than on a specific subject. You will get great results!
- Abstract means not conforming to reality, so don't expect anything. Just try to have fun!
- You can draw anything.


