Adding a contact on the mobile phone in ICE format (from English "In Case of Emergency") can be of enormous help for the emergency personnel who, in case of emergency, will have a simple and effective way to contact relatives and friends. who will be able to provide valuable information if you were unconscious or temporarily unable to understand. This simple system was devised by a British paramedic, Bob Brotchie, who sensed the need for rescue personnel to find medical and personal information about the person to be rescued as quickly as possible or to contact a close relative. [1] Especially in the case of people suffering from serious medical conditions and allergies, knowing immediately who to contact in an emergency can mean being able to save their life.
Steps
Part 1 of 2: Add an ICE Contact to the Mobile Phone
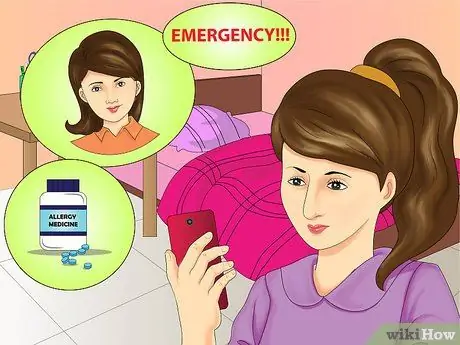
Step 1. Think carefully about who can be a valuable source of information about your condition in an emergency
In this case, you should choose people who know you very well and who are aware of any allergies or medical conditions you suffer from and who can also provide rescuers with information on how to contact your family. It is good to inform these people and let them know that you have designated them as your contact person in case of an emergency, so that they have a clear idea of what to do and above all what to say to the rescuers in case you are the victim of an accident or an emergency.
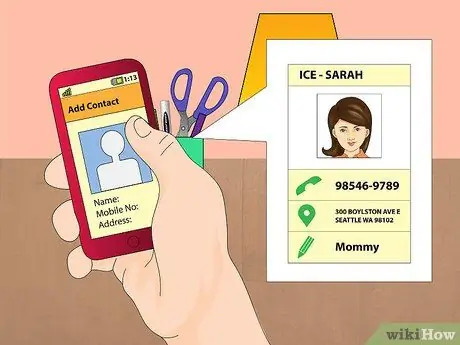
Step 2. Add an ICE contact to your smartphone's address book
Access the phonebook or contact section of your mobile phone, then create a new entry naming it "ICE". At this point, add the contact information of the person you have chosen as your contact in an emergency. It can also be a good idea to include additional information about the person to contact, such as the name and the type of relationship that binds you. To do this you can use the "Notes" field or another empty field.
Some people use the word "ICE" as a prefix of the person's name so that rescue personnel can immediately locate the contact to call and who to talk to. For example, you could call the new contact "ICE - Stefania" or "ICE - Mr. Rossi"
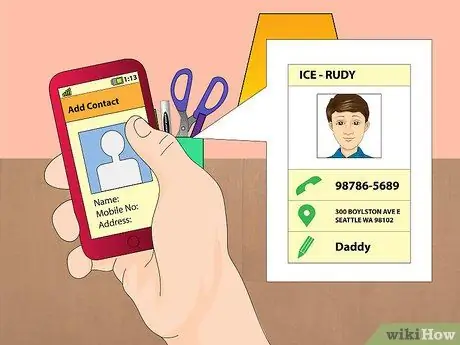
Step 3. Add more ICE contacts to the phone book
It is always good to enter more than one contact of this type in case the first person contacted is not available at the time of need. You could assign a contact priority by naming each entry as "ICE 1", ICE 2 ", and so on.
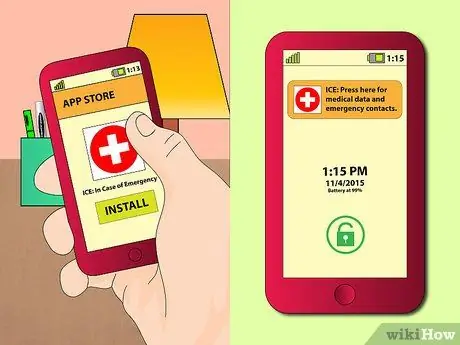
Step 4. Install an app that supports the ICE system if your smartphone is protected by a passcode
In this case, if you were unconscious and access to your smartphone was protected by a password, having an ICE contact in the address book would be useless. Fortunately, there are applications for Android, Windows and iOS devices that are able to show contact information, in an emergency, directly on the device's lock screen.
- Search your device's app store using the keywords "ICE" or "ICE lock screen" to find the one that best suits your needs.
- Install the app, then enter your personal information. In this way, the rescue personnel will be able to contact the person indicated by you even if you are unconscious and your smartphone is inaccessible.
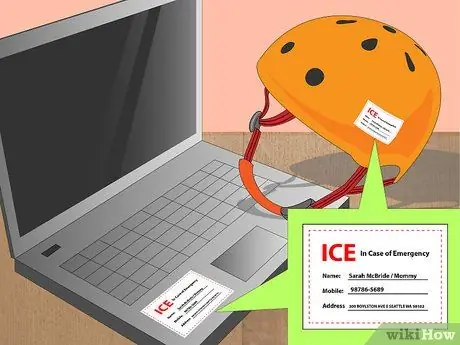
Step 5. Add an ICE sticker to the back of the smartphone
This type of stickers has empty spaces where you can write the names and phone numbers of the people to contact. This is a simple and straightforward method of providing vital information to emergency response personnel via the phone, helmet or laptop. You can easily buy these stickers online.
- Make sure you fill in all fields with the correct information clearly and legibly, preferably using a permanent marker.
- Don't forget to update the information on the sticker so that it always reflects your current situation.
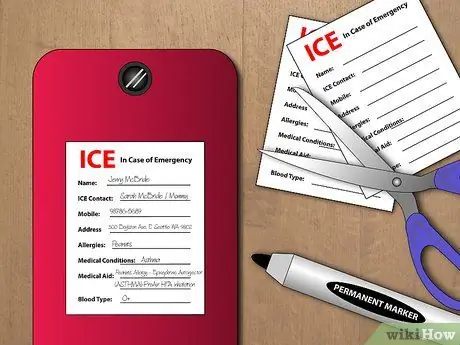
Step 6. Create an ICE tag yourself to place on the back of the smartphone
This is very simple, just use computer labels or decal paper, both of which can be found at any office supply store. Alternatively, you can use simple water-resistant tape and a permanent marker. By creating your own labels you will be able to add all the important information regarding your medical and allergic conditions.
Remember to replace the labels if they become damaged or illegible over time
Part 2 of 2: Create an ICE Card for the Wallet or Purse
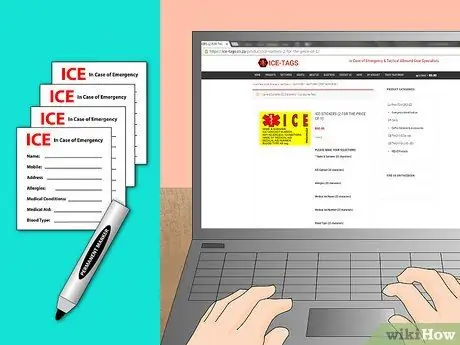
Step 1. Get a blank ICE card
The easiest way to get one is to download its template from the web. There are many sites that provide this type of service, just do a little search on Google using the keyword "ICE Card". You may be able to find one that is ready to use even in hospitals or doctors' surgeries in your area. There are also websites that allow you to fill in the information that must appear in the ICE card directly online using the appropriate forms, giving you the advantage of not having to write by hand, worrying about adopting a legible handwriting.
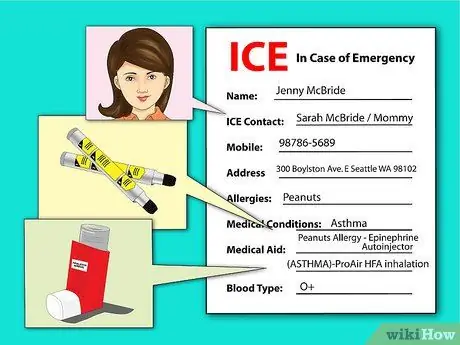
Step 2. Enter the most important medical information on the ICE card
If you have severe allergies, chronic medical conditions, or are taking vital medical treatment, please include this information on your card. Also remember to also include your blood type and all contact information in case of an emergency.
Always carrying an ICE card is very important even if you wear a medical alert bracelet, since in the event of an accident, it could be damaged or lost
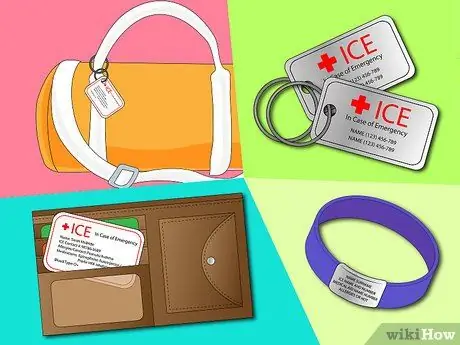
Step 3. Complete the card and put a copy in your wallet or purse
You should also consider keeping a copy in your car glove box, backpack, or bag you go to the gym with.
- All people who practice outdoor sports can get a special tag to attach to their sneakers in which to enter their ICE information. These types of tags can be easily found online by searching for the keywords "shoe ID" or "shoe tag".
- These shoe heels are a great option for young children who don't yet have a wallet or phone of their own.
- Remember to always keep your ICE information up to date and to change the tags as your medical situation changes.

Step 4. Create an ICE card for each family member and encourage them to carry them with them at all times
You can also insert an ICE card in your children's school folder. Also remember to put one inside your grandmother's purse and grandfather's wallet as well.


