This article explains how to authorize Facebook Messenger to access your photos, so you can save them on your device and share them with your friends through the application itself.
Steps
Method 1 of 2: Using an iPhone or iPad
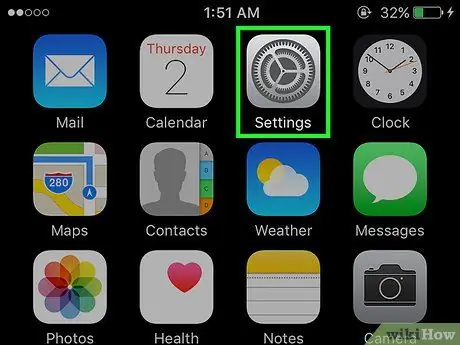
Step 1. Open the device settings
The icon looks like a gray gear and is located on the main screen.
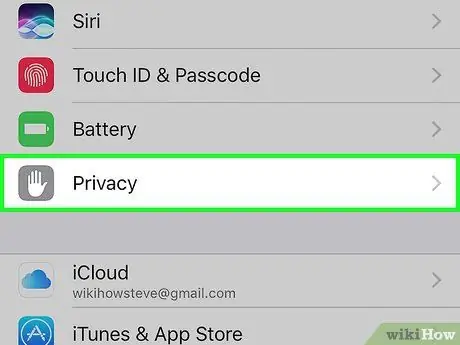
Step 2. Scroll down and tap Privacy
It is in the same group as the "General" option, but you have to scroll down to see it.
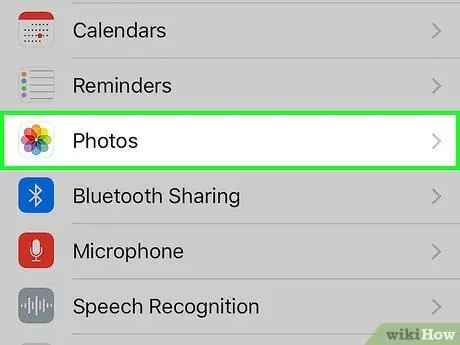
Step 3. Tap Photos
You will be shown a list of all applications that have requested access to your images.
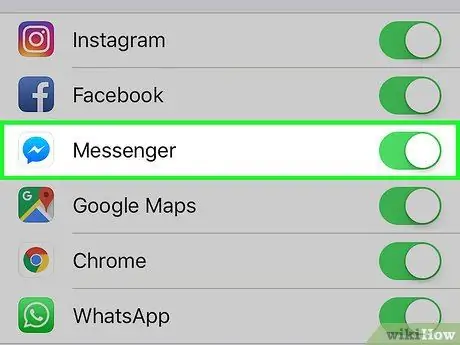
Step 4. Swipe the Messenger button to activate it:
it will turn green. At this point you will be able to access the photos of your device from Facebook Messenger.
Method 2 of 2: Using Android
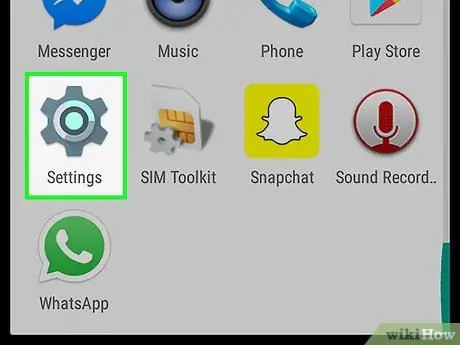
Step 1. Open your device's "Settings" by tapping the application icon
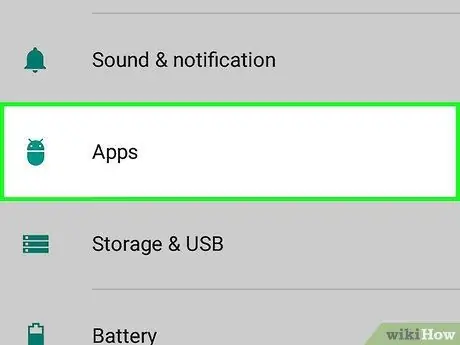
Step 2. Scroll down and tap Apps
This option is found under "Device" and opens a list of all applications installed on your phone.
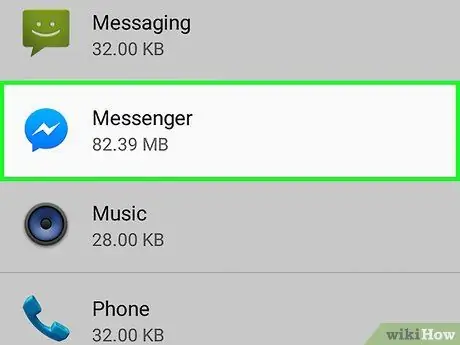
Step 3. Scroll down and tap Messenger
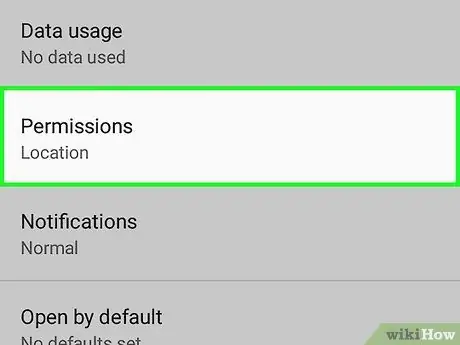
Step 4. Tap Permissions
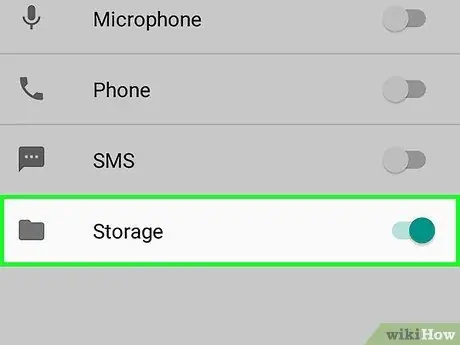
Step 5. Swipe the Storage button to activate it
This will allow you to share photos, files and other multimedia content from your device's galleries with your friends on Messenger and to save images sent during a conversation.


