This article explains how to install the Gnome desktop environment on a computer running the Ubuntu Linux operating system. The latest version of Ubuntu uses Unity as its default GUI. Gnome allows you to use different desktop environments with different layouts and provides the user with features such as an optimized search system, improved graphics rendering and integrated support for Google Docs.
Steps

Step 1. Open a "Terminal" window on your Ubuntu computer
Click on the Dashboard icon located at the top left of the screen, then select the "Terminal" app from the list of options that will appear.
Alternatively, press the key combination Ctrl + Alt + T on your keyboard to immediately open a "Terminal" window

Step 2. Type the command sudo apt-get update inside the "Terminal" window
This command allows you to automatically update all Ubuntu repositories in order to have the most updated versions of the packages you want to install available.
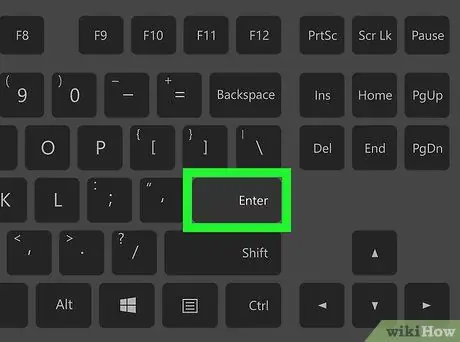
Step 3. Press the Enter key on your keyboard
This way the command entered will be executed and the repositories will be updated.
If prompted, enter your computer's administrator account password and press the Enter key to continue

Step 4. Type the command sudo apt-get install ubuntu-gnome-desktop
This is the command that allows you to install the desktop environment of Gnome complete with all applications and optimizations for Ubuntu.
- Alternatively, you can choose to install the Gnome shell only using the following command sudo apt-get install gnome-shell.
- By installing only Gnome Shell, only the basic packages will be included in the installation to be able to use the Gnome desktop environment, excluding all applications and optimizations for Ubuntu that are included in the full version.
- The ubuntu-gnome-desktop command also includes installing the Gnome Shell.
- To avoid errors, you can choose to combine the two commands using the following code sudo apt-get install gnome-shell ubuntu-gnome-desktop.
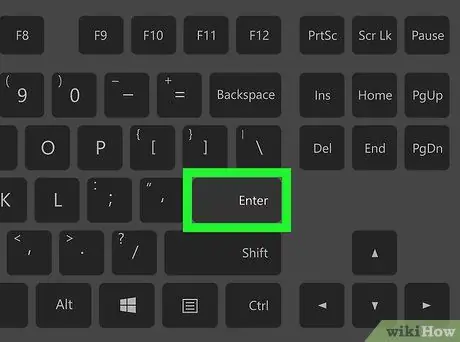
Step 5. Press the Enter key on your keyboard
The command you entered will be executed and the installation of the Gnome GUI on your computer will start.
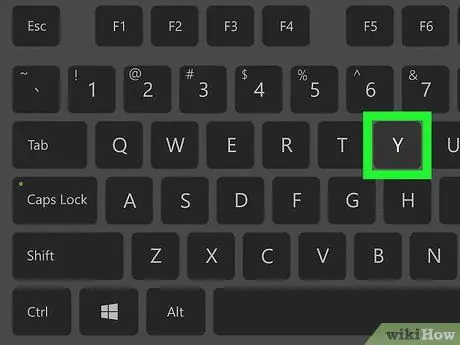
Step 6. Press the y key on your keyboard when prompted
During the installation procedure you will need to confirm that you want to upgrade some specific packages. Press the y key and then the Enter key to continue with the installation.
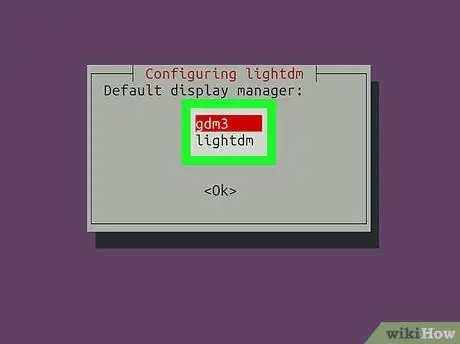
Step 7. Choose which display manager to use when prompted
When the installation is almost complete, you will be prompted to choose a Gnome display manager from among gdm3 And lightDM.
- Gdm3 is the default display manager of Gnome 3, while LightDM is a lighter and faster version of the same display manager.
- Use the Tab key ↹ to make your selection, then press the Enter key to continue.
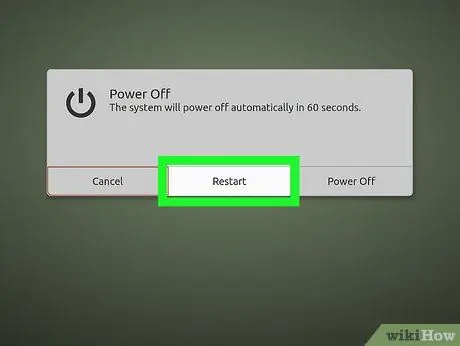
Step 8. Restart your computer
After the installation is complete, you will need to restart your computer in order to use the Gnome desktop environment within Ubuntu.


