This article explains how to connect an Xbox One controller to a Windows computer. You can do this in a number of ways, using a USB cable, Bluetooth connectivity, or an Xbox Wireless Adapter specially made for Windows systems.
Steps
Method 1 of 4: Use the USB cable
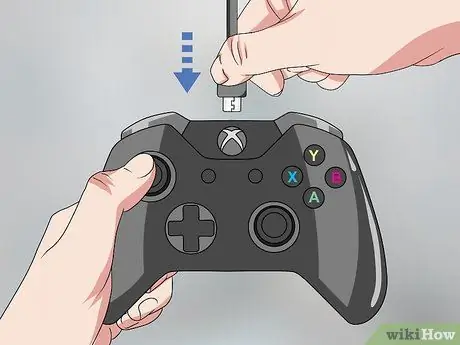
Step 1. Connect the Xbox One controller to the cable to recharge the battery
Use the USB cable that came with the controller and connect one end to the controller's communication port.
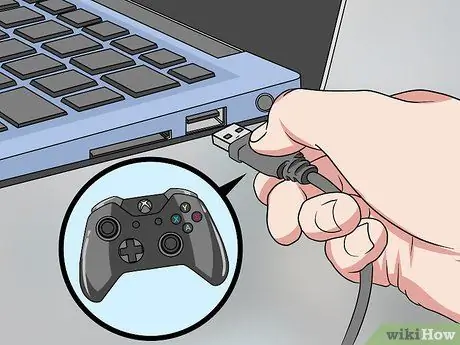
Step 2. Plug the other end of the USB cable into a free port on your computer
Using this method, up to 8 Xbox One controllers can be connected to a single PC.
Method 2 of 4: Use an Xbox External Wireless Adapter for Windows
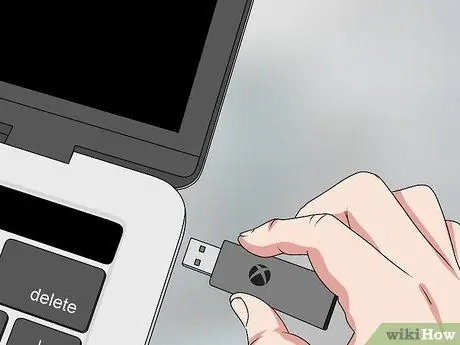
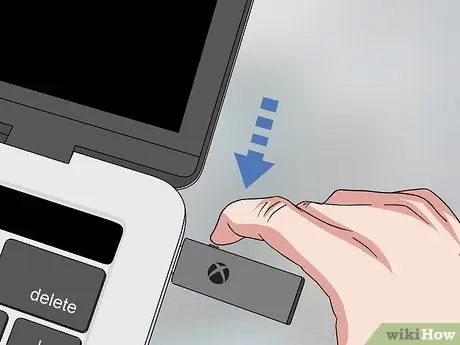
Step 1. Connect the Xbox Wireless Adapter to your computer
Plug the device, similar to a USB stick, into one of the free USB ports on your computer.
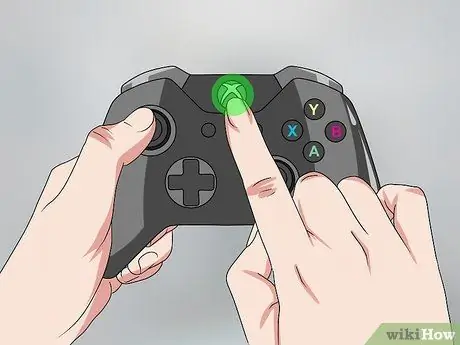
Step 2. Turn on the Xbox One controller
Press the "Xbox" button located in the center of the controller to turn on the device.
Step 3. Press the Xbox Wireless Adapter button
It is located on one of the sides of the device.
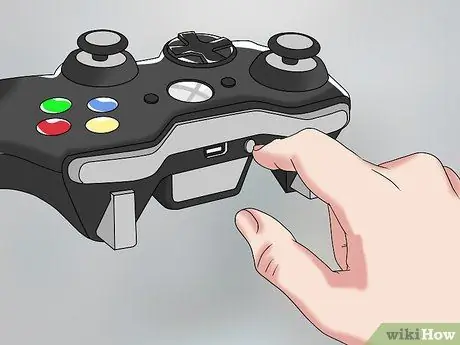
Step 4. Press the Xbox One controller sync button
It has a circular shape and is positioned along the top of the device. The controller's "Xbox" button will start flashing during the pairing phase. When the "Xbox" button stops flashing, the connection between the controller and the wireless adapter has been established successfully. Using this method, you can connect up to 8 Xbox One controllers to a single Xbox Wireless Adapter, or up to 4 controllers that have headphones plugged in to use voice chat or 2 controllers that have stereo headphones plugged in.
Method 3 of 4: Use an Internal Xbox Wireless Adapter
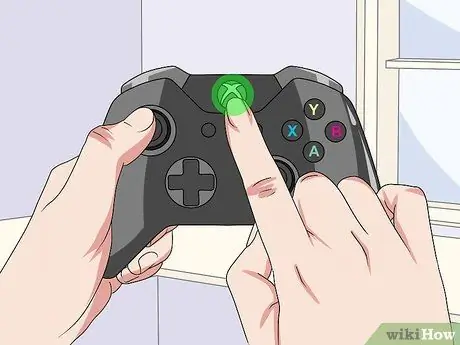
Step 1. Turn on the Xbox One controller
Press the "Xbox" button located in the center of the controller to turn on the device.
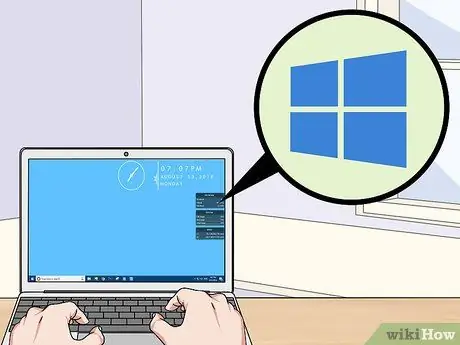
Step 2. Access the "Start" menu by clicking on the icon
It features the Windows logo and is located in the lower left corner of the desktop.
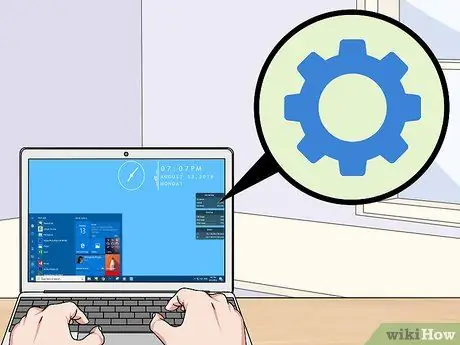
Step 3. Click on the "Settings" icon
It features a gear and is located at the bottom left of the "Start" menu.
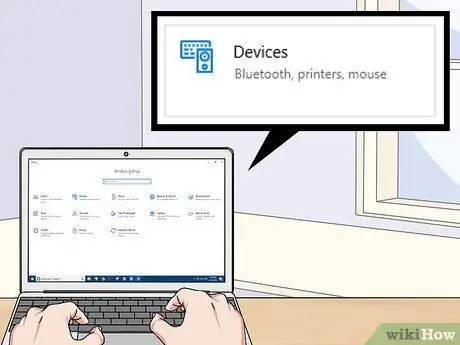
Step 4. Click the Devices icon
It features a stylized iPod and keyboard.
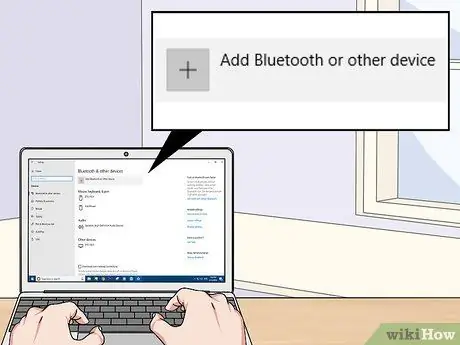
Step 5. Click on the Add Bluetooth or other device item
It is displayed at the top of the main window pane, next to a "+" sign.
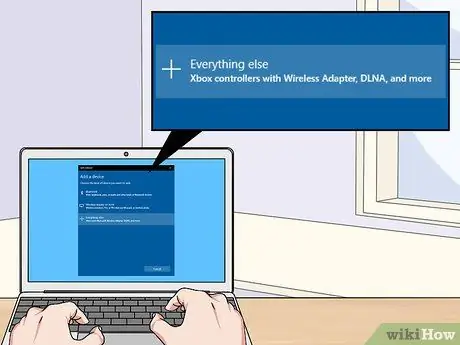
Step 6. Click on the All Other Items option
It is the last item listed in the "Add a Device" dialog box. It is characterized by a "+" sign.
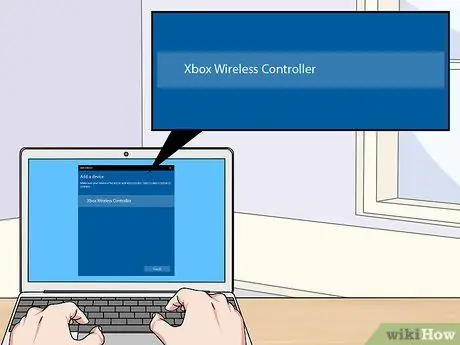
Step 7. Click on Xbox Wireless Controller
If the controller is on, it should be detected by the computer's Xbox Wireless Adapter.
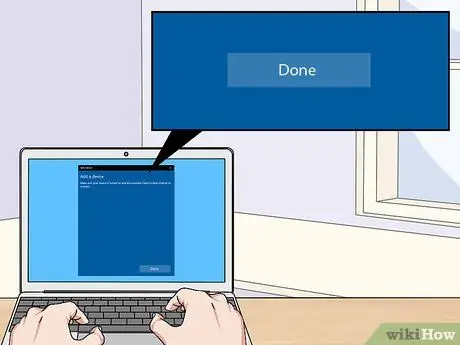
Step 8. Click the Finish button
At this point the Xbox One controller will be correctly connected to the computer. Using this method, you can connect up to 8 Xbox One controllers to a single Xbox Wireless Adapter, or up to 4 controllers that have headphones plugged in to use voice chat or 2 controllers that have stereo headphones plugged in.
Method 4 of 4: Using Bluetooth Connectivity
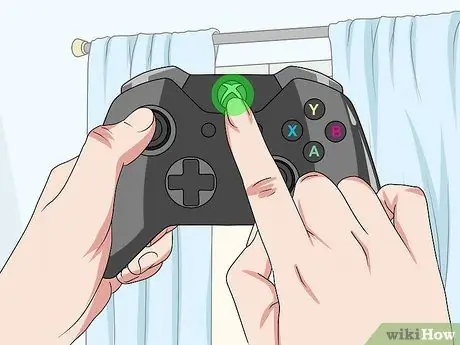
Step 1. Turn on the Xbox One controller
Press the "Xbox" button located in the center of the controller to turn on the device.
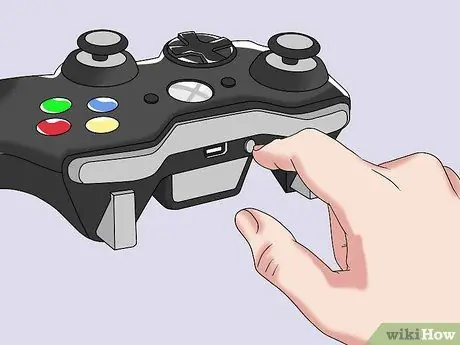
Step 2. Press the Xbox One controller sync button
It has a circular shape and is positioned along the front of the device. This way the controller can be detected by Windows.
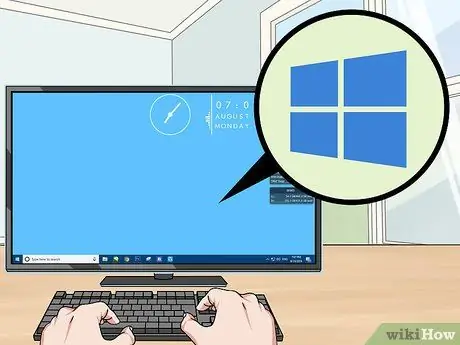
Step 3. Access the "Start" menu by clicking on the icon
It features the Windows logo and is located in the lower left corner of the desktop.
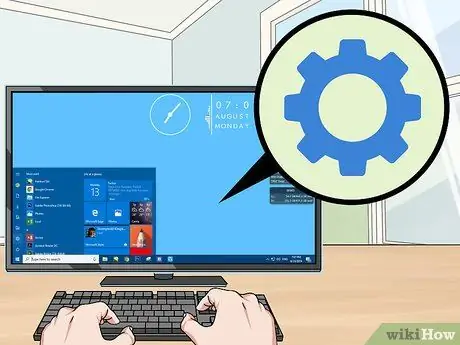
Step 4. Click on the "Settings" icon
It features a gear and is located at the bottom left of the "Start" menu.
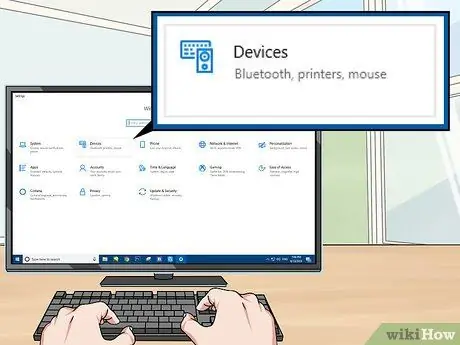
Step 5. Click the Devices icon
It features a stylized iPod and keyboard.
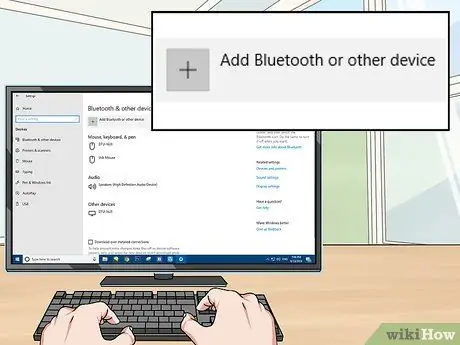
Step 6. Click on + Add Bluetooth or other device
It is displayed at the top of the main window pane, next to the "+" sign.
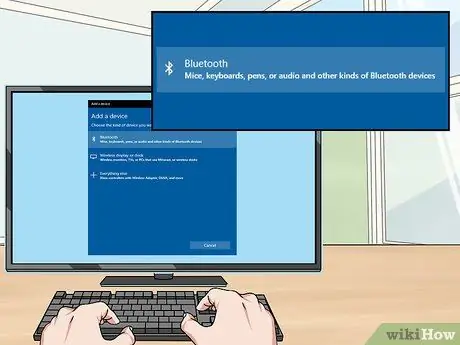
Step 7. Click on the Bluetooth option
This will give you the ability to pair a Bluetooth device to your computer.
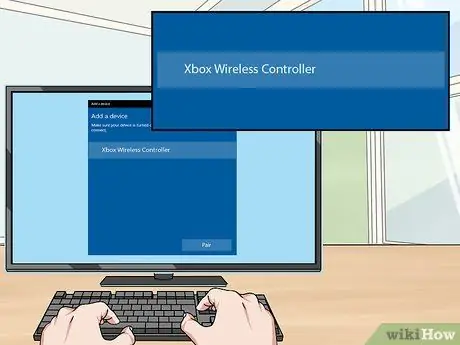
Step 8. Click on Xbox Wireless Controller
If the controller is not detected, press and hold the pairing button for 3 seconds.
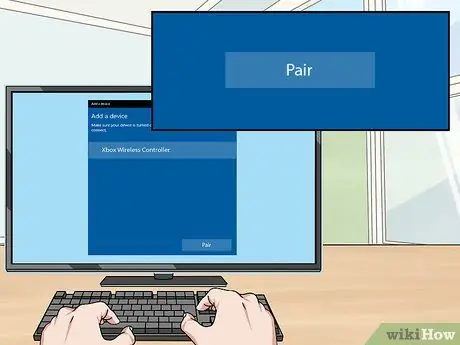
Step 9. Click the Connect button
The controller is now properly connected to the computer via Bluetooth connectivity.


