Building a model of the Earth is a fun project that also allows you to learn geography, geology and astronomy. Gather the colors and get ready to go around the world!
Steps
Method 1 of 3: Making the Model
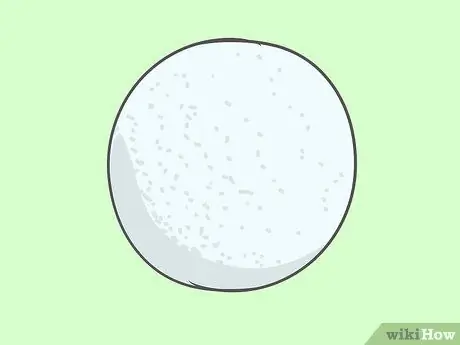
Step 1. Get a large Styrofoam ball
You can find it in fine art stores or in stationery; if you only find hemispheres, buy two and glue them together.
Alternatively, you can make a paper mache ball using play dough or even baking two cakes to which you've added green food coloring
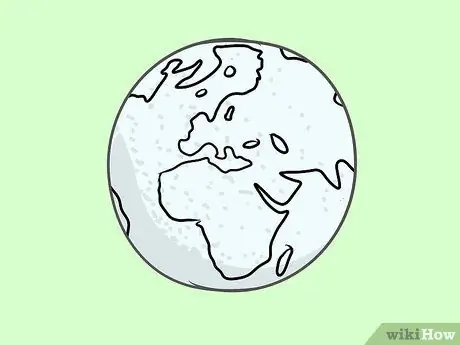
Step 2. Draw the continents on the sphere
The easiest way to outline is to find a world map online and print it. Cut out the shapes of the land and fix them to the ball with adhesive tape; draw the edges with a pen and then remove the shapes.
You may need to change the size of the print until you find the right aspect ratio
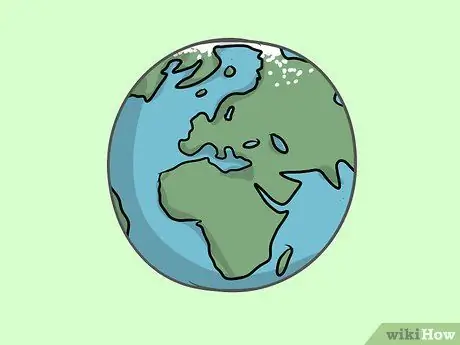
Step 3. Color the land and oceans
Use the green or brown color for the continents, except for Antarctica which is covered in ice and snow all year round, so you should paint it white to distinguish it from the rest. Color all remaining spaces with blue indicating water. Spray paints are most effective on Styrofoam, but you can use any paint you like or even markers.
- Spread out some newspaper to protect the table or floor from drips.
- Color half of the globe, wait for it to dry and then flip the model over to paint the other half.
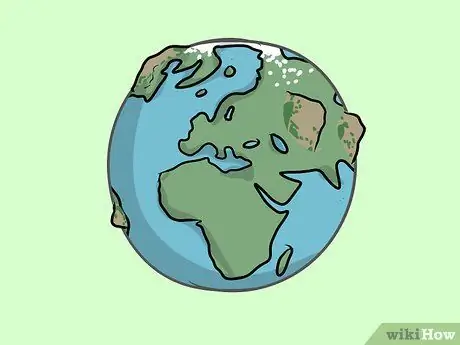
Step 4. Add some clay mountains (optional)
Make three-dimensional mounts out of clay or play dough and attach them to the sphere. Look at a map to understand the location of the various mountain ranges and do not overdo the size, otherwise they may detach from the model.
Alternatively, you can use aluminum foil
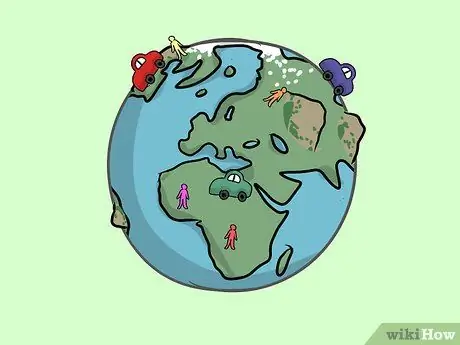
Step 5. Secure the objects to the surface using hot glue
Make the model more interesting by adding some toys, such as people, animals or miniature cars; join the elements together using the hot glue gun.
Children should seek adult help for this step
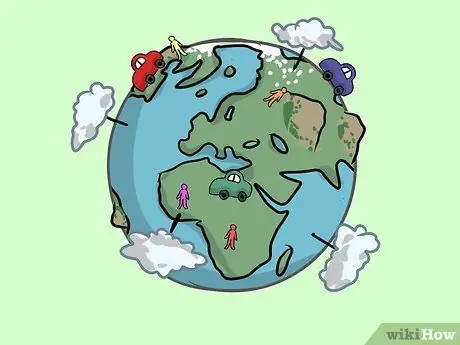
Step 6. Add the clouds
This detail makes the model even more special. Stick some cotton balls with toothpicks and shake them a little to make them similar to clouds; then insert the other end of the toothpicks into the sphere, so that the clouds "float" above the model.
Color the toothpicks green, blue, or gray to better match the rest of the project
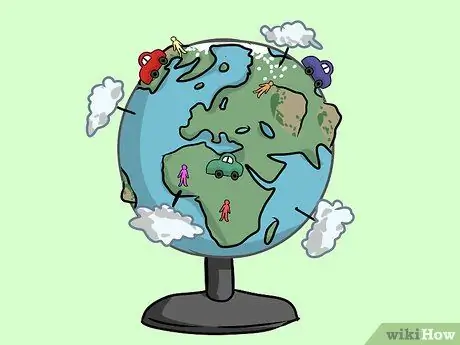
Step 7. Display the model
Glue the "Earth" to a shelf or box to prevent it from rolling away; if you prefer to hang it, ask an adult to drill a hole in the top and hook it with string.
Method 2 of 3: Making a Model with the Layers of the Earth

Step 1. Cut the Styrofoam ball in half
Buy one from a fine art or stationery store and share it with an adult to help you. Now that you can see the interior of the Earth, you can draw its various layers.
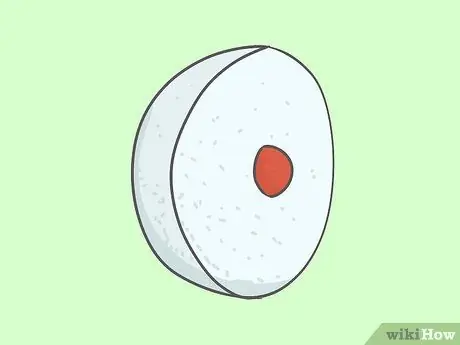
Step 2. Glue a Styrofoam semicircle to the ball
Take the half you are not using and cut a section from the center, so that it has a semicircular shape; then glue it to the center of the other half, to obtain a protruding bump. This element represents the nucleus central of our planet, a solid ball that was formed by the pressure generated by the surrounding layers; you can color it red with markers or paint.
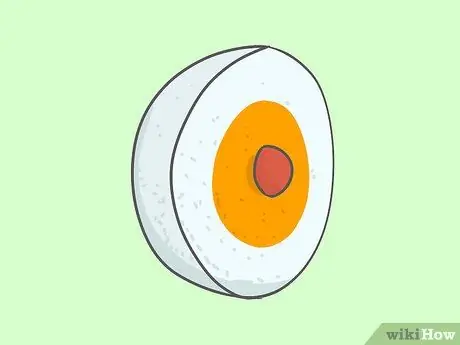
Step 3. Draw the outer core
Draw a large circle around the inner core on the flat part of the hemisphere. It should take up about 1/3 or half of the available surface, color it orange and label it with the name outer core.
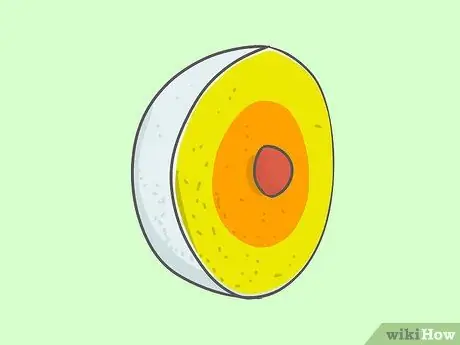
Step 4. Make the cape
Colors the rest of the flat surface yellow, leaving only a very thin white layer along the edge; the yellow zone represents the coat of the Earth.
This layer is actually composed of an upper mantle (solid rock) and a lower mantle (liquid rock) which you can highlight by coloring them with two different shades of yellow-orange if you wish
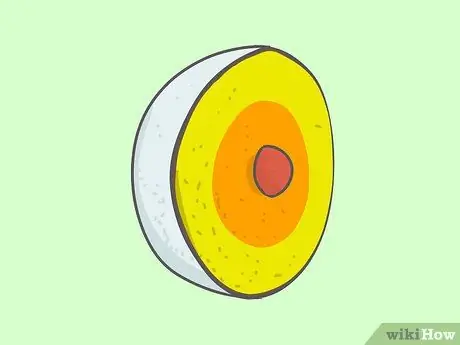
Step 5. Locate the scab
There terrestrial and oceanic crust it is the surface of the planet and it is very thin when compared with the other layers. Color it brown or black; on the model it assumes the appearance of a thin line that delimits the entire flat surface of the hemisphere.
The crust and the upper mantle, together, are called lithosphere.
Method 3 of 3: Show the Solar System
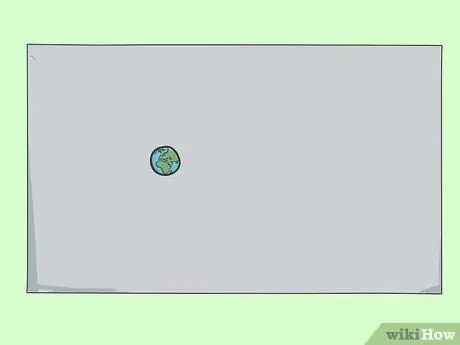
Step 1. Glue the model to a foam board
Make one of the two projects described above and, when finished, attach it to a piece of construction paper or foam rubber.
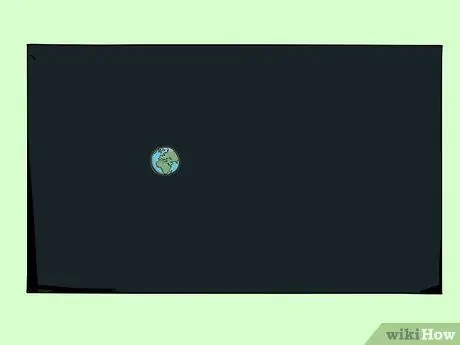
Step 2. Color the media black
The black painted table represents the outer space.
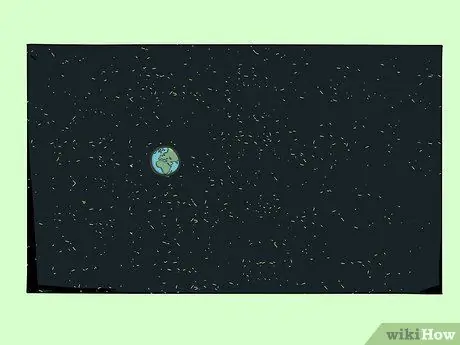
Step 3. Add the stars
You can use star stickers or cover the background with glue or glitter paint.
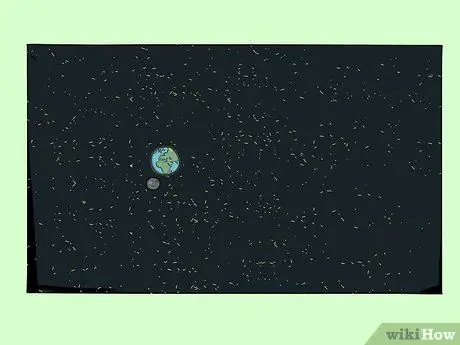
Step 4. Make the Moon
Get a golf ball or ball up a sheet of paper so that it is as large as 1/4 the size of the Earth model. glue the ball close to our planet.
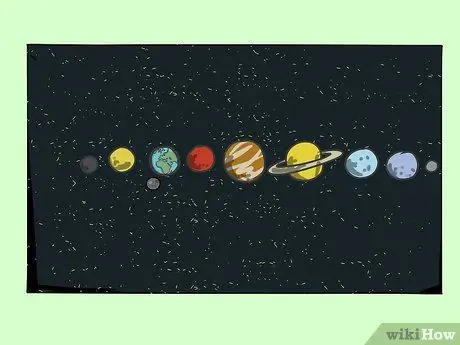
Step 5. Add the other planets
Crumple a sheet of paper for each planet in the solar system and glue them in this order:
- Mercury: smaller than the Earth and gray in color;
- Venus: as big as the Earth and yellow in color;
- Terra (your model);
- Mars: as big as the Earth but red;
- Jupiter: is the largest planet, its colors are orange and white;
- Saturn: it is yellow and almost as big as Jupiter; it is surrounded by the typical rings;
- Uranus: it is bigger than the Earth but smaller than Saturn, its color is blue;
- Neptune: it is blue and as big as Uranus;
- Pluto: it is a gray dot.
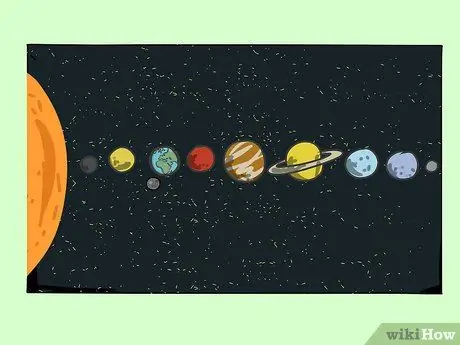
Step 6. Add the Sun
It is located near Mercury and is a huge yellow-orange ball. This star is so big that it is difficult to make a model respecting the correct proportions; you can consider building the largest sphere you can fit into the project or just color a corner of the table yellow to indicate that the Sun expands beyond the edges.


