Universal Serial Bus, more commonly known as USB, is a communication protocol adopted by a wide range of computers, electronic devices and accessories. Devices such as keyboards, mice, printers, cameras, external memory drives and MP3 players can be connected to a computer using a simple USB cable. Some of these devices even manage to be powered directly from the communication port. The rules to follow to properly connect an external USB hard drive to a computer are few and are listed in this article. If they are adhered to, you can use this range of USB devices without any problem.
Steps
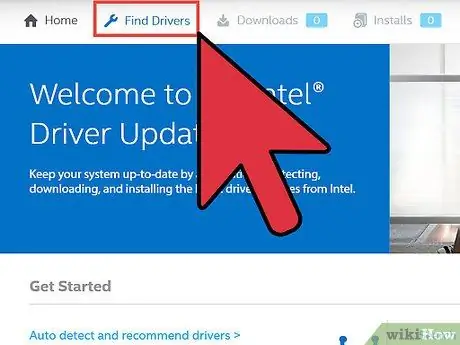
Step 1. The first step is to install all the necessary drivers
If you still have the original packaging of the USB memory drive, check the instructions for use to see if you need to install specific drivers; these are small programs whose purpose is to manage and ensure correct communication between the computer and the device to which they refer. All modern operating systems are designed to automatically download and install all necessary drivers, but if the internet connection is absent or it is expressly indicated to install drivers manually, you should do it now.
The drivers necessary for the correct functioning of the device are normally included in the package inside an optical support. Insert the CD into your computer drive and follow the instructions that appear on the screen to install the drivers
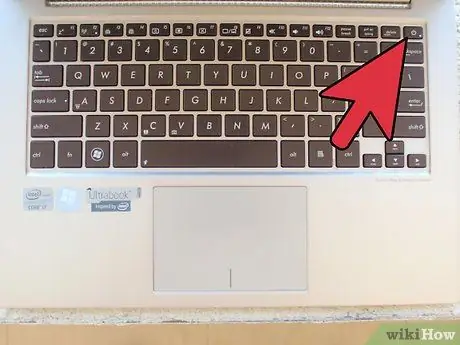
Step 2. Turn on the memory drive and computer
If your USB device has a power switch or an external power supply, turn it on before connecting it to your computer. Remember to start the latter as well.
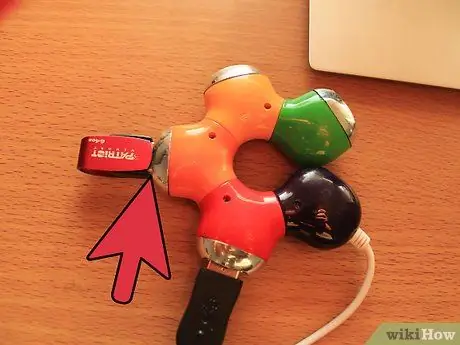
Step 3. Connect the USB cable to the port on the external drive (if needed)
Small memory devices, such as USB sticks, are an integral part of the connector, while large devices such as printers or hard drives come with a connecting cable that must be connected to both the device and the computer. Plug one of the cable connectors into its port on the external USB drive.
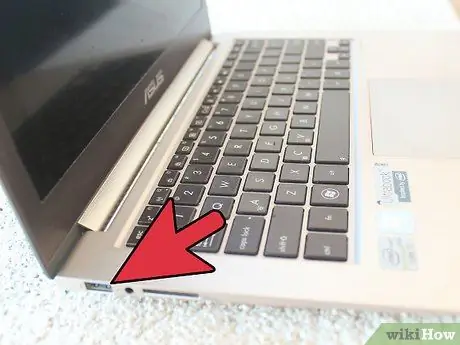
Step 4. Find a free USB port on your computer
This type of communication ports have a thinned rectangular shape, inside which are visible 4 flat metal contacts positioned on a plastic tab. Normally USB ports are labeled with the relative standard logo characterized by a small circle from which a three-pointed arrow branches off. If you intend to use the memory unit on a permanent basis, to make the connection, it is best to use one of the USB ports located on the back of the computer. This is because it is better to keep the front ones free for the occasional use of USB devices, such as keys, cameras or smartphones, since access is easier and faster.
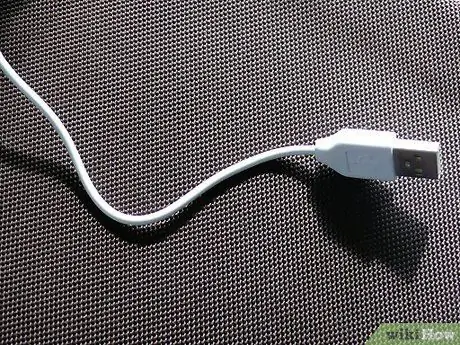
Step 5. Plug the end of the USB cable into a free port on your computer
After choosing which port to use, simply insert the USB connector of the connection cable into the port. The connector should slide in very easily and snap securely into place. Remember that the male and female USB connectors can only be connected one way, so if you encounter resistance during this operation, simply flip the connector of the USB cable.
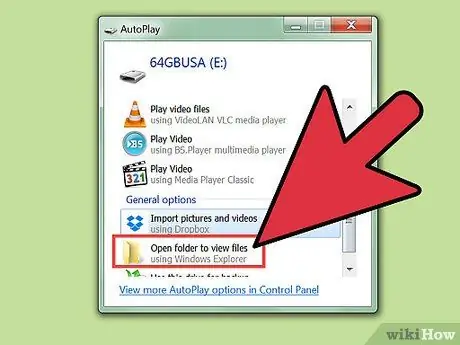
Step 6. Wait for the driver installation to finish
If this is your first time connecting the drive to your computer, the operating system may need to install the necessary drivers to establish the connection. At the end of the installation you will receive a notification message that the USB device is ready for use. If you've already manually installed the drivers, you won't have to wait any longer to use the external hard drive.
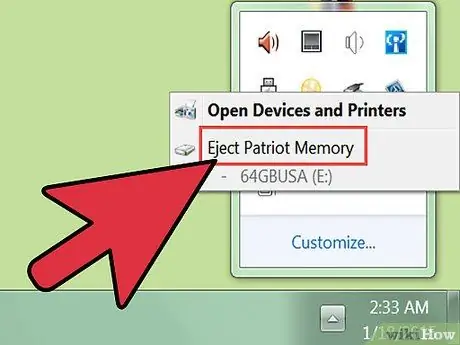
Step 7. After use, disconnect the USB drive from your computer
In order to do this, the first step is to eject the unit, ie to unmount. In Windows systems it is possible to do this by opening a "File Explorer" or "Explorer" window, selecting the USB drive icon with the right mouse button and choosing the "Eject" option from the context menu that appears. On a Mac, simply drag the external device icon to the trash. Now you can physically remove the USB connection cable from your computer with the necessary delicacy.


