The process of formatting a Macbook Pro also involves a complete reinstallation of the operating system. This is a useful process in many cases: when the computer malfunctions or experiences an abnormal performance drop due to malware or viruses, when a version of OS X that is incompatible with the Mac hardware is installed by mistake, or if the startup disk was erased. There are three ways to format the hard drive of a Macbook Pro: reinstall the operating system using the Recovery feature, restore the OS X installation using a Time Machine backup, or format the system disk and proceed to reinstall the operating system.
Steps
Method 1 of 3: Use the Recovery Feature

Step 1. Turn on your Macbook Pro and wait for the audible warning to start the boot process
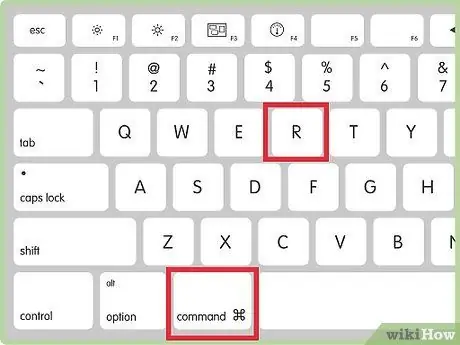
Step 2. After hearing the sound that initiates the startup phase, immediately press the "Command + R" key combination
This will automatically restore the version of the operating system that was previously on the Macbook Pro.
To restore the version of the operating system that was originally installed on the Mac at the time of purchase, press the key combination "Command + Option + R"
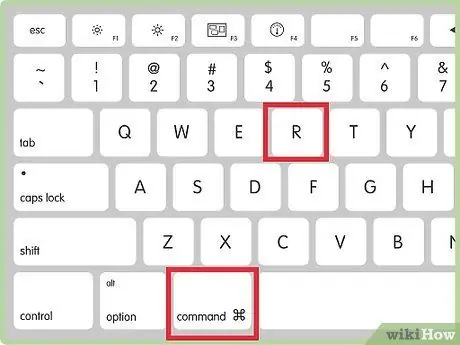
Step 3. When the Apple logo appears on the screen, you can release the "Command + R" keys
At this point, you will be asked to select an active internet connection.
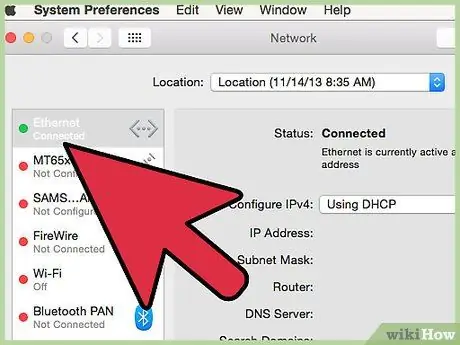
Step 4. Choose the option to connect your Mac to your home Wi-Fi network or connect it directly to your network router using an Ethernet cable
In order to reinstall the operating system using the Recovery function, the computer must be connected to the web.
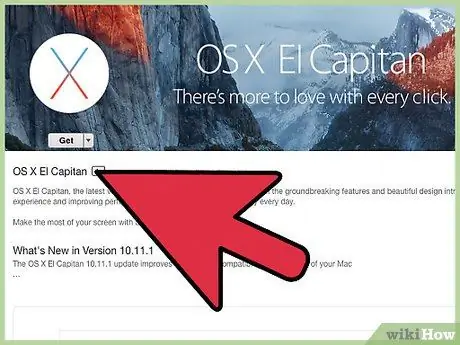
Step 5. Choose the "Reinstall OS X" option from the "Utilities" menu, then press the "Continue" button
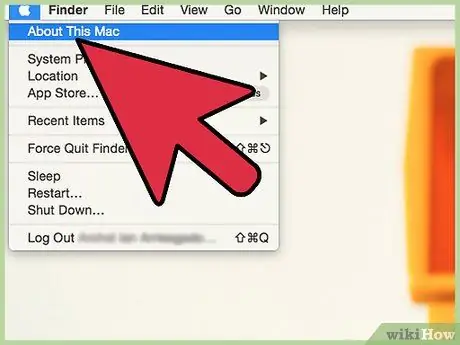
Step 6. Follow the on-screen instructions to reinstall the Macbook Pro operating system
The installation wizard will guide you through the steps of the installation process, during which you will be asked to select the hard drive to use. Once the selection is complete, the Mac will be formatted and the operating system will be installed on the indicated disk.
Method 2 of 3: Restore a Time Machine Backup

Step 1. Turn on your Macbook Pro and wait for the audible warning to start the boot process
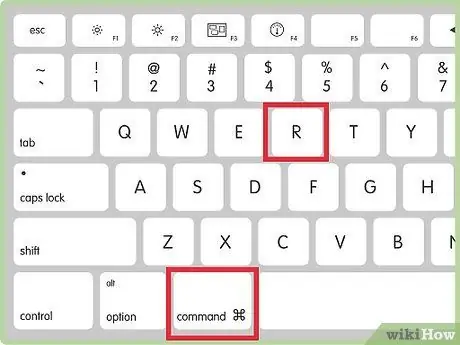
Step 2. After hearing the sound that initiates the startup phase, immediately press the "Command + R" key combination
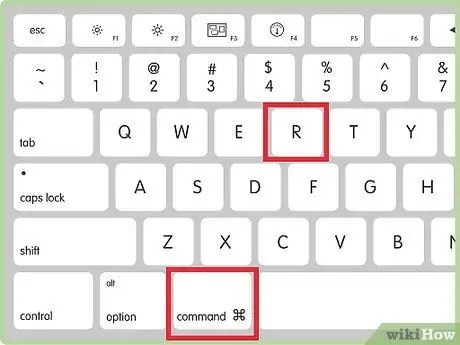
Step 3. When the Apple logo appears on the screen you can release the "Command + R" keys
At this point, you will be asked to select an active internet connection.
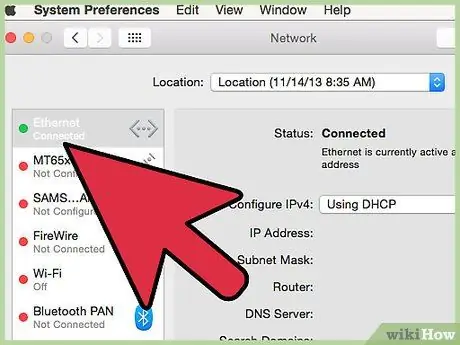
Step 4. Choose the option to connect your Mac to your home Wi-Fi network or connect it directly to your network router using an Ethernet cable
In order to restore the operating system via a Time Machine backup, the computer must be connected to the web. After successfully connecting your Mac to the web, the Recovery feature menu will appear on the screen.
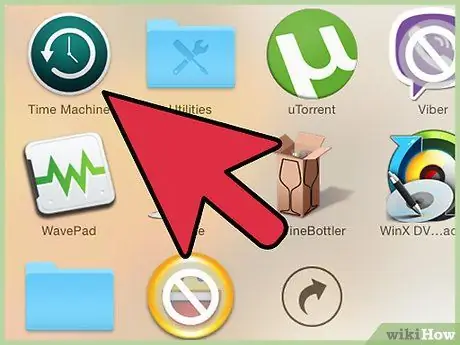
Step 5. Choose the "Restore from Time Machine Backup" option, then hit the "Continue" button
This method only works if you have previously created a full system backup using the Time Machine program. If you have never backed up your Mac using Time Machine, you will need to follow the steps described in another method of the article
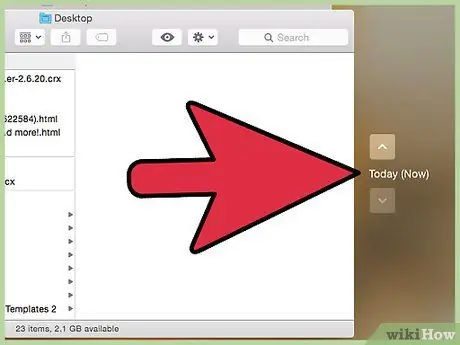
Step 6. Select the hard drive where Time Machine stores backups, then select the backup file you want to restore
Using this method, the Mac hard drive will be formatted and the operating system will be automatically restored, along with all your personal data. For example, if you formatted your Mac hard drive due to a virus, you will need to select one of the backup files created before it infected your system to fix the problem.
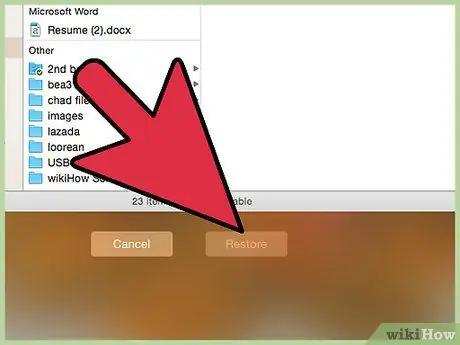
Step 7. At this point, press the "Continue" button and follow the instructions that will appear on the screen to reinstall the operating system and restore all your personal files
At the end of the procedure, the Mac will be fully functional as if nothing had happened.
Method 3 of 3: Format the Hard Drive and Install the Operating System

Step 1. Turn on the Macbook Pro and wait for the audible warning of the start of the boot procedure
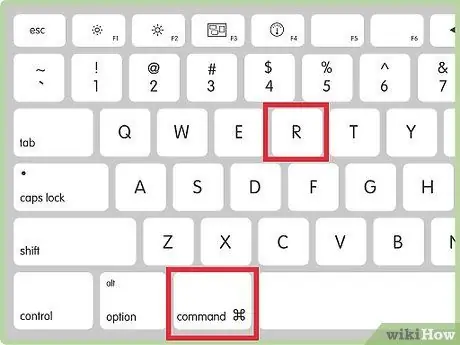
Step 2. After hearing the sound that initiates the startup phase, immediately press the "Command + R" key combination
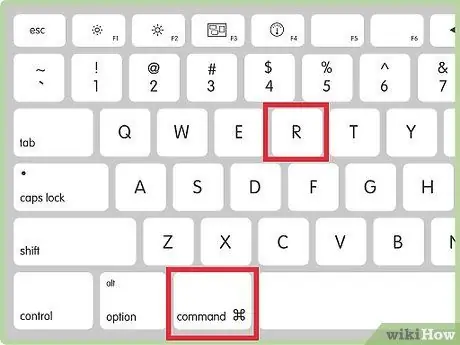
Step 3. When the Apple logo appears on the screen, you can release the "Command + R" keys
At this point, you will be asked to select an active internet connection.
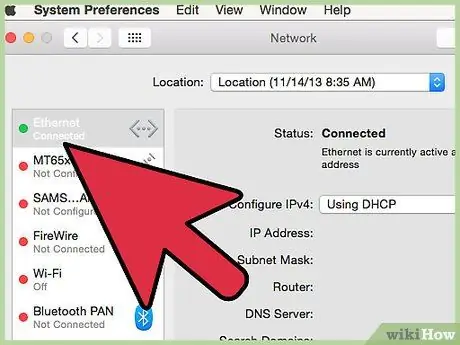
Step 4. Choose the option to connect your Mac to your home Wi-Fi network or connect it directly to your network router using an Ethernet cable
In order to reinstall the operating system using this procedure, the computer must be connected to the web. After successfully connecting your Mac to the web, the Recovery feature menu will appear on the screen.
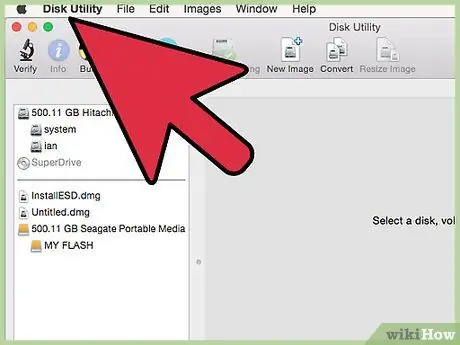
Step 5. Choose the "Disk Utility" option from the appeared menu and press the "Continue" button
This will start the "Disk Utility" system program.
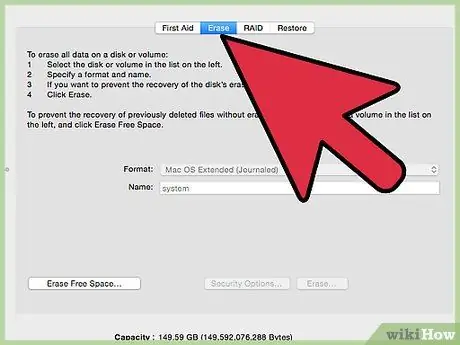
Step 6. Select the startup disk name listed in the left panel of the "Disk Utility" window, then go to the "Initialize" tab
In most cases, the default name with which the startup disk is labeled is "Macintosh HD".
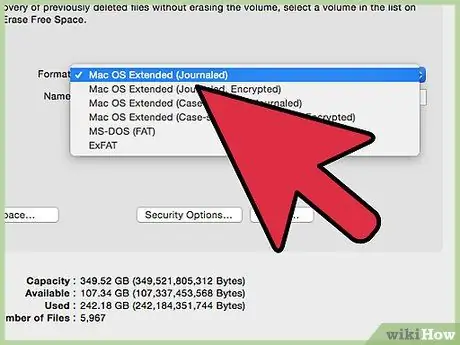
Step 7. Choose the "Mac OS Extended (Journaled)" file system format using the "Format" drop-down menu
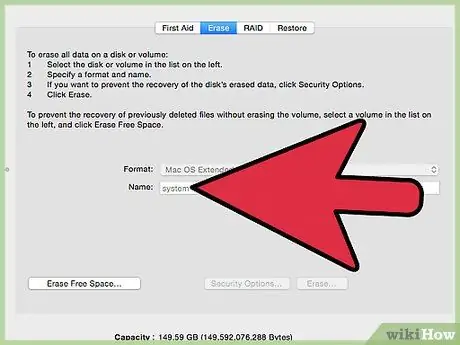
Step 8. Name your hard drive and hit the "Initialize" button
The Mac will proceed to initialize the startup disk.
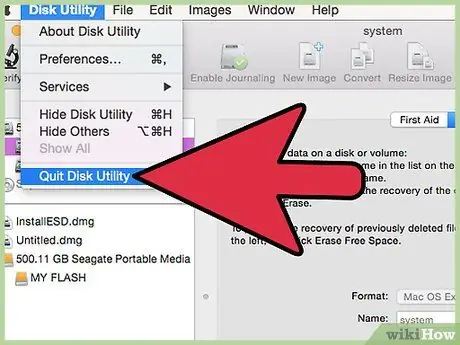
Step 9. Close the "Disk Utility" window, then choose the "Reinstall Mac OS X" option from the "Recovery" window that appears
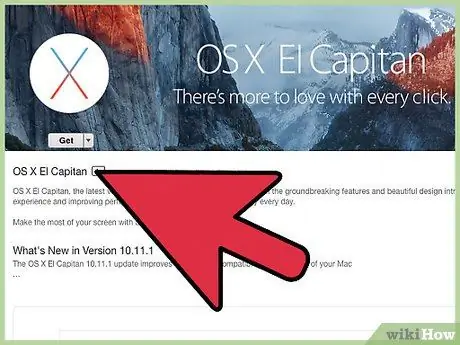
Step 10. Press the "Continue" button and follow the instructions that will appear on the screen to proceed with the reinstallation of the operating system
When done, your Mac will look like new.
Advice
- If you have chosen to sell your current Mac, you will need to format it following the procedure described in the third method of the article. This will delete the entire contents of the hard drive installed in the computer before reinstalling the OS X operating system, preventing the future owner from being able to access your personal data.
- If you need to format a Macbook Pro and then sell it to someone else, press the "Command + Q" key combination as soon as the welcome screen appears after the OS X installation process is complete. mode, the computer will be shut down without the need to complete the initial setup procedure. When the new owner takes possession of the Mac, the "Setup Assistant" procedure will guide them through the initial setup steps.
- If a blinking question mark appears on the screen after starting your Mac, format your computer using one of the methods described in the article. This means that the Mac is unable to locate the operating system installation and therefore is unable to boot properly. In this case, you must try to restore the current installation or you must opt for a complete reinstallation of the operating system.


