Burning a DVD involved using special software, but Windows 7 includes a tool that can burn data to optical media quickly and easily. Windows 7 offers the ability to create DVDs using an ISO image without the need to install third-party software. If you need to create a video DVD that can be played by any player, you will need to use a special program, such as DVD Styler.
Steps
Method 1 of 3: Burn a Data DVD
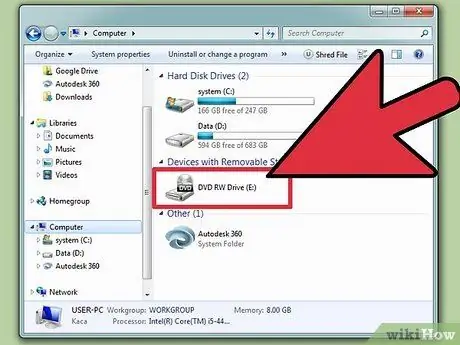
Step 1. Insert a blank DVD into your computer's burner
Make sure your system is equipped with this device and is capable of burning DVDs, as older computers do not have this feature.
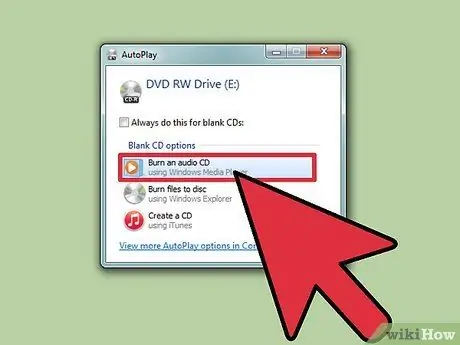
Step 2. Select the "Burn files to disc" option present in the "AutoPlay" window that appears
If this system window does not appear automatically after inserting the DVD into the burner, go to the "Start" menu and choose the "Computer" item. At this point select the DVD burner icon with the right mouse button and choose the "Open" option.
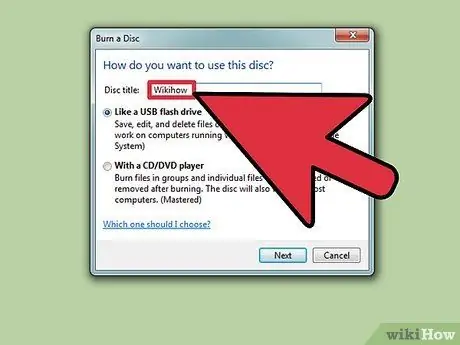
Step 3. Name the disc you are going to burn
This information will be useful to you in the future to quickly understand the nature of its content. Including the creation date in the name can also be helpful in organizing and managing your disks.
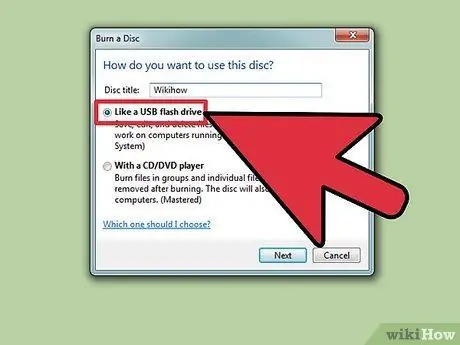
Step 4. Choose a burning format
At this point you will have two options to save the files to disk: "Live File System" or "Mastered".
- The first option is called "As a USB flash memory drive" and allows you to use the disk just as if it were a USB memory device, having the ability to add, modify and delete the data inside it (however only using a Windows system). If you chose this option, the DVD will be formatted to allow for later data addition. In this case you need to use a rewritable disc and the formatting process will take a few minutes.
- The second option, called "With a CD / DVD player", will finalize the disc when the data is written, making it virtually unchangeable over time, but allowing you to play it using any computer or device that can read the contents of a DVD.
Step 5. Add files to disk
After selecting the disc format to use, you can start adding data. Remember that the capacity of a single-layer DVD is 4.7GB. To add data to a blank DVD, you can use two different methods:
- Select and drag the desired files into the DVD content window;
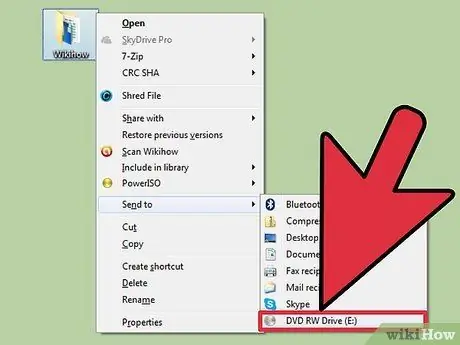
- Select the file or folder in question with the right mouse button, choose the item "Send to" from the context menu that appeared and click the DVD burner icon.
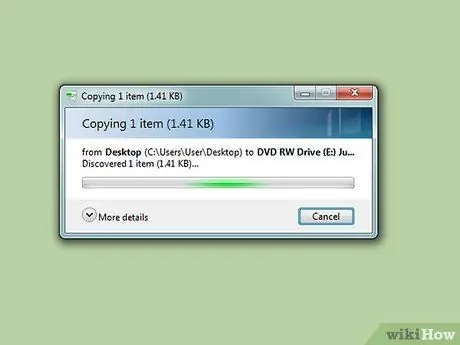
Step 6. Wait for the chosen data to be written to the disk ("Live File System" format)
If you have chosen to use the disc as a USB memory drive, the selected files will be burned into it immediately after copying them. In the case of large items, the writing process will take some time.
Step 7. Finalize the disc
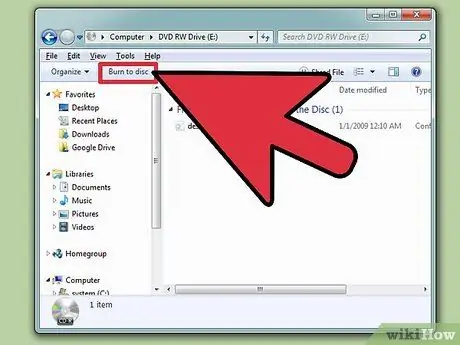
After completing the step of adding data to the DVD, you must complete the burning procedure by closing the writing session (in the case of the "Live File System" format) or actually creating the disc (in the case of the "Mastered" format).
- Live File System Disc: Press the Shut Down button located at the top of the window. This will finalize the current write session, allowing you to continue using the disc on any Windows system, as if it were a USB memory drive.
- "Mastered" Disc: Press the Write to Disc button at the top of the window. You will again be given the option to name the disc, as well as being able to choose the write speed to use to copy the data. The actual burning process takes several minutes to complete. At the end of the data writing process you will have the option to create multiple copies of the same disc.
Step 8. Add new files to an already burned disc
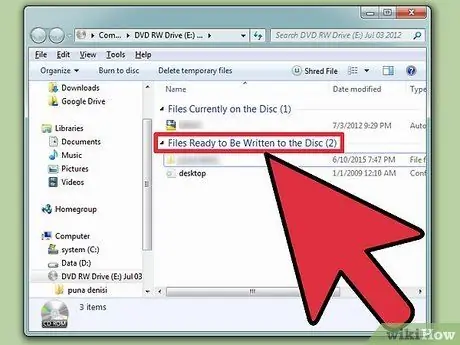
If the maximum capacity of the optical media has not been reached, you can add more data to the DVD. You can perform this step regardless of the disc format you choose. To add more files to a disk, follow the same procedure as explained in the previous steps.
- Live File System disc: You will lose approximately 20 MB of available space for each new session to write to the disc.
- "Mastered" disc: in this case the files already burned on the disc can no longer be deleted.
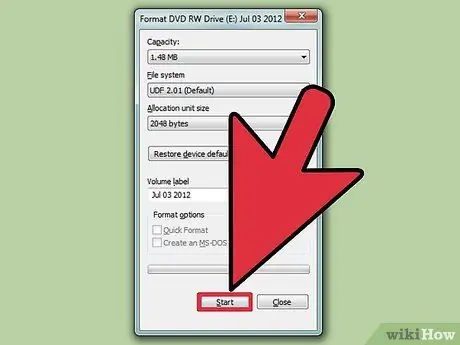
Step 9. Format a DVD-RW
Optical media of this type have the ability to be formatted and reused even when burned with the "Mastered" format. To remove content from this type of DVD, insert the media into your computer drive and open a "File Explorer" window. Select the DVD burner from the list of devices connected to your computer, but without accessing the content. At this point, press the Erase disk button located at the top of the window.
Method 2 of 3: Burn a DVD Video
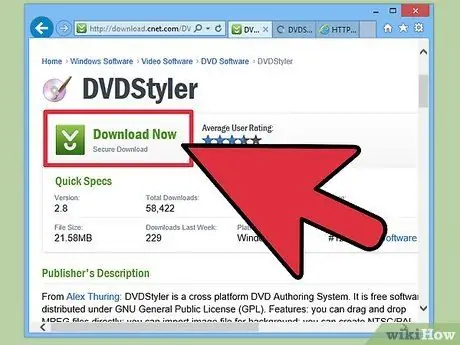
Step 1. Download and install the DVD Styler program
If you want to burn a movie to DVD so that it can be played by any player, you will need to use special software with the "DVD authoring" feature. There are many programs that can do this, but DVD Styler is an open-source project and it's free. You can download the installation file from the following URL: dvdstyler.org/en/downloads.
- Chrome may report that the DVDStyler installation file is malware. If this is the case, use another browser.
- Be very careful when installing the program to prevent adware from being installed on your system as well. Until 6/6/2015 the version of the program for 64-bit Windows systems did not include any adware, but this does not mean that the situation cannot change in the future. Before proceeding, carefully read the contents of each screen of the installation wizard.
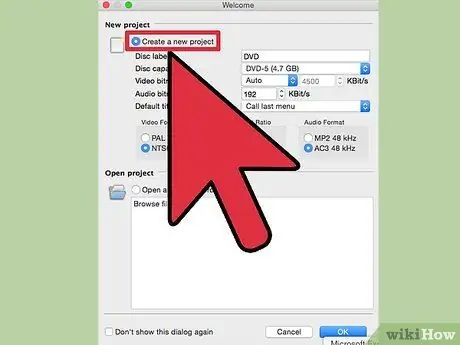
Step 2. Create a new project using DVD Styler
When you start the program for the first time, you will be automatically redirected to the window for creating a new project. Before proceeding to add video files, you will be able to edit some disc information via the "Create a New DVD" window.
- Disc Label: This is the name of the DVD that will be displayed when the disc is inserted into a computer.
- Disc Capacity: Most DVDs on the market have a capacity of 4.7GB, which is why the option selected by the program by default is "DVD-5". If you are using a "Dual Layer" (DL) disc, you will need to choose the "DVD-9" option (with a capacity of 8.5GB).
- Video and Audio Bitrate: this parameter modifies the quality of the video and audio signal. Most users won't have to worry about changing the default values of these parameters.
- Video format: If you live in an area where video content is encoded with the PAL system (Europe, Asia, Brazil, Australia), you will need to choose the "PAL" option. Conversely, if you live in America, Japan or Korea, you will need to use the "NTSC" option. The program will automatically detect the nature of the content you want to create the DVD with, so you will be prompted to change this setting if they are incompatible.
- Aspect Ratio: Choose the "4: 3" option if you need to play the DVD on a CRT or standard definition TV or monitor. Conversely, choose the "16: 9" option if you are going to use it in conjunction with a modern high definition television. Note: This setting has no effect on the actual video file.
- Audio format: you can choose between "AC3" and "MP2" formats. Most users can use the default "AC3".
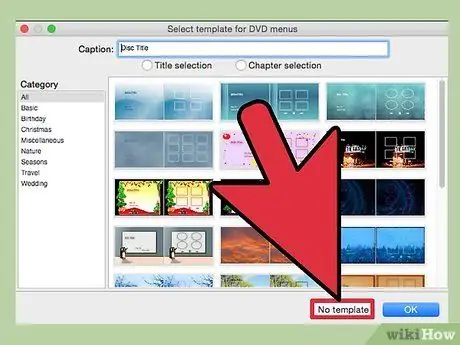
Step 3. Choose a template for the DVD menu
The DVD Styler program integrates several menu templates to choose from. Select the "No theme" option, the video with which you will create the DVD will be played automatically as soon as the disc is inserted into the player.
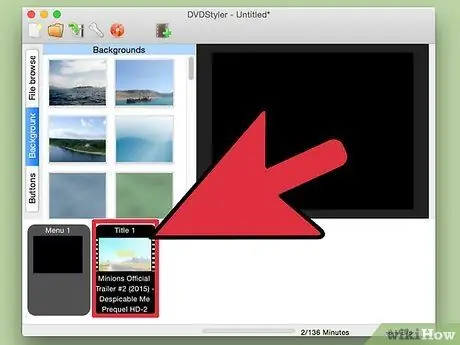
Step 4. Drag the video file into the box located at the bottom of the window
This will add it to the project. DVD Styler supports the use of most video formats, so you don't have to worry about doing any conversions before adding content to your project.
- The status bar at the bottom of the program window will show the duration of the video just added, together with the minutes still available.
- Depending on the type of video file you are using, you may be able to add more content to a single disc. For example, it is normally possible to insert 4-6 episodes of a TV series within a single DVD or an entire movie with its additional contents.
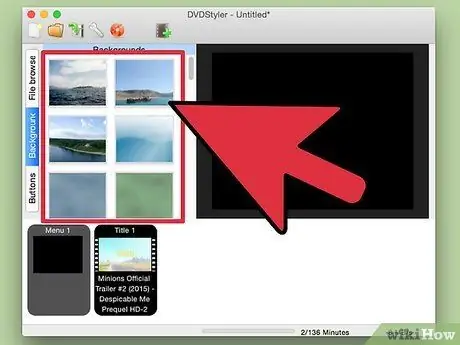
Step 5. Edit the menus
After adding the video files, you can proceed to customize the content selection menus. To change any item in the menu, select it with a simple double click of the mouse. If you wish, you can change the position of each menu item by dragging it with the mouse.
By selecting the menu buttons with a double click of the mouse while you are using the editor, you will have the possibility to change its function
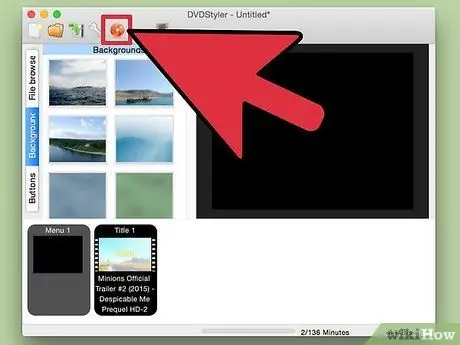
Step 6. Burn the DVD after editing
After configuring all the settings you can proceed with writing the contents to the disc. Insert a blank DVD into the burner and press the "Burn …" button at the top of the window. You will be given some options related to burning the content. When you are ready to create the DVD, press the Start button.
- "Temporary Directory": This is the folder where DVD Styler can store temporary files during the data burning process. These items will be automatically deleted when the disc creation is complete. Remember that you will need to have an amount of free space on your computer hard drive that is approximately twice the size of the DVD.
- "Preview": Select this check button if you want to be able to preview the DVD using the media player installed on your computer before it is actually burned to disc.
- "Generate only": in this way the project is saved on the hard disk of the computer in the appropriate file format of DVD Styler to be burned later.
- "Create ISO Image": This option creates an ISO image of the DVD and saves it to your computer hard drive. This way you can choose to share it as an ISO file or burn it to a DVD in the future.
- "Burn": If you choose this option, the project will be burned to DVD. Once the data writing process is complete, the disc can be played by any DVD player compatible with DVD-R / RW discs.
Method 3 of 3: DVD ISO
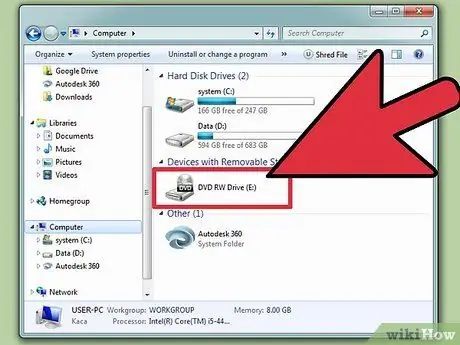
Step 1. Insert a blank DVD into your computer drive
ISO files contain within them the image of an archive. In other words, they represent an exact copy of an optical storage medium and can be used to burn a DVD. The latter is in effect the data source with which the ISO file is created. This type of file cannot be burned to disc as a simple data file if you want to get a faithful copy of the media it comes from.
Windows 7 comes with the native functionality for burning ISO files
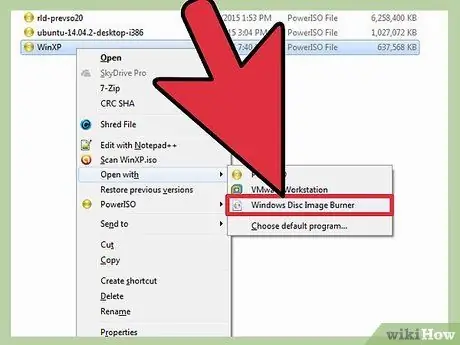
Step 2. Select the ISO file with the right mouse button, then choose the "Burn disc image" item
The "Windows Disc Image Burner" dialog box will appear.
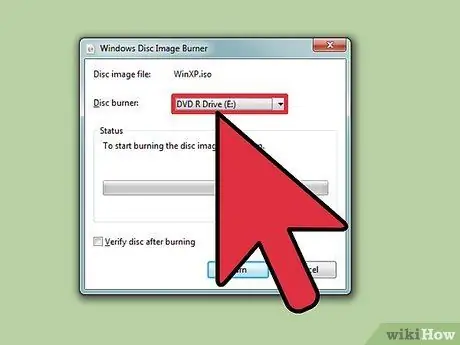
Step 3. Select the drive that contains the blank disk
If you have more than one optical drive installed on your computer, make sure the name of the correct one is displayed in the "CD Burner" drop-down menu.
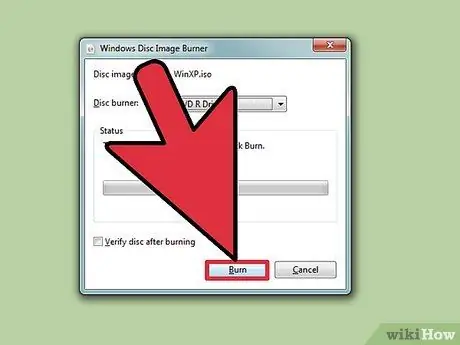
Step 4. Press the button
Burn to start the process of writing data to the disk.
You can also choose to check the correctness of the disc at the end of the creation by selecting the check button "Verify the disc after burning", but remember that this is an additional step and that if errors are found you will not be able to do anything to correct them, if not burn a second DVD. The burning process takes a few minutes to complete and the precise duration obviously varies according to the size of the ISO file and the writing speed of the device.
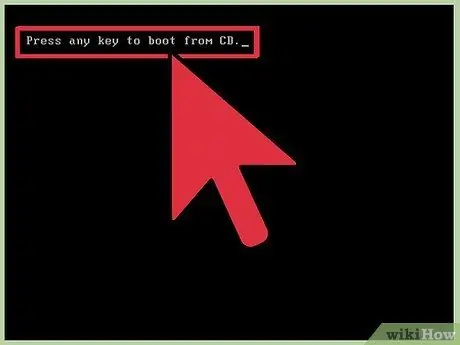
Step 5. Use the DVD you just created
At the end of the ISO file burning process, the new disc is a perfect copy of the one used to create the image. For example, if the ISO file was created using the installation disc of a Linux distribution, the newly created DVD will be bootable and you can use it to install Linux on any computer.


