Memory cards have lock switches to prevent overwriting. They are great devices because they make our memory cards safer but, at the same time, they often break. Luckily, they can be fixed for 5 cents and a minute of your time. Learn how to!
Steps
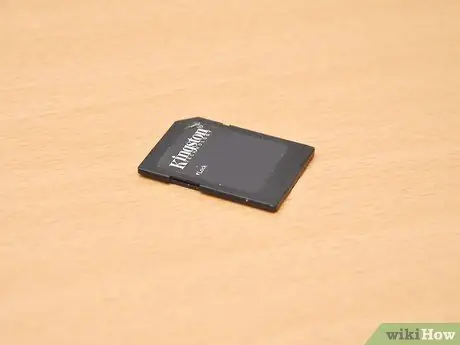
Step 1. Find the lock switch
Look for where it is - usually on the left side of the memory card, if you look at it from the front.
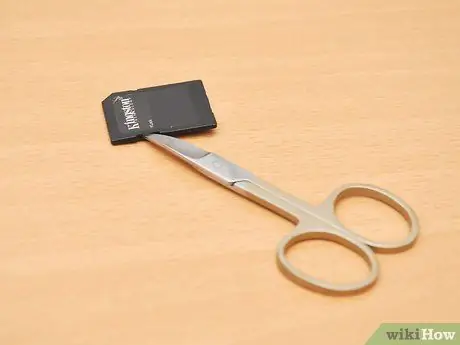
Step 2. Remove the remaining pieces of the switch
If there are any bits of plastic from the old switch still stuck to the board, try to remove them with nail scissors.
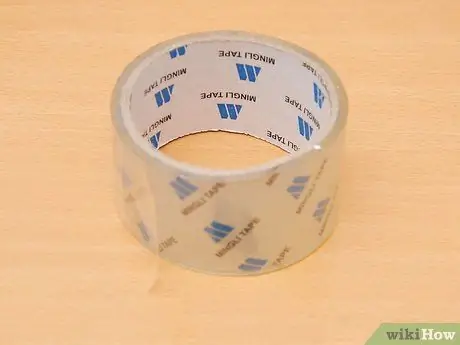
Step 3. Get some tape
You will need it thin, transparent and with a good adhesive grip. The most common is Scotch brand, but any of these will do - as long as it is very adhesive. Make sure it's not too loose. 1cm could fit.
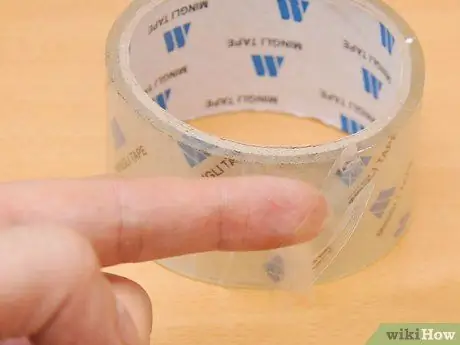
Step 4. Peel off a piece of tape
Remove a small piece of your roll, more or less than 1 cm, so that you will have a 1cm x 1cm square of tape.
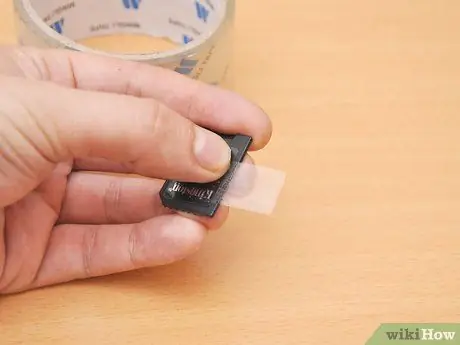
Step 5. Put the tape over the hole in the switch
The tape will have to wrap around both the front and back of the memory card, creating a slightly higher layer along the side where the switch was. Make sure you stick it well, there should be no ripples or bubbles.
- Make sure none of the contacts on the back of the memory card are covered by the tape, or the memory card will not work.
- The protrusions or raised surfaces may cause the memory card to become stuck in its slot.
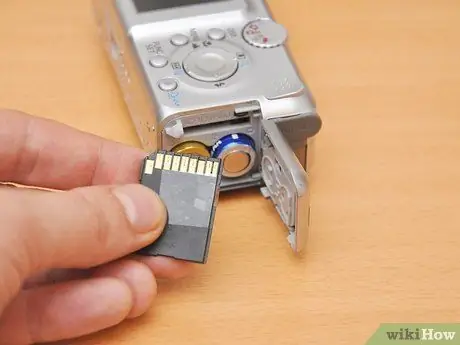
Step 6. Insert the memory card into your reader
It should now be unlocked. If it's still stuck, make sure the tape has raised the surface on the side of the switch.


