Adjusting the action of a bass (i.e. the height of the strings relative to the fingerboard) is a very important aspect of the overall setup of the instrument. It should also be done when the bass is new. In addition, exposure to sudden changes in temperature, changes in humidity and replacement of strings with a different diameter set can affect the bass setting, requiring action adjustment.
Steps
Part 1 of 4: Tune the Bass
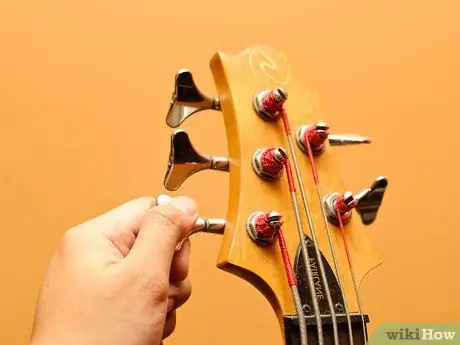
Step 1. Tune your bass normally
Use an electronic tuner to get an accurate result. So you are sure that the strings have the right tension as you adjust the action.
Part 2 of 4: Check the Handle

Step 1. Before checking and possibly adjusting the neck, wait at least 30 minutes after any significant change in string tension
- When you significantly change the forces that apply to the bass neck, the bass neck needs some time to stabilize in its final position.
- Waiting for a longer period of time increases the accuracy of the adjustment.

Step 2. Check the release and curvature of the handle
- The neck of the bass must have a slight curvature in order to play correctly. If the neck were perfectly straight, the strings would vibrate on the frets, especially when playing the notes of the first 5 frets.
- If you have a movable nut, put it on the first fret; otherwise with the index finger of the left hand press the E string on the first fret (or the B string on a 5-string bass). Press the string at the 12th fret with your thumb or right elbow. With a feeler gauge, find the largest space left between the string and the frets between the fourth and eighth. If the string touches even one of these frets, the neck needs more release. If this gap is greater than 0.50mm, the handle needs less release.
- Otherwise put the nut on the first fret of the G string or press this string at the first fret with your left index finger. With your elbow, hold it at the end of the handle. With a feeler gauge, measure the distance between the bottom of the string and the top of the eighth fret. If this distance is greater than 0.30mm, the handle needs a lower release. If this distance is zero, the neck needs a greater release.
- In case the need to increase or decrease the release emerges from the neck control, the truss rod must be adjusted.
Part 3 of 4: Adjusting the Truss Rod
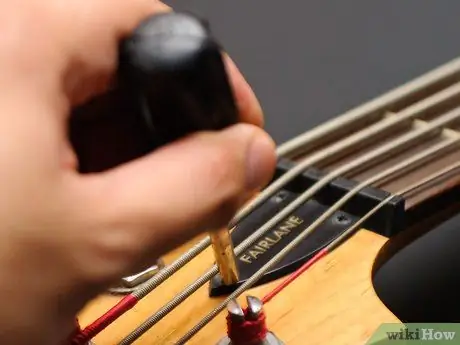
Step 1. Remove the truss rod cover from the headstock, just behind the nut
Usually the adjustment of the truss rod is found at the headstock, but in some particular models the adjustment is at the neck.
Depending on the bass model, you will need either a Phillips screwdriver to remove the truss rod cover or a small flat screwdriver to pry
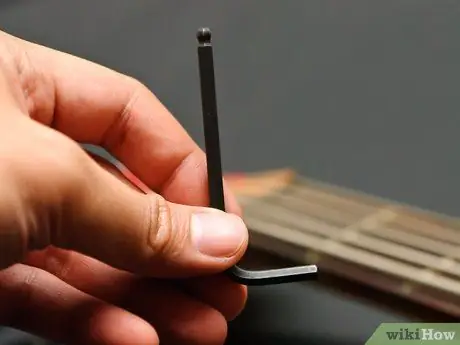
Step 2. To adjust the truss rod use an Allen key of the right size
- If the neck needs less release, you will need to tighten the truss rod by turning the wrench clockwise.
- If the neck needs more release, you will need to loosen the truss rod by turning the wrench counter-clockwise.
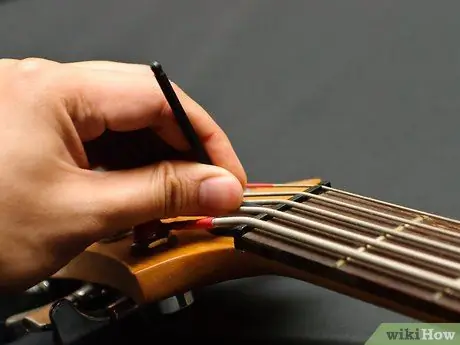
Step 3. Adjust the truss rod by making rotations one eighth of a turn at a time
After the adjustment, tune the bass again and re-measure the string height.
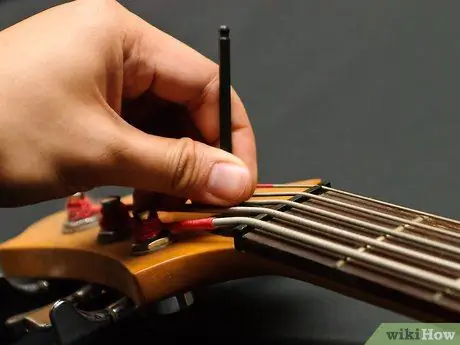
Step 4. Make any further adjustments to the truss rod always by turning the key about an eighth of a turn at a time, re-tuning and re-measuring after each change

Step 5. Check the truss rod setting by pressing all strings on each fret
- If there is a fret that vibrates when you play on one of the first 5 frets, the neck is too straight and the truss rod needs to be loosened.
- If there is a fret that vibrates only beyond the 12th fret, the neck has too much release and the truss rod goes tight.
- If the vibration on the frets is uniform throughout the neck, the truss rod is probably adjusted correctly but the bridge must be raised to accommodate the action.
Part 4 of 4: Adjusting the Action
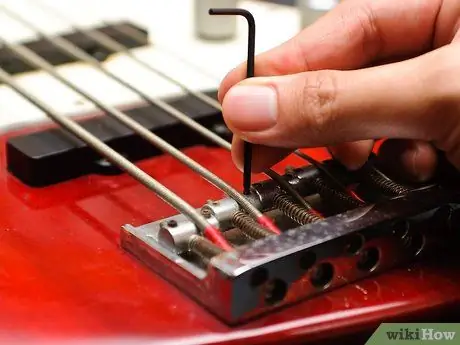
Step 1. Raise or lower the bridge or individual string saddles on the bridge
- If your bass doesn't have individual saddle height adjustment screws, you'll need to adjust the action by raising or lowering the entire bridge. There are many types of bridges, each of which has its own specific adjustments. Choose the right tool for adjusting the shoe fittings. Usually tightening (turning clockwise) the height adjustments of the bridge raises the action, while loosening them (turning counter-clockwise) lowers the action.
- If your bass has individual saddle adjustment screws, adjust the overall action by raising or lowering the entire bridge, and then fine-tune the adjustments by varying the height of each saddle as needed. Saddles are usually adjusted with an Allen key or Phillips screwdriver.

Step 2. Check the action settings by playing the bass at each key
If you hear a key vibrate, you have turned the action too low.


